When Your Character's Eyes Need Life
A good blink can be the difference between a believable character and one that looks like a mannequin with dry eye problems. 👀 In the world of 3D animation, this simple movement is more complex than it seems.
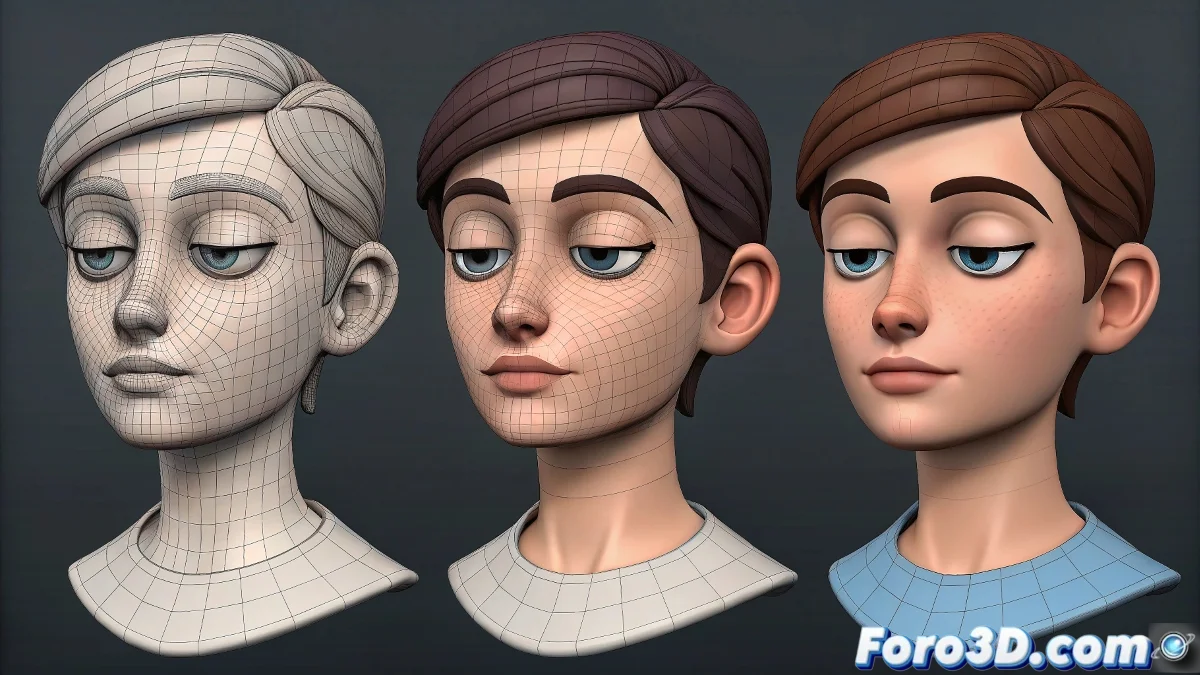
Model Preparation: The Foundation of Success
Before animating, make sure your model is ready:
- Appropriate geometry: 3-4 loops around the eye for clean deformation
- Correct topology: Circular flow following the eye shape
- Prepared versions: Open and closed eye if using Blend Shapes
Animation Techniques by Software
In Maya
- Create a Blend Shape between the open/closed eye versions
- Animate the transition in the Graph Editor with smooth curves
- For more control, use Set Driven Key with facial controls
In 3ds Max
- Prepare Morph Targets for the different phases
- Use the Morpher modifier to animate the transition
- Combine with Skin Morph for local adjustments
A perfect blink follows the 30-70 rule: 30% of the time going down, 70% going up. That's how real humans blink.
Professional Timing for Different Styles
| Style | Down Frames | Up Frames |
|---|---|---|
| Realistic | 3-4 | 5-7 |
| Cartoon | 1-2 | 2-3 |
| Anime | 1 | 3+ (sometimes with "sparkle" afterward) |
Mistakes That Ruin the Effect
- Insufficient geometry (unnatural folds)
- Symmetric timing (looks mechanical)
- Forgetting the micro-movement of the eyebrows
Fun fact: Pixar characters blink on average every 2-4 seconds, while in anime it can be every 5-10 seconds for more drama. 🎬
Remember: a well-executed blink goes unnoticed, but a poorly done one ruins the entire facial performance. Now go and make those digital eyes come to life... without making your character look like it has a nervous tic! 😉
Bonus tip: For stylized characters, add a small squash when the eyes are closed and stretch when opening to give more energy to the movement.