Secrets to Tame CAT Muscle Like a Master 🎩
The true art with CAT Muscle begins when we understand that it is not a magic system, but a tool that requires manual setup. The key is in the Muscle Parameters panel, where stiffness, flexibility, and behavior of each muscle fiber are adjusted. 💪
A rigging veteran once said: "CAT Muscle is like a tattoo, it hurts at first but the result is worth it"
Professional Techniques for Realistic Results
To solve those deformation problems you mention:
- Use the Muscle Strand modifier: Adjust dynamic tension with Stretch and Bend values to avoid that "stretched gum" effect
- Set up the anchors: Muscle insertion points (origin/insertion) must match real anatomy
- Play with the jiggle sliders: A 5-10% secondary oscillation gives that natural bounce to the movement
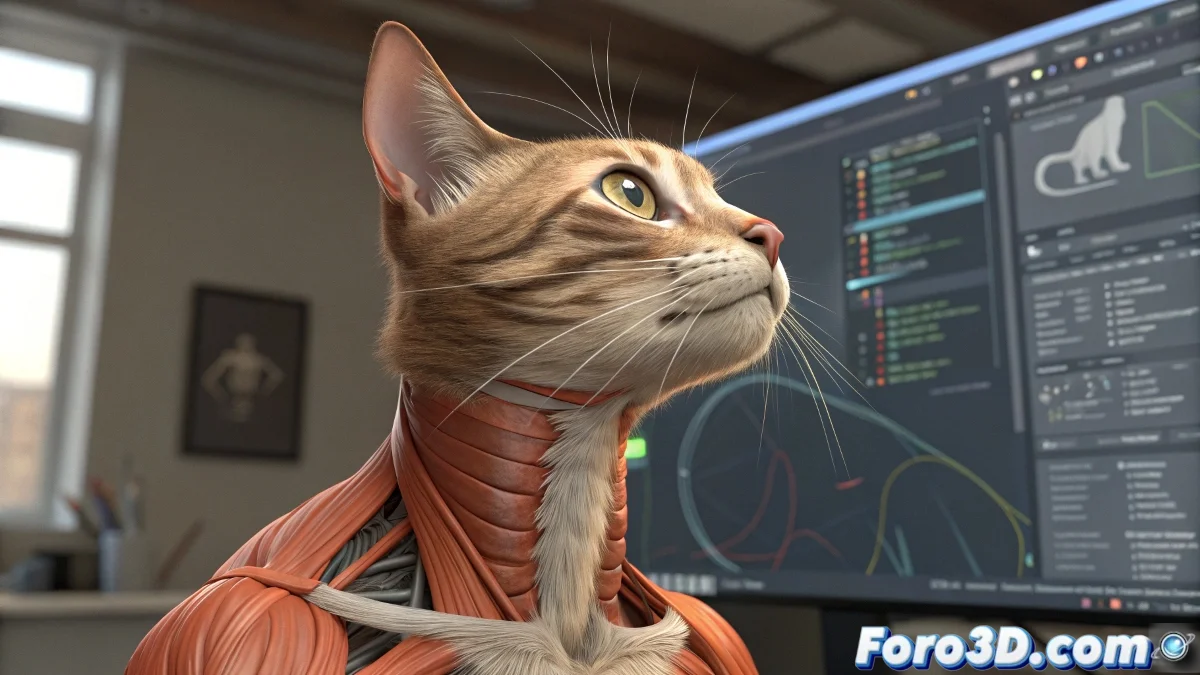
The trick for the neck: create independent sternocleidomastoid muscles and adjust their influence over the clavicle. 🦴
Professional Workflow
The correct sequence makes the difference:
- Model the base anatomy without details
- Add the CAT Muscle system and set up the main muscle groups
- Use Paint Weights mode to refine influence areas
- Bake the simulation before animating to optimize performance
For the specific mirroring problem: although CAT does not allow it natively, you can use the Symmetry modifier before the rig and then transfer the weights manually. It's tedious, but it works. 🔄
Lifesaving Plugins
When CAT Muscle falls short:
- Ziva VFX: For hyperrealistic muscle simulations
- Advanced Skeleton: Automates complex rigging processes
- Morpho: Specific tools for anatomical deformation
Remember: every character requires unique adjustments. What works for a robust fighter won't work for a slender dancer. Patience is your best plugin. 😌
And if after all that your character still looks like a rubber doll, you can always sell it as "an innovative artistic style". In 3D art, as in life, sometimes you have to know how to disguise. 🎨