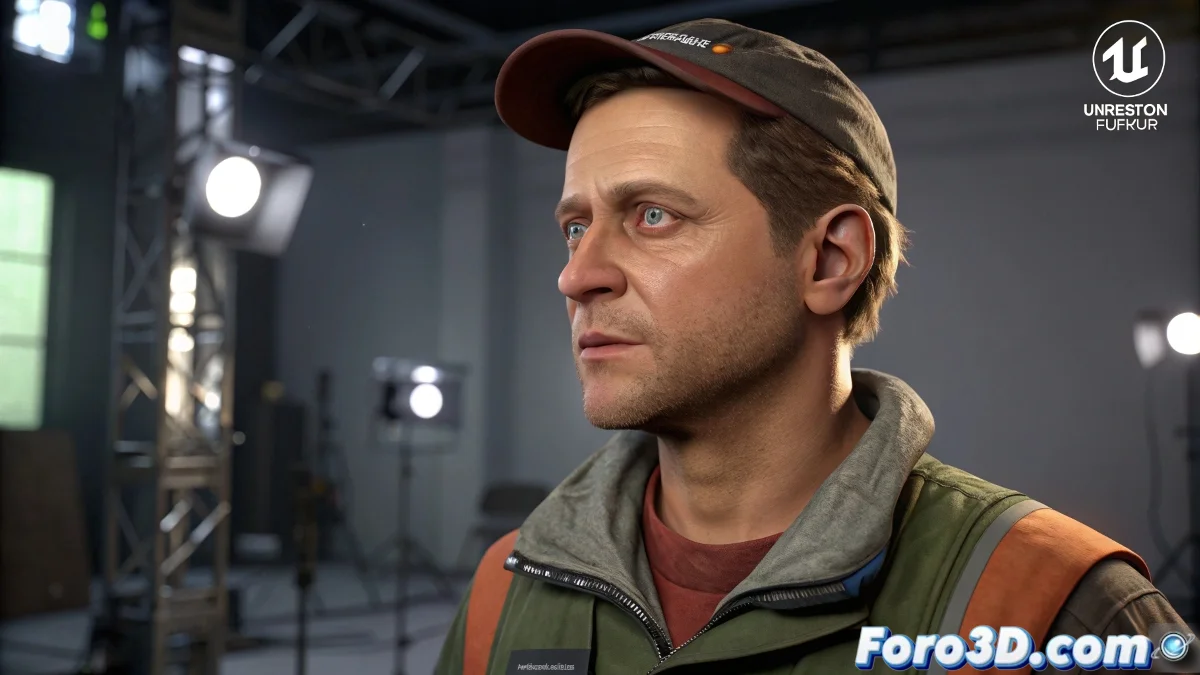
The Invisible Art of Professional Rigging
Creating a good rig is like being a Ferrari mechanic: if you do your job right, nobody notices... until something fails spectacularly in the middle of the highway 🏎️💥. As a self-taught artist, these tips will help you avoid those embarrassing moments.
Bone Structure That Will Make Your Competitors Cry
Your basic FK/IK setup is a good start, but for pro level you need:
- IK/FK blend system (like Advanced Skeleton 5 for Maya)
- Pro auto-rig for Blender 3.6+
- Stretchy bones controls for that rubbery flexibility
- Clean hierarchies that don't look like the Habsburg family tree
Master the Art of Deformations
Critical areas require special attention, like toxic ex-partners 👀:
- ngSkinTools (Maya) or Weight Paint++ (Blender 4.1+)
- Mesh correctors in armpits and groin
- Delta mush for natural deformations
- Tests with extreme poses (yes, including the splits!)
A professional rig is like a good bra: it must provide support without limiting movement, and if it's too noticeable, something's wrong.
Controls That Will Make Any Animator Happy
So they don't curse you in animation studios:
- Space switching for limbs
- Facial micro-controls with blendshapes
- Logically organized attributes (not like your closet)
- Clear and consistent control names
Pre-Animation Checklist
Before releasing the rig to animators (or yourself):
- Freeze transformations like it's Siberian winter ❄️
- Delete history nodes like compromising photos
- Bake complex simulations
- Test with extreme animations (breakdance included)
Remember: when everything fails spectacularly, you can always say it's "experimental art" and pretend it was intentional. After all, Picasso broke the rules too... though I doubt his models had legs that spun 360 degrees. 🎨🤪