The Art of Bringing Models to Life with Motion Capture
Integrating motion capture animations into 3D characters is like teaching a perfect mannequin to dance 💃. .c3d files contain the magic of real movements, but transferring them elegantly to your model requires more than a simple import. Blender becomes the ideal bridge between raw mocap data and the polished animation that will bring your creations to life.
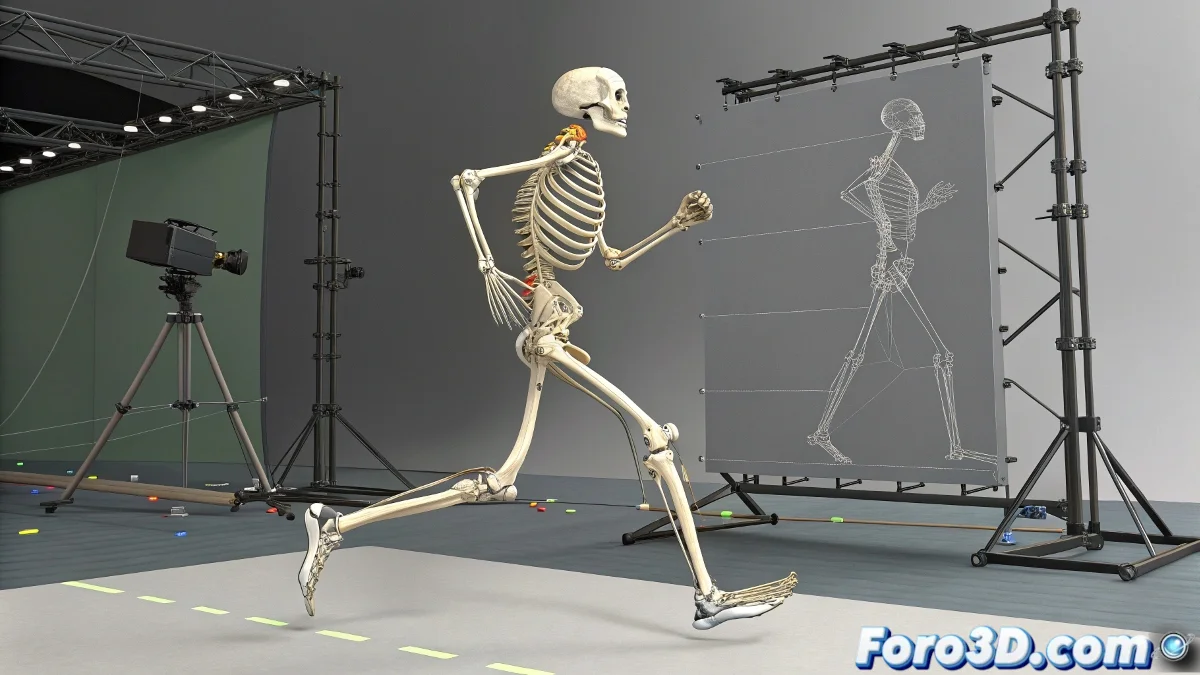
From Abstract Points to Functional Skeleton
When importing a .c3d file, Blender initially displays only a set of floating points representing captured joints. The true transformation occurs when generating a complete armature from these markers, turning abstract data into manipulable bones. This automatic process creates the bone structure that will serve as the base for the entire animation system, faithfully preserving the captured movements 🦴.
Good skinning is like a custom-tailored suit: it must fit perfectly to the movement without restricting it.
The Magic of Automatic and Manual Skinning
Linking the skeleton to the character's mesh is where the true alchemy happens. The Armature modifier with Automatic Weights intelligently calculates the influence of each bone on the model's vertices. However, critical areas like shoulders and hips usually require manual adjustments using Weight Painting to achieve natural deformations and avoid that inflatable balloon look that causes so much horror 🎨.
- Automatic Weights: Quick and functional base to start with
- Weight Painting: Fine-tuning of bone influences
- Vertex Groups: Precise control over problematic areas
- Mirror Weights: Saves time while maintaining symmetry
Animation Refinement and Correction
No motion capture is perfect straight from the studio. Post-capture refinement separates amateur productions from professional ones. Reviewing frame by frame allows correcting foot slides, geometry penetrations, and unnatural poses that mocap actors sometimes leave as unwanted gifts 🎁.
- Pose Correction: Manual adjustment of key postures
- Constraints: Maintain coherence in complex movements
- Animation Layers: Combine mocap with manual animation
- Cycle Check: Smooth transitions between animation cycles
Professional Integration Workflow
Following a methodical process ensures consistent results and avoids future headaches. From initial import to final render, each stage contributes to the final quality of the animation.
- Import and process the .c3d file in Blender
- Generate armature from motion capture markers
- Apply automatic weights and adjust with weight painting
- Refine the animation with manual corrections
- Export or render the final animation
Mastering the Art of Adaptation
True mastery in mocap integration comes from understanding that every model has unique proportions that require customized adaptation. Learning to balance fidelity to the captured data with the specific needs of the character is what transforms good animations into exceptional ones.
And when your character ends up moving like it just came out of a centrifuge, you can always argue that it's a vanguard artistic style 🌀. After all, in the 3D world, sometimes accidents become features.