Print Custom Cases to Emulate Retro Consoles with Raspberry Pi
Additive manufacturing technology opens up a world of possibilities for retro gaming enthusiasts. Creating a custom case for a Raspberry Pi that emulates classic consoles is an accessible project that fuses digital design with a unique physical object. 🎮
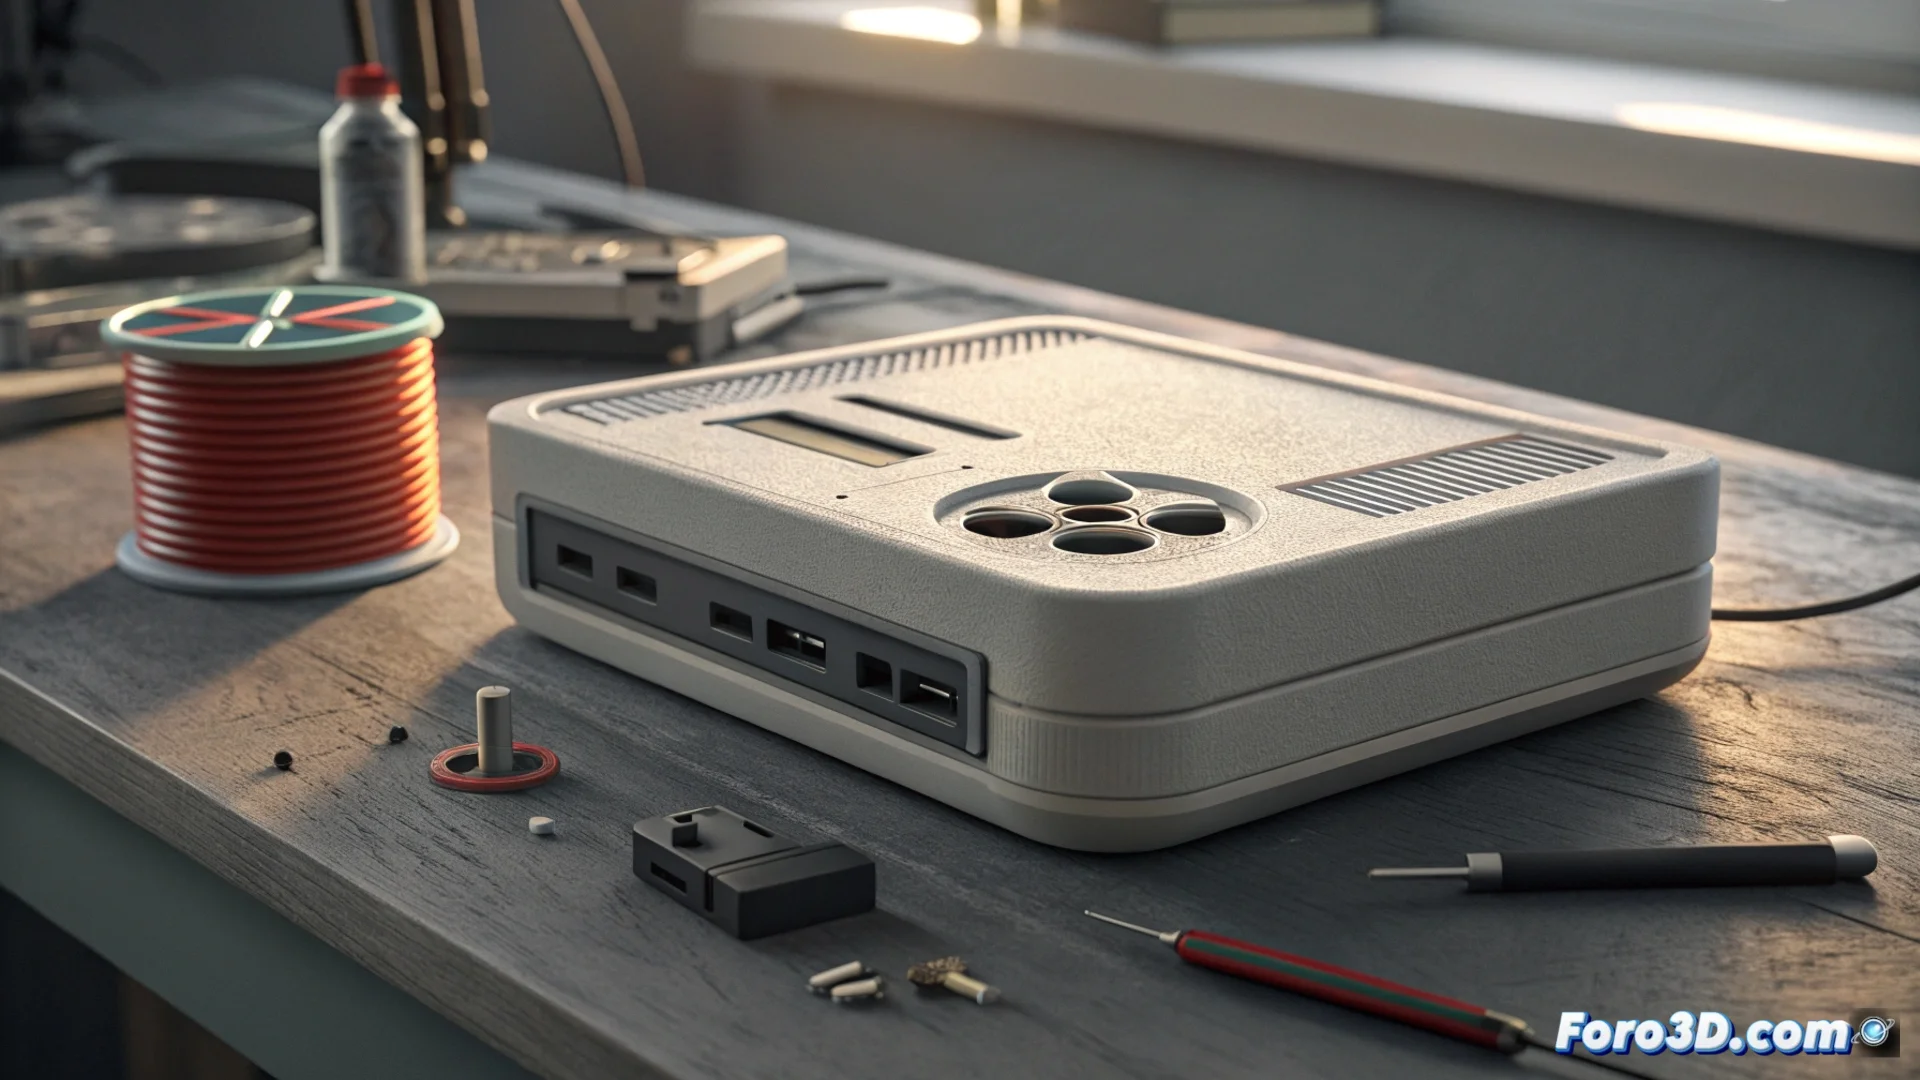
Plan and Adapt the 3D Design
The process begins by choosing a model. There are numerous files in online repositories that serve as a base. Using 3D modeling software allows adjusting these templates: changing dimensions, incorporating logos, or completely altering the shape. It is vital to foresee the location of all hardware components, such as USB ports, control buttons, and holes for the system to breathe.
Key aspects when designing:- Select or create a model that fits the specific Raspberry Pi version.
- Modify the design to include internal supports that securely fix the board.
- Redesign the aesthetics to combine elements from different consoles or achieve an original look.
The real challenge is not printing the case, but finding time to play amid so many projects.
Set Up the Print for Optimal Results
Once the model is ready, it's time to prepare the print. Materials like PLA or ABS are popular for their balance between ease of use and durability. Configuring the slicing software with the correct parameters is decisive for success.
Important technical considerations:- Adjust a moderate print speed and an infill percentage between 20% and 30% to balance strength and time.
- Include additional ventilation grilles near the Raspberry Pi processor to prevent overheating.
- Leave sufficient space for internal wiring and possible heat sinks.
Assemble and Enjoy the Finished Project
After the 3D printer finishes its work, light post-processing may be necessary, such as sanding to smooth the parts. The final assembly usually involves joining the parts with screws. The main advantage of this method is being able to control every detail, from an aesthetic that pays homage to an original console to integrating practical improvements that commercial hardware does not offer. 🛠️