Print a Three-Dimensional Topographic Map of Your Favorite Places
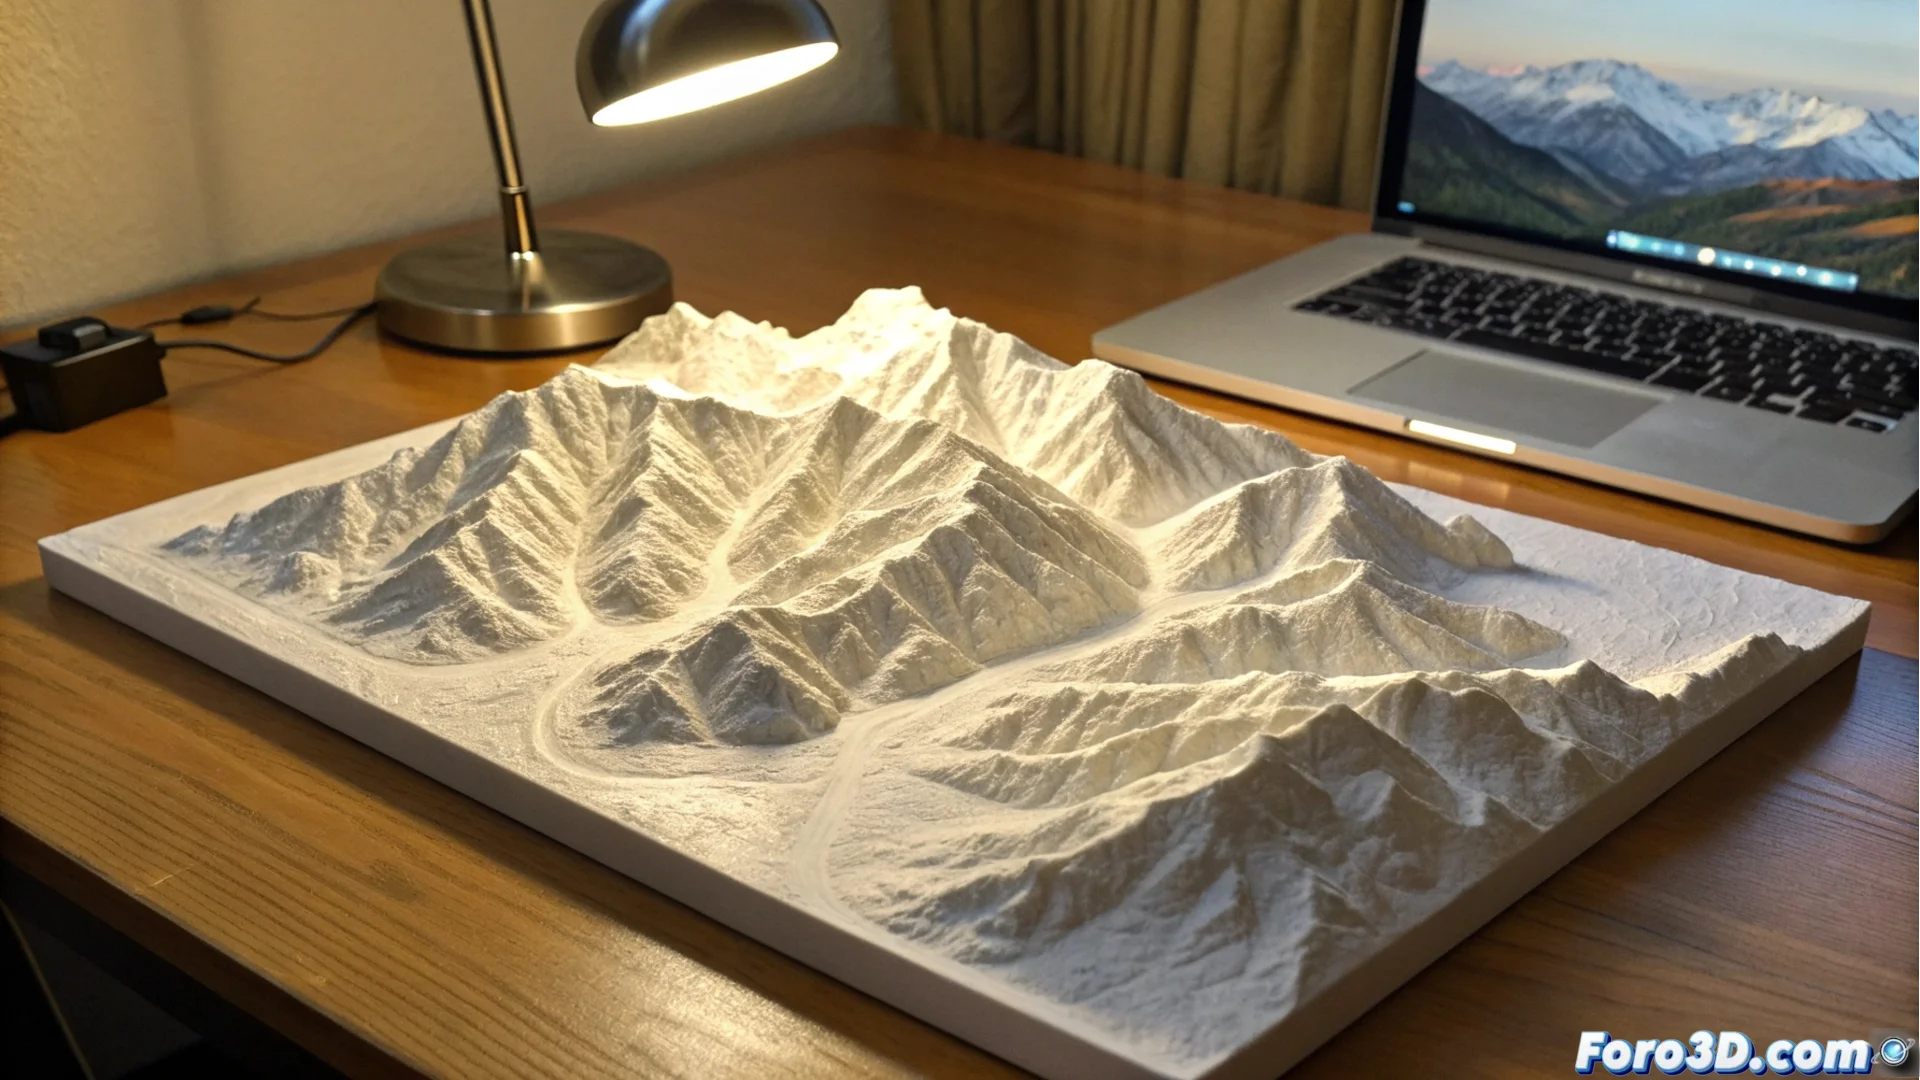
Transform a landscape with personal meaning into a decorative and tangible object using a 3D printer. This method allows you to convert public geographic data into a precise physical representation of the terrain relief, ideal for framing or as a conversation piece. 🗺️
Obtain Terrain Elevation Data
The first step is to get the elevation data. Platforms like OpenTopography or USGS EarthExplorer provide free access to Digital Elevation Models (DEM) for much of the planet. You just need to specify the coordinates or delineate the area you want to capture. The resulting files, typically in GeoTIFF or .hgt formats, store the altitude value for each point within the selected grid.
Key Sources for DEM Data:- OpenTopography: Offers high-resolution datasets from various regions of the world.
- USGS EarthExplorer: An extensive portal for topographic data and satellite imagery, mainly for the US but with global coverage.
- .hgt Files: A common format used by projects like SRTM (Shuttle Radar Topography Mission).
DEM data is the digital foundation of your physical map; its quality defines the fidelity of the final model.
Convert the Data into a Printable 3D Model
The raw DEM file cannot go straight to the printer. You need to use software to process the 3D mesh. Tools like QGIS, Blender, or web services like TouchTerrain are ideal for this task. Here you convert the elevation pixel map into a three-dimensional mesh, where you can adjust the vertical exaggeration of the relief to highlight hills and valleys, and then export a STL file ready for printing.
Critical Steps in Processing:- Generate the Mesh: Transform the grid of height values into a 3D surface with faces and vertices.
- Adjust Vertical Scale: Increase the height ratio so the relief is more visible in a reduced-size object.
- Repair and Flatten the Base: It is vital to correct mesh errors and ensure a completely flat base so the piece adheres well to the print bed.
Prepare the Print and Enjoy the Result
Once you have the STL file, you can use your usual slicing software to generate the G-code. Printing these models can be a slow process, depending on the size and level of detail of the relief. Patience is key; your printer might take several hours to recreate a mountain, but the final result, a unique and personal 3D topographic map, is worth it. 🏔️