Taming Rebellious Modifiers in 3ds Max
Tired of your modifiers like Taper or Twist activating whenever they feel like it? 🎭 Here we reveal absolute control over when and how they affect your objects during animation.
Step-by-Step Guide for Perfect Control
1. Initial Setup
- Apply your modifier (Taper, Bend, Twist, etc.)
- Set the main parameter to 0 (Amount, Angle, etc.)
- Make sure Auto Key is initially deactivated
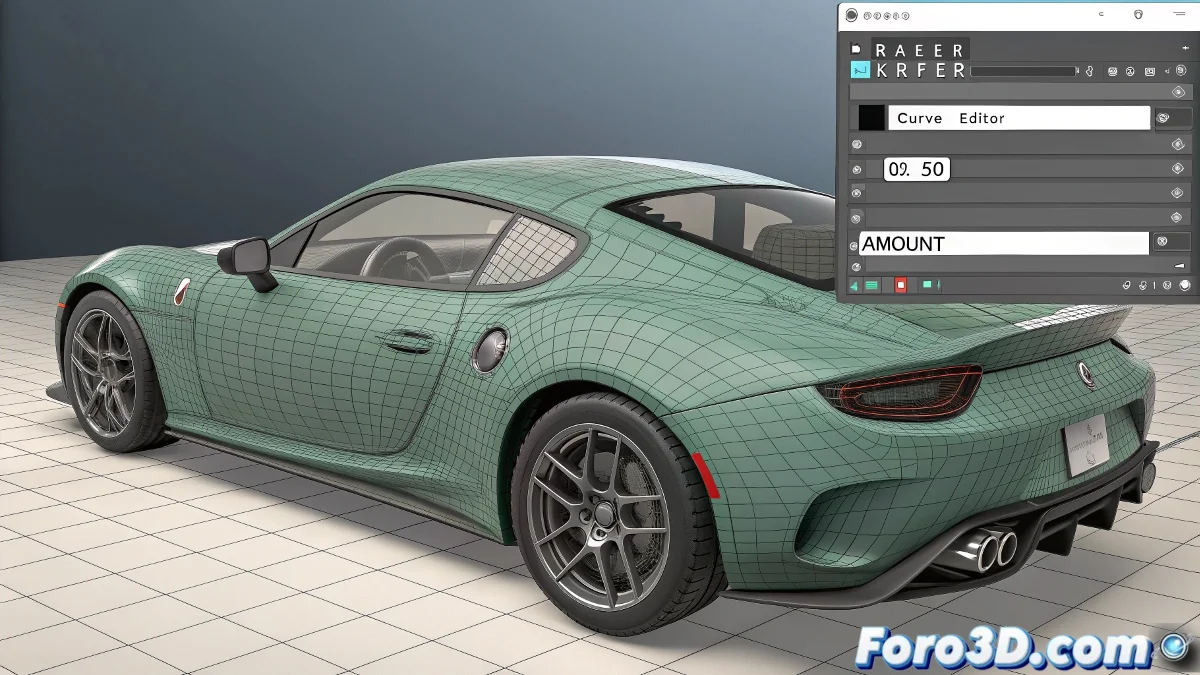
2. Precise Animation in the Curve Editor
- Open Track View - Curve Editor
- Navigate to your object > Modifiers > YourModifier
- Locate the parameter that controls the effect (e.g., Amount)
- Insert keyframes exactly where you need them
A well-controlled modifier is like a professional actor: it enters the scene right when it should, neither before nor after.
Professional Tricks
For Smooth Transitions:
- Use Bezier curves for gradual accelerations
- Experiment with different interpolation types
- Duplicate modifiers for complex effects
Common Mistakes:
- Leaving Auto Key on by accident
- Not checking hidden curves in the editor
- Forgetting that some modifiers have multiple parameters
Key Fact: You can copy and paste animation ranges between different modifiers using the Curve Editor. Save time when you need synchronized effects! ⏱️
Now your modifiers will no longer have a mind of their own. You'll be able to make an object twist right at the climax of your animation, or taper progressively as if it were made of rubber. Perfect timing is within your reach.
Bonus tip: For more complex effects, animate the modifier on a dummy object first and then use Wire Parameters to link it to your main objects.