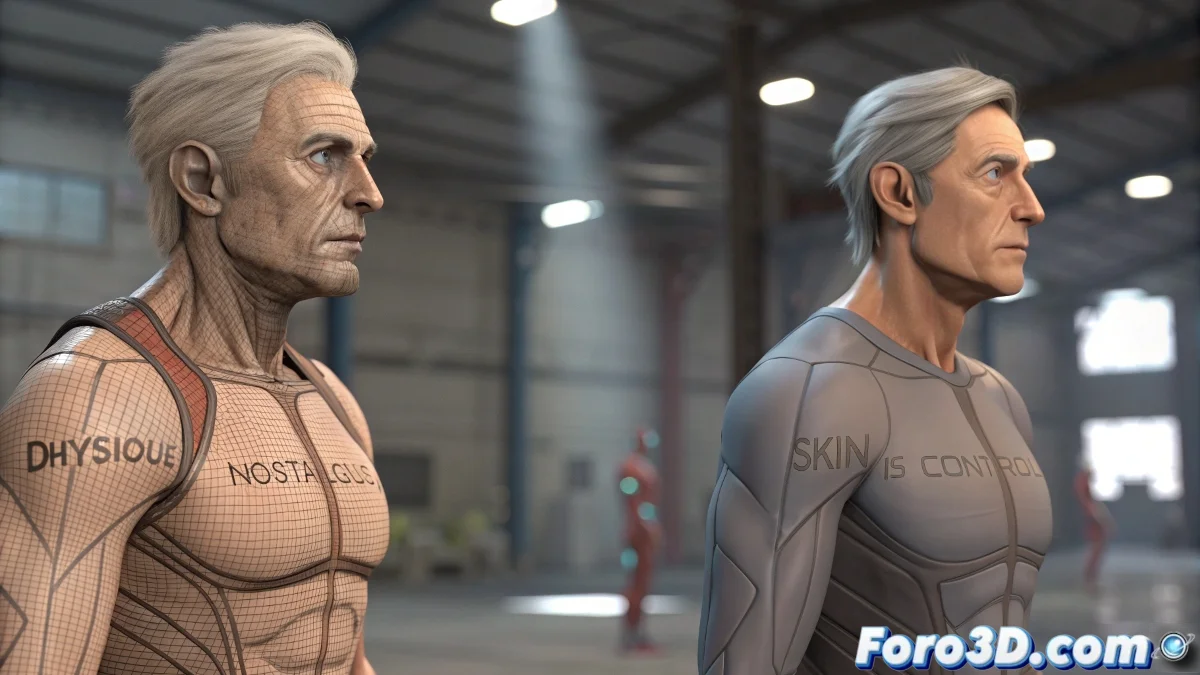
Physique or Skin: Which is the Best Modifier for Skinning in 3ds Max?
The debate between Physique and Skin in 3ds Max is like choosing between a classic and a modern one. If you've always worked with Physique, it makes sense, as it was the default option for many years. However, times change and so do modifiers.
Which is Better: Skin or Physique?
To cut to the chase, the Skin modifier is currently the most robust, flexible, and compatible option in 3ds Max for character, creature, or deformable prop skinning. Here's why:
- More compatible with modern rigging tools, including CAT and engines like Unity or Unreal.
- Allows direct and precise use of envelopes, weight painting, and per-vertex weights.
- Greater control over weights, with support for copying, pasting, and saving weights between meshes or versions.
Additionally, Skin offers more options for working with Mirror Weights and symmetry, something that can be a headache in Physique. It also has better integration with current scripts and plugins like Skin Tools 2 or WeightPro.
So Why Keep Using Physique?
Physique still has some virtues, especially if you work with Biped-type rigs and seek quick results:
- Quick to apply to a classic Biped.
- Generates decent deformation without needing to manually adjust every weight.
- Has the famous stiffness option to prevent certain areas from deforming.
However, these benefits fall short when you want fine control over deformation, create blendshapes, or integrate your character into more modern pipelines.
What Do Professionals Use Nowadays?
Undoubtedly, the vast majority of studios and freelance artists opt for the Skin modifier, especially for projects where deformation quality is important. Physique has become a more retro option or useful in internal or legacy projects.
And in 2025, What is Recommended?
With modern versions of 3ds Max (2023+), working with Skin is much smoother and complements very well with plugins like Skin Utilities. Physique is like that CD player you still have in the closet: it worked well in its time, but today you only use it when Bluetooth fails. With the Skin modifier, you don't just paint weights, you paint the future of your rigs. 🎨