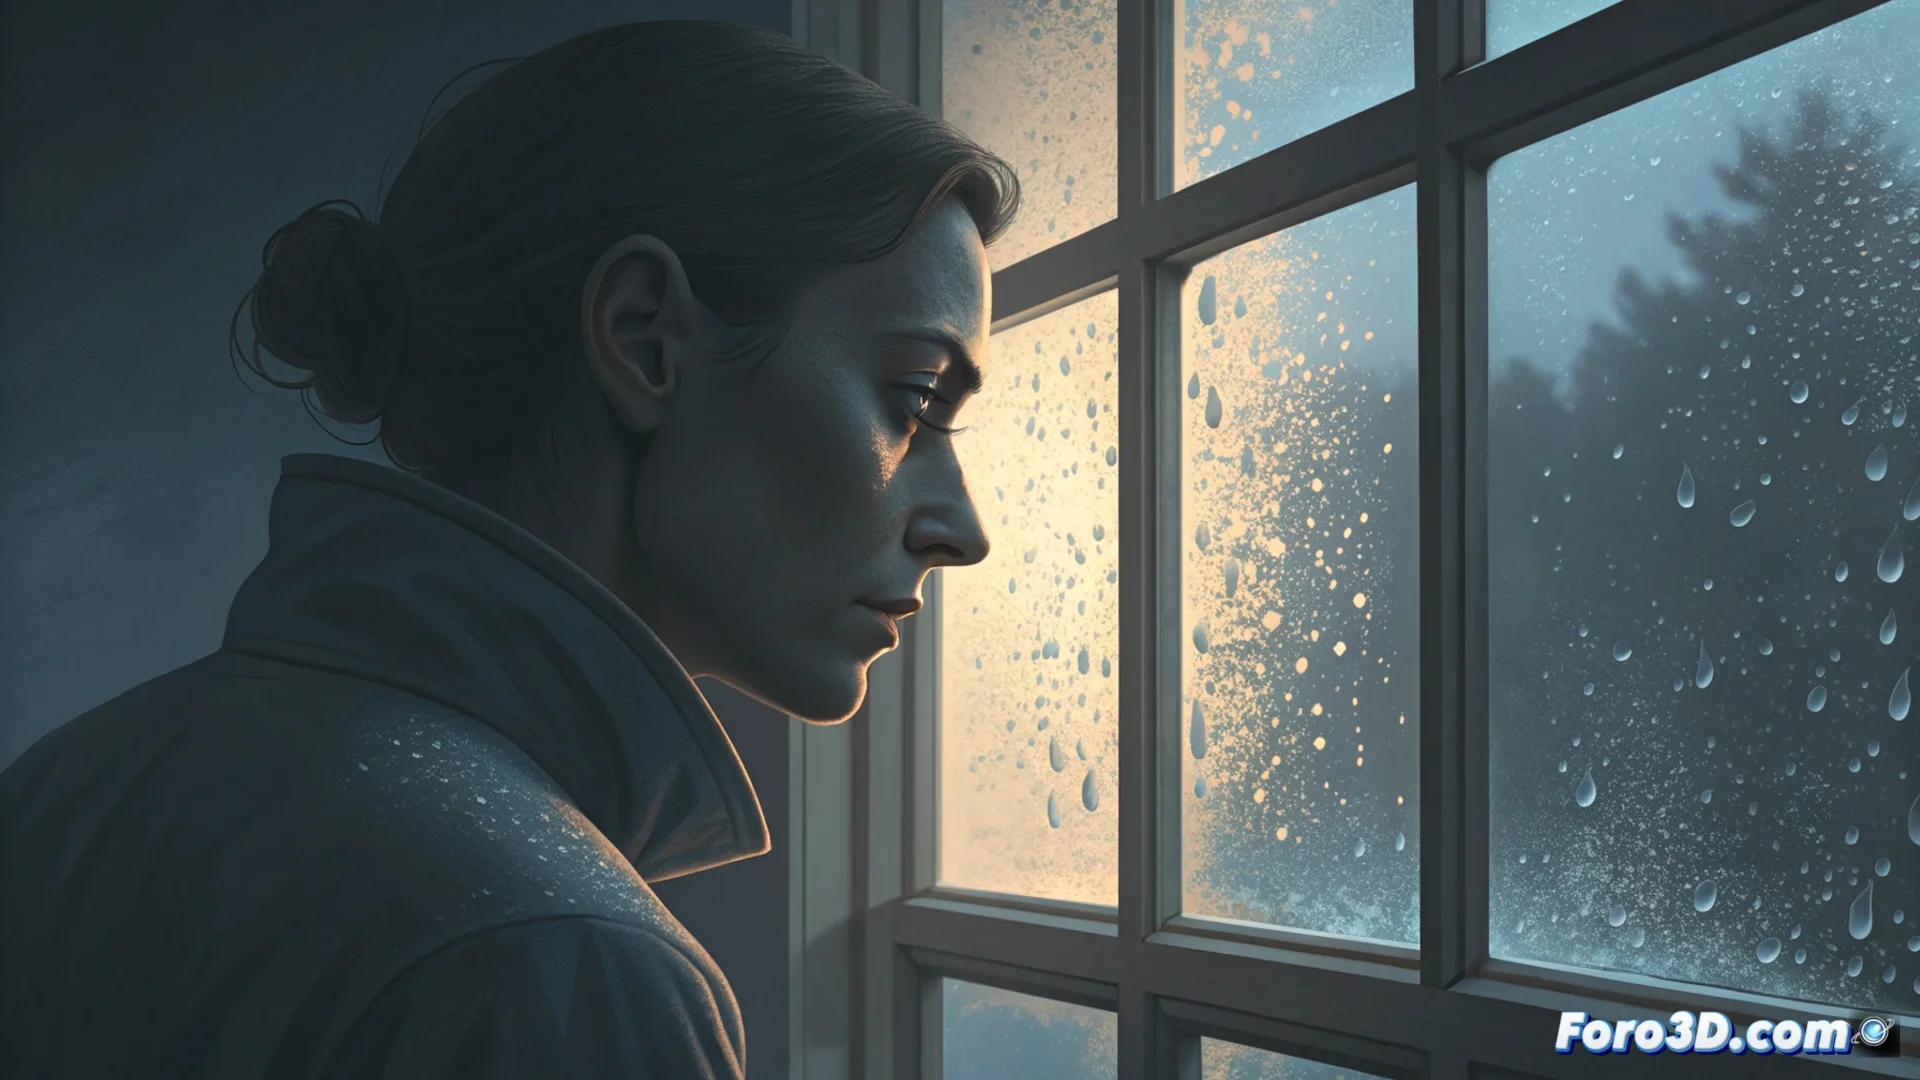
Photographing Breath or Condensation Adds Atmosphere to the Image
Capturing condensed breath or condensation on a surface is a technique that leverages a physical phenomenon to enrich a photograph. This resource adds an immediate sensory layer, conveying sensations of cold, intimacy, or a touch of mystery without the need for complex elements. Water vapor condenses upon touching colder air or surfaces, creating a translucent veil that blurs and frames the main subject, guiding the viewer's gaze toward a suggestive narrative. 🌫️
Generating and Mastering the Condensation Effect
To achieve this visual effect, you need to create a thermal contrast. Indoors, you can exhale onto a cold window or use a fine water spray to simulate condensation. Outdoors, the phenomenon occurs naturally in cold weather when a person exhales. The key lies in controlling the intensity and shape of the condensation. A gentle exhalation produces a subtle veil, while a stronger one generates a dense, defined cloud. The light direction is fundamental: sidelight or backlighting accentuates the texture and suspended particles, making the vapor appear tangible.
Practical Methods to Create Condensation:- Natural Contrast: Use ambient cold or a frozen surface, like glass, for breath to condense upon contact.
- Controlled Simulation: Apply very fine misted water to a surface to imitate the dew of condensation with greater precision.
- Modulate Intensity: Vary the force and proximity of the exhalation to achieve anything from a light fogging to a thick cloud.
Sidelight not only illuminates but sculpts the condensation, revealing its volume and texture in a way that front light could never achieve.
Integrating Condensation into the Composition and Exposing Properly
Planning the scene considering the condensation as an active element is crucial. You can use it to create a natural frame that isolates the subject, to add depth to the image, or to partially obscure elements and generate intrigue. When metering the light, focus the light meter on the subject's face or the most important area. The vapor can fool the camera's exposure meter and cause the photo to be underexposed. Using a very open aperture (like f/2.8 or lower) blurs the background and isolates the subject, while a more closed aperture (f/8 or higher) defines the condensation details more clearly on surfaces like glass.
Key Exposure Settings:- Metering Point: Always meter the light on the main subject, not the vapor, to avoid exposure errors.
- Depth of Field: An open aperture (low f-number) blurs background condensation; a closed one (high f-number) defines it sharply if in the same plane.
- Creative Control: Prioritize the aperture based on whether you want to highlight the subject or the condensation texture in the composition.
Final Tip for the Session
Achieving the perfect cloud may require multiple attempts. If your model seems fatigued, remember it may be due to the repeated intense exhalations needed to create the desired effect. Combine patience with clear planning of the composition and exposure to transform this simple physical phenomenon into the most powerful atmospheric element in your photograph. ❄️