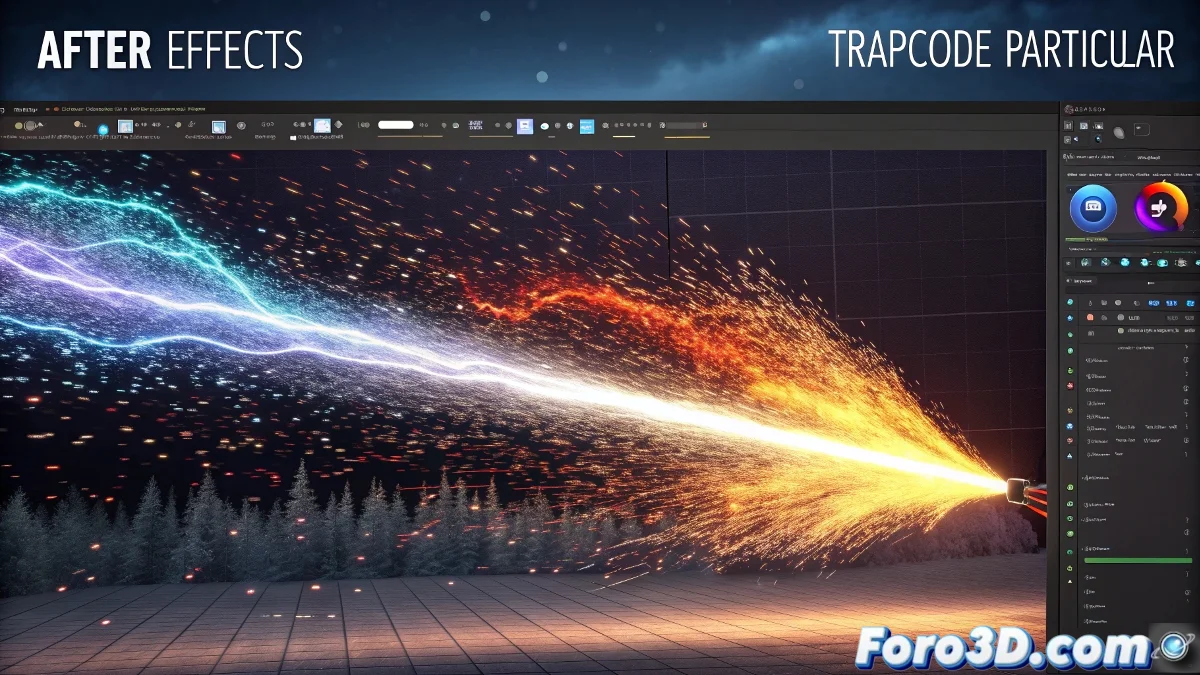
The Art of Making Particles Follow Your Movement
Parenting the TrapCode Particular emitter to the movement of another layer is one of the most fundamental and powerful techniques in After Effects. What you're aiming for is essentially creating a system where particles are born from a moving layer and follow its trajectory faithfully, as if connected by an invisible thread. The good news is that After Effects offers several ways to achieve this, from simple parenting methods to advanced techniques with expressions.
The challenge is that Particular doesn't work like normal After Effects layers in terms of traditional parenting. You need to specifically connect the emitter's position parameter to the movement of your target layer, and there are specific methods designed exactly for this purpose.
In After Effects, an emitter that follows a layer is like a loyal puppy: wherever the layer goes, the particles will follow
Method 1: Emitter Type Layer (Recommended)
The most direct and efficient way is to use the "Layer" option within the emitter parameters in Particular. This feature is specifically designed for what you need.
- Apply Particular: to a solid (Layer > New > Solid)
- Go to Emitter: in the effect controls
- Emitter Type: change to "Layer"
- Layer Emitter: select your target layer
Layer Emitter Setup
Once you've selected your layer as the emitter, you can adjust exactly how the particles will follow the movement.
The "Layer Sampling" parameter determines whether particles emit from the current position or inherit the layer's historical movement 😊
- Layer Sampling: Current Time for emission at current position
- Layer RGB Usage: how it uses the layer's colors
- Emitter Size: zero to emit from an exact point
- Particles/sec: adjust based on desired density
Method 2: Intermediate Null Object
If the direct method doesn't convince you, you can use a null object as an intermediary. This gives you additional control over the behavior.
Create a null object (Layer > New > Null Object) and parent your target layer to the null. Then use the null as the emitter in Particular.
- Create Null Object: Layer > New > Null Object
- Parenting: drag the pick whip from the layer to the null
- Set up Particular: use the null as Layer Emitter
- Advantage: you can animate the null independently
Method 3: Expressions for Advanced Control
For maximum control, you can use expressions to connect the emitter's position directly to your layer's position.
Alt+click on the "Position" stopwatch of the emitter and write an expression that references the position of your target layer.
- Basic Expression: thisComp.layer("LayerName").transform.position
- + Offset: add [+100,0] for displacement
- Time delay: for trailing effects with delay
- Wiggle expression: for organic behavior
Particle Behavior Setup
Once the emitter follows your layer, you need to adjust how the particles behave to create the desired effect.
The Physics and Particle parameters define whether particles fall, float, or follow specific patterns after being born.
- Velocity: 0 for particles born static
- Inherit Velocity: 0-100% to follow emitter movement
- Air Resistance: for progressive deceleration
- Gravity: zero for floating particles
Complex Motion Tracking
If your layer has complex motion or was imported from other software, you can use After Effects' tracker.
Select your layer and go to Animation > Track Motion. Apply the track to a null object and use that null as the emitter.
- Track Motion: for complex 2D motion
- Warp Stabilizer: if the footage has vibration
- Point Tracking: to follow specific points
- Apply to Null: automatically create null with track
Common Issues and Solutions
These are the typical obstacles when parenting emitters and how to solve them quickly.
The most common problem is that particles don't follow the movement perfectly or appear out of sync.
- Temporal offset: check for conflicting time remapping
- Incorrect position: adjust layer anchor point
- Parenting not working: use Layer Emitter method instead
- Particles too dispersed: reduce emitter size to zero
Special Effects with Dynamic Emitters
Once you master basic parenting, you can create more advanced effects by combining multiple techniques.
Experiment with different particle types and physical behaviors to create unique effects.
- Trail effect: particles with long life and velocity 0
- Following explosion: combine with particles/sec keyframes
- Energy field: particles with mutual repulsion
- Magic dust: particles with negative gravity
Performance Optimization
Complex particle systems can slow down After Effects. These optimizations will help you maintain fluidity.
Use low-resolution preview during work and enable high resolution only for final render.
- Render Preview: RAM Preview for quick tests
- Particle proxy: reduce quantity during development
- Adaptive Resolution: in Project Settings
- Disk cache: ensure sufficient space
Step-by-Step Workflow
Follow this orderly process to successfully implement your emitter parenting.
Start with a simple setup and gradually add complexity. Save versions at each important step.
- Step 1: Prepare target layer with movement
- Step 2: Create solid and apply Particular
- Step 3: Set up Layer Emitter with the layer
- Step 4: Adjust particle parameters
- Step 5: Refine and optimize
Practical Use Examples
These are some common applications where emitter parenting is essential for professional effects.
From simple magic dust effects to complex energy systems, the technique is fundamental.
- Fairy dust: follow moving magic wand
- Energy shield: particles surrounding character
- Propulsion: rocket or spaceship trail
- Magic aura: particles following contours
After mastering these techniques, you'll be able to create particle systems that follow any movement with precision, adding that level of professionalism that makes the difference in your motion graphics... and best of all, you'll have the knowledge to adapt the effect to any creative situation you imagine ✨