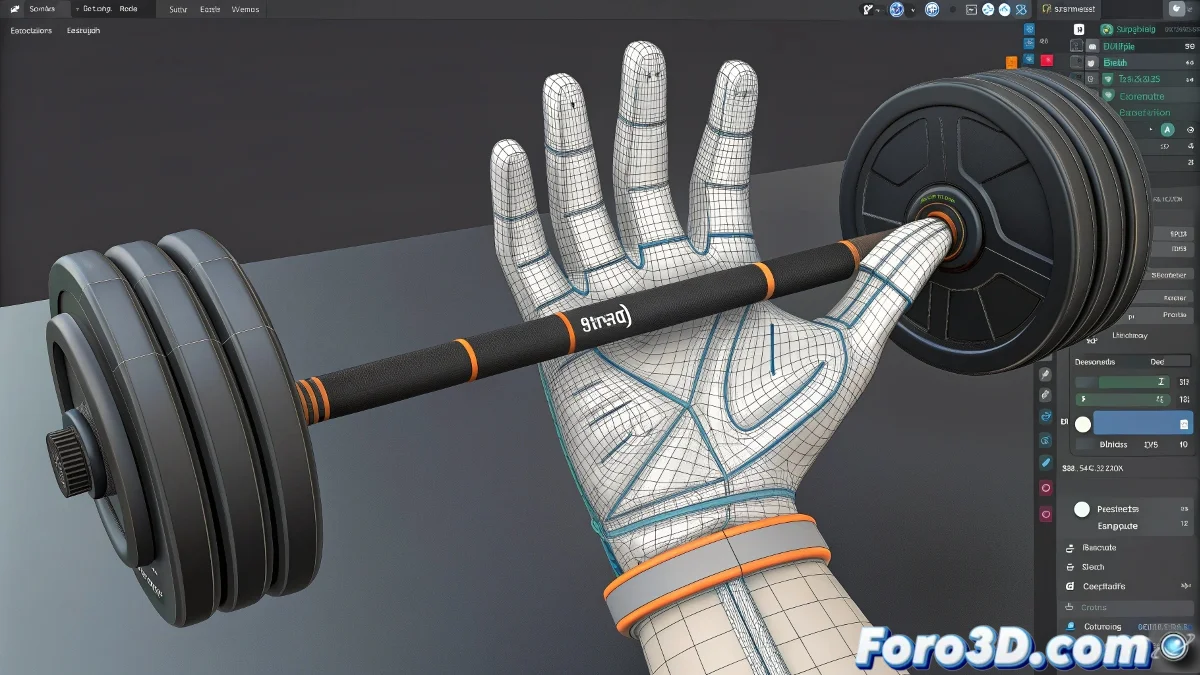
The Art of Digital Weight Painting
Mastering the Paint Weights tool in 3ds Max is like learning to paint with oil using digital brushes 🎨. Each stroke doesn't apply color, but bone influence – defining how the geometry will follow the skeleton's movement. The difference between natural plastic deformations and abrupt robotic movements often lies in the subtle configuration of the weight brush.
Anatomy of the Weight Brush
The weight brush is a complex tool with multiple parameters that interact to create different painting effects.
- Radius: Total size of the brush influence area
- Falloff: Smooth transition from the center to the edges
- Strength: Intensity of the effect per stroke
- Opacity: Control of the transparency of the applied effect
- Hardness: Definition of the painting area edges
A well-configured brush is like a good chef's knife: it does precise work effortlessly.
Optimal Settings for Different Scenarios
Different body areas and deformation types require specific brush configurations.
- Large areas: Wide Radius with smooth Falloff for large muscles
- Joints: Medium Radius with moderate Falloff for elbows and knees
- Fine details: Small Radius with low Falloff for hands and face
- Localized corrections: Minimum Radius for precise vertex-by-vertex adjustments
Painting Techniques for Professional Results
Painting technique is as important as brush configuration for optimal results.
- Circular strokes: For uniform influence distribution
- Directional strokes: Following the natural flow of musculature
- Painting layers: Multiple soft passes instead of a strong single application
- Symmetric painting: Use mirror to maintain symmetry in bilateral characters
Operation Modes and When to Use Them
The weight brush offers different operation modes for various needs.
- Add: Add influence to the selected bone
- Remove: Reduce influence of the selected bone
- Blur: Smooth transitions between areas of different influence
- Scale: Globally reduce or increase influence
- Rigid: Avoid – creates unnatural abrupt transitions
Workflow for Efficient Weight Painting
Following a specific methodology ensures consistent and efficient results.
- Set up brush according to the area to work on
- Paint base layers of general influence
- Refine transitions with Blur mode and soft strokes
- Test deformation with extreme poses
- Fine-tune based on test results
Complementary Tools for Perfection
The weight brush is powerful, but other tools help achieve perfection.
- Weight Table: Precise numerical adjustment of values
- Copy/Paste Weights: Transfer configuration between similar areas
- Save/Load Weights: Preserve and reuse configurations
- Weight Tool: Additional tools for weight management
Common Troubleshooting
Specific problems often appear during weight painting and require targeted solutions.
And when your transitions still look like steps instead of smooth slopes, you can always argue it's a retro low-poly animation style 🕹️. After all, in the rigging world, sometimes "technical limitations" become conscious stylistic choices.