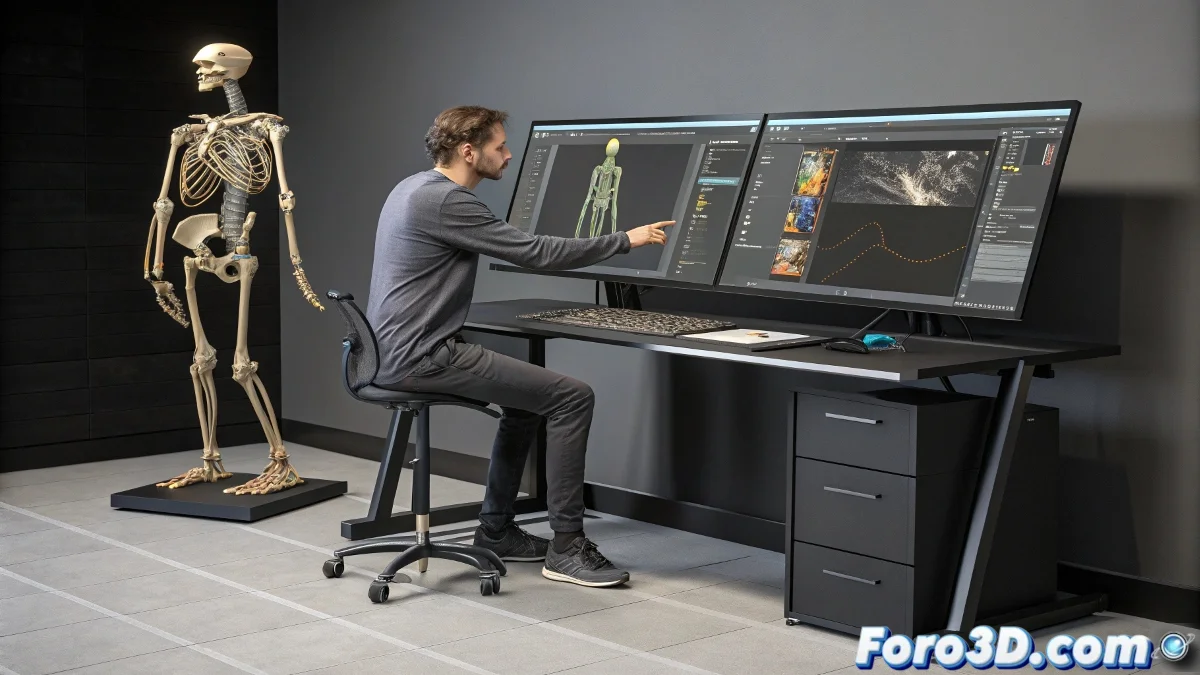
The Art of Turning 3D Models into Digital Puppets
Creating a good rig in Maya is like teaching a rag doll to dance ballet: it requires patience, knowledge, and several failed attempts. 💃 The process transforms static models into lively characters, ready to be animated... or at least that's the theory.
The Fundamental Pillars of Professional Rigging
Any decent tutorial should cover these essential elements:
- Skeletons: The digital bones that will make your character move
- Controllers: Those circles and squares that animators love to move
- Skinning: The art of making the mesh deform without looking like melted playdough
- Facial Rig: For when you need your character to show more emotions than a soap opera actor
A good rig is like a good tuxedo: on the outside it must look impeccable, but on the inside it's full of tricks and hidden adjustments that make the magic.
Tools Every Rigger Should Know
To avoid reinventing the wheel (or the skeleton), there are plugins that are true lifesavers:
- Advanced Skeleton: The equivalent of a prefabricated rigging suit
- Rapid Rig: For when you need quick results without losing quality
- ZBrush + Blender: The perfect combination for creating and testing facial expressions
These tools are like having digital assistants that do 80% of the boring work, leaving you free for the creative part. 🎨
When Theory Collides with Reality
No matter how perfect your rig is, there will always be an animator who:
- Asks for "more intuitive" controls (translation: ones that work on their own)
- Tries to move bones they shouldn't touch
- Complains that "it was easier in Blender"
At the end of the day, true success is measured when your character can do a pirouette without looking like it dislocated its hip. And if someone asks you to make it compatible with a joystick, you can always reply that it will be the star feature of the next update... that will never come. 😉