The Dance Between Rest Position and Pose Position in Blender
Understanding the difference between Rest Position and Pose Position in Blender is like learning the basic steps before dancing tango: if you don't master them, you'll end up stepping on your partner (or in this case, making the clothing clip through your character's body) 💃. This fundamental knowledge separates beginners from artists who achieve clean and realistic deformations.
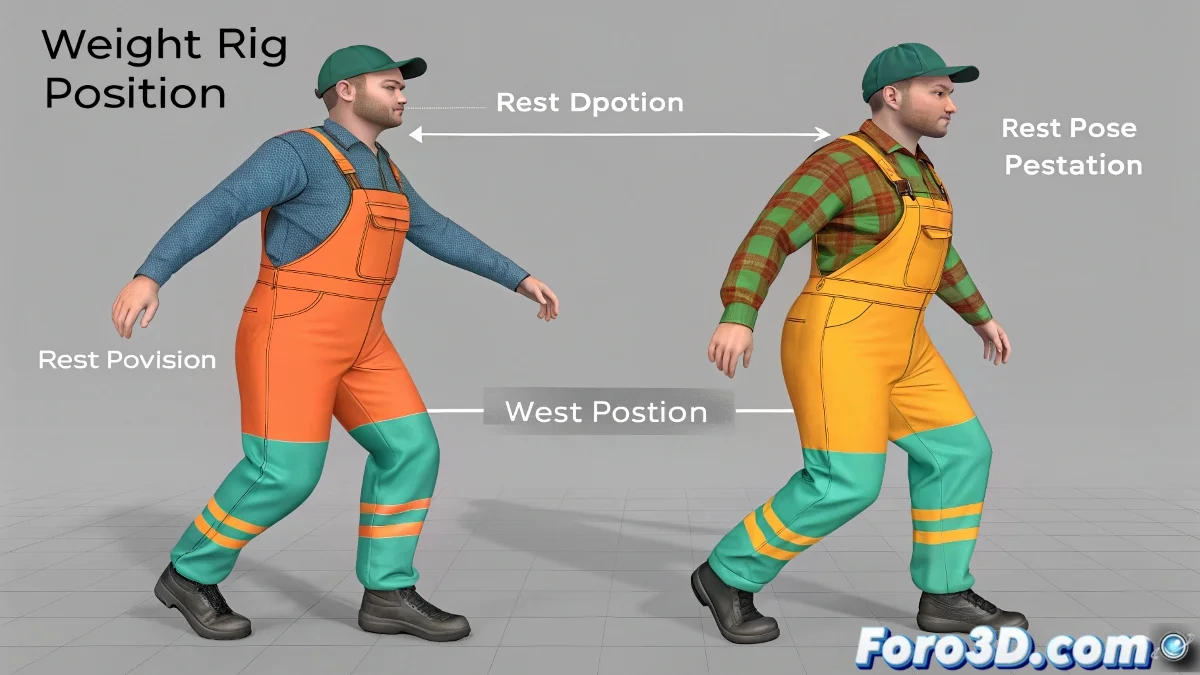
Rest Position: Your Character's Zero Point
The Rest Position is the canonical pose of your model where:
- The mesh is in its undeformed state
- The bones are in their original orientation
- It is the ideal moment to paint weights and make adjustments
"The Rest Position is like the mannequin in the tailor's workshop: the perfect base for fitting digital clothing before the character starts moving"
Pose Position: Where the Magic Happens
When switching to Pose Position:
- The bones apply their transformations
- The mesh deforms according to the assigned weights
- Skinning problems become evident
This is where you discover if your clothing is properly bound to the skeleton or if it prefers to dance on its own, clipping through geometries like a ghost in a horror movie 👻.
Professional Workflow
| Stage | Mode | Key Actions |
|---|---|---|
| Preparation | Edit Mode | Base modeling, bone creation |
| Adjustment | Rest Position | Weight painting, vertex group creation |
| Testing | Pose Position | Deformation verification, fine adjustments |
Tips for Well-Behaved Clothing
- Paint weights gradually: Start with basic influences and refine
- Use Mirror mode when working with symmetric elements
- Test extreme poses to detect problems early
Remember that clothing without proper weights is like a toddler in a china shop: unpredictable and potentially destructive. But with patience and good skinning, you'll make every garment move in perfect harmony with its character. And when you achieve it, it will be pure animated magic! ✨