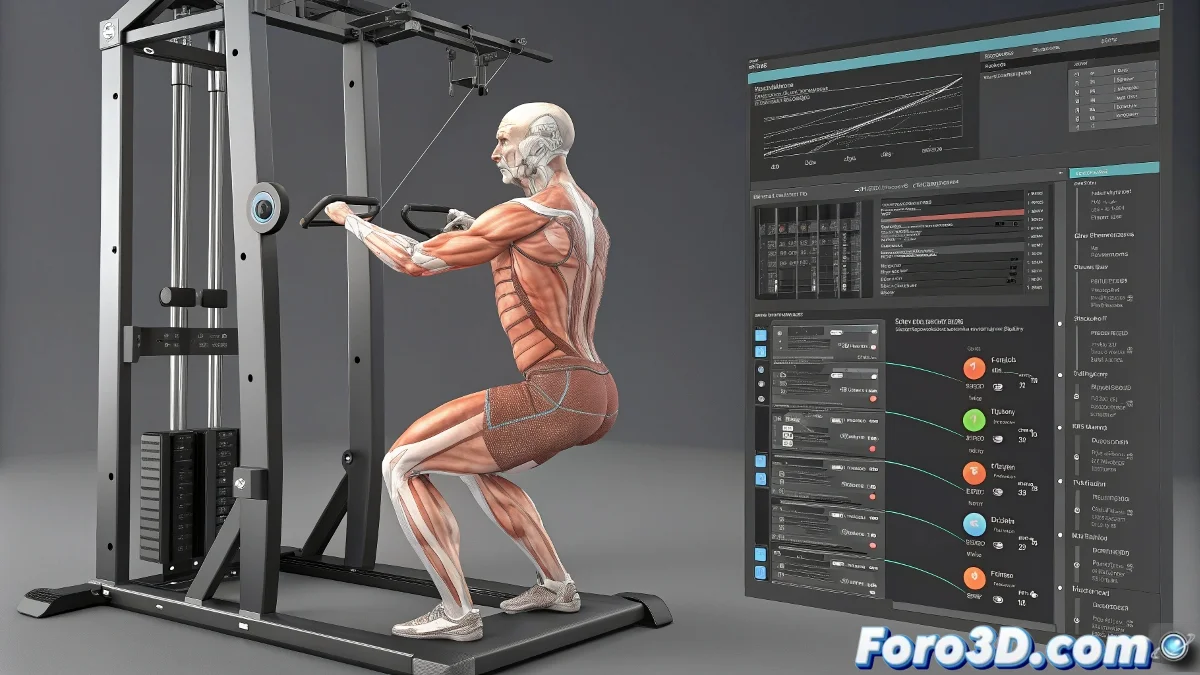
The Digital Gym: Muscular Rigging for Realistic Animations
Creating digital muscles that deform correctly can be as complicated as winning a bodybuilding contest... but without the post-workout muscle pain 💪😅. These techniques will help you sculpt the perfect digital anatomy for your animations.
Essential Tools for the Anatomical Artist
Choose your weapon for the muscular battle:
- Blender + Rigify: Advanced bones and shape keys system
- Auto-Rig Pro: Automation with manual control
- 3ds Max CAT: For traditional animation workflows
- Character Creator: All-in-one solution
Professional Deformation Techniques
So your muscles don't look like inflated balloons:
- Bone layers for superficial muscles
- Corrective shapes for extreme poses
- Soft tissue simulations in key areas
- Weight painting with natural gradients
"A good anatomical rig is like a tailored suit: it must move with the character without wrinkling or stretching where it shouldn't. When it fails, it's like watching someone in an ill-fitting costume." - Character Artist
Advanced Workflow
Combine the best of each technique:
- ZBrush base for detailed anatomy
- Rigging in Blender with corrective blendshapes
- Main animation in 3ds Max
- Final render in Unreal Engine
Mistakes That Give Away Your Rig
Signs that you need to adjust your digital anatomy:
- Unnatural folds in joints
- Muscles that don't stretch/contract
- Volume loss in movements
- Interpenetration with clothing/gear
Remember: if after hours of work your digital muscles still look like stretchy putty, you can always argue it's an "extreme cartoon style"... although most likely with these techniques you'll finally achieve that anatomical realism that will make your animations shine. 🏋️♂️✨