When the Hair in 3ds Max Has More Life Than Your Character 💇♂️
Animating hair with Shag Hair can be as relaxing as combing an angry cat. You achieved that perfect look after following a tutorial lost in the annals of the internet, but now making it move naturally is another story. The challenge? Making sure it doesn't look like a plastic helmet or a flag in a category 5 hurricane. 🌪️
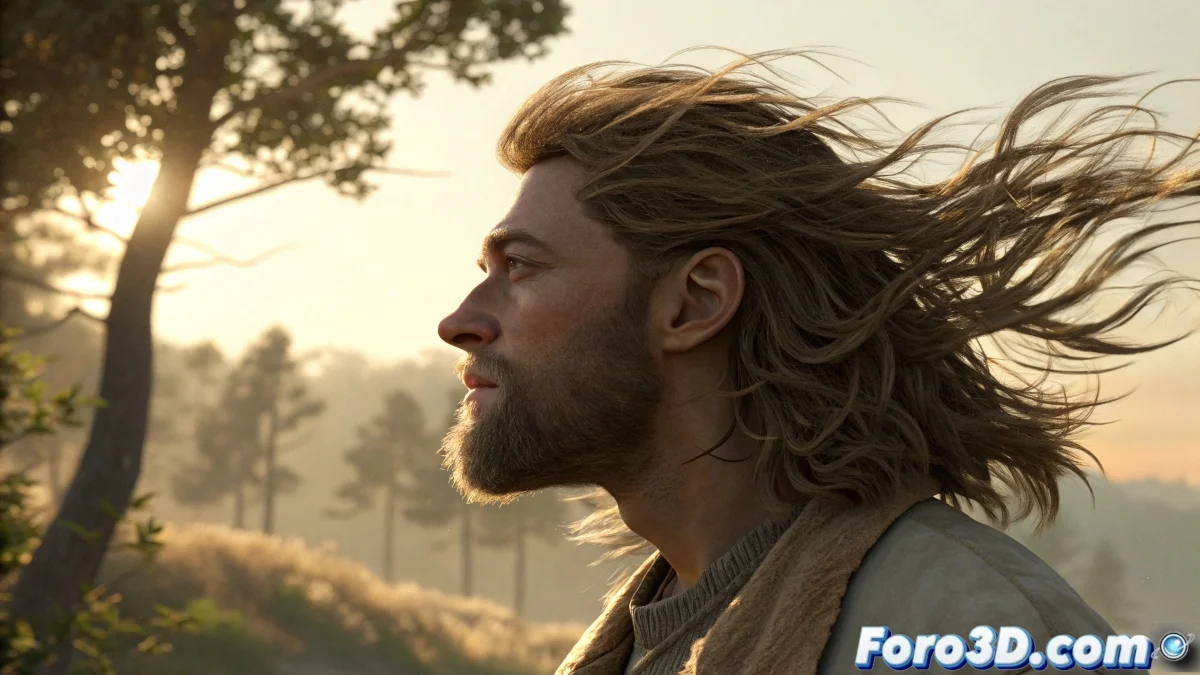
In the 3D world, there's an uncomfortable truth: hair always moves better in real life than in your renders.
Tricks So Your Digital Hair Doesn't Look Like a Plush Toy
Forget complex physical simulations and try these methods:
- Keyframe strategic splines as if they were capillary puppets
- Use the Wave modifier for that gentle sea breeze effect
- Combine Noise with amplitude controls for natural variation
- Try Particle Flow for more intense winds
A professional secret: only animate the main guides and let Shag Hair interpolate the rest. Your free time will thank you. ⏳
Workflow for Believable Hair
The magical sequence for realistic movement:
- Identify the master splines that control the global movement
- Apply deformations in layers (first general Wave, then specific Noise)
- Animate modifier parameters instead of each individual spline
- Test with simple wind forces before complex systems
Remember: perfect hair doesn't exist, but with these tricks you'll at least avoid making your character look like they're from an 80s shampoo commercial. 🚿
Plugins That Can Save Your Digital Wig
When Shag Hair falls short:
- Ornatrix: For advanced hair systems
- HairFarm: The favorite for professional productions
- Yeti: Ideal for hair and fur with complex dynamics
At the end of the day, if all else fails, you can always say your character uses too much gel. In 3D animation, as in hairdressing, sometimes less is more... except when it comes to overtime invoices. ✂️