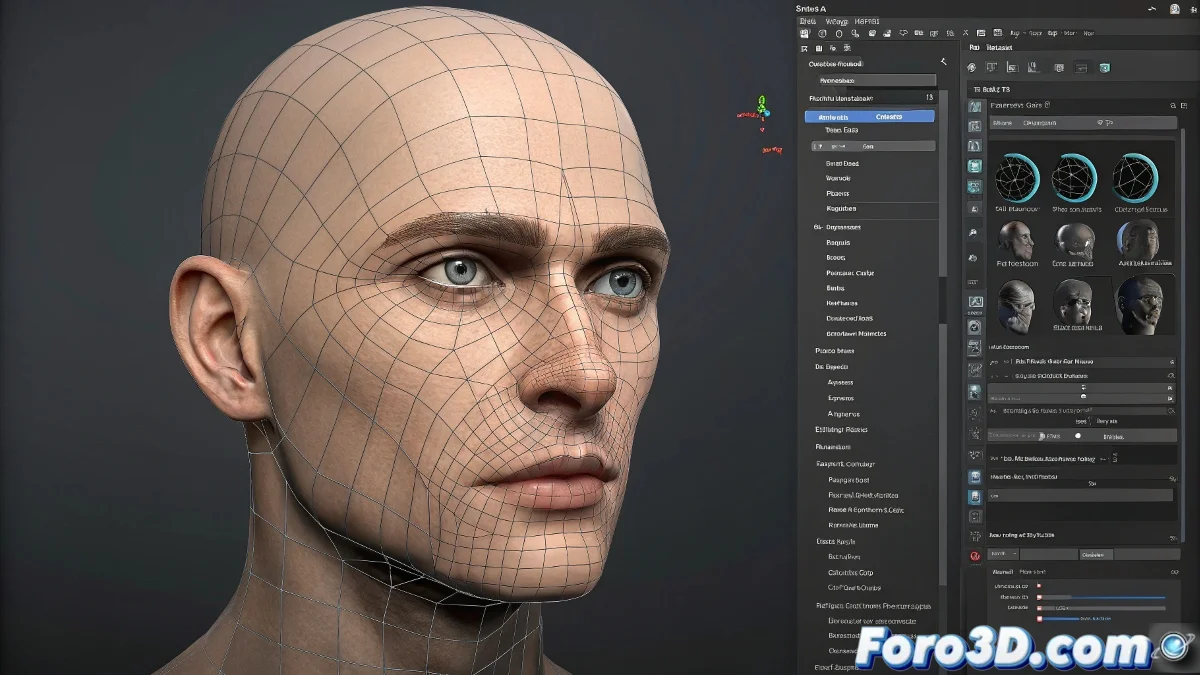
Master Facial Rigging and Organic Modeling in Cinema 4D
Working on facial rigging and character modeling in Cinema 4D can seem like a real test of patience, especially when starting to deal with the Character Object and the Expresso system. But don't worry, we've all gone through that phase where opening the Character Builder is scarier than an empty viewport after an unexpected crash 😱.
How to Start Understanding Facial Rigging in Cinema 4D
Cinema 4D's Character system is very powerful, but it has its learning curve. If you're coming from the polygonal modeling world and just entering rigging, the most recommended thing is to start by creating a base guide with the Character Builder. This system allows you to generate a basic structure of bones and facial controllers.
Once the structure is created, you can start applying deformers like Pose Morph for facial expressions and use Expresso to customize controllers. If you prefer a more artistic and less technical approach, some users export the base to software like Blender or Maya for facial rigging and then import it back to Cinema via FBX… although of course, that's entering the world of Frankenstein workflow 🧟.
Tips for Achieving Well-Defined Modeling
To make hands, faces, and other body parts not look like they're from a PS1 game, the trick is to control the polygon flow (edge loops) well and work in subdivision mode from the start. The classic combination is to work in low resolution and visualize with an active Subdivision Surface to see the smoothed result in real time.
- Study basic anatomy to understand the underlying structure.
- Use real references and orthographic views.
- Work on the edge flow thinking about future deformation from the rig.
And if all else fails, you can always say it's artistic low poly style and that's it, no one can judge you 😉.
Solutions for Animating Nurbs Objects Without Flipping
The problem of Nurbs objects flipping when traveling along a spline is more common than it seems. This happens due to how Cinema 4D interprets normals and the spline's banking. The most practical solution is:
- In the Sweep Nurbs object, activate the Rail Spline option to control orientation using a secondary guide spline.
- Check the direction of the original spline and use the Reverse Spline option if it's going in the opposite direction.
- To avoid deformations when modifying the spline, work with Up Vectors or bake the trajectory animation before making final adjustments.
Another modern option is to use Spline Wrap instead of the classic Nurbs path, as it gives you more control over the object's alignment along the curve. And done, animate without unexpected flips! 🤸♂️