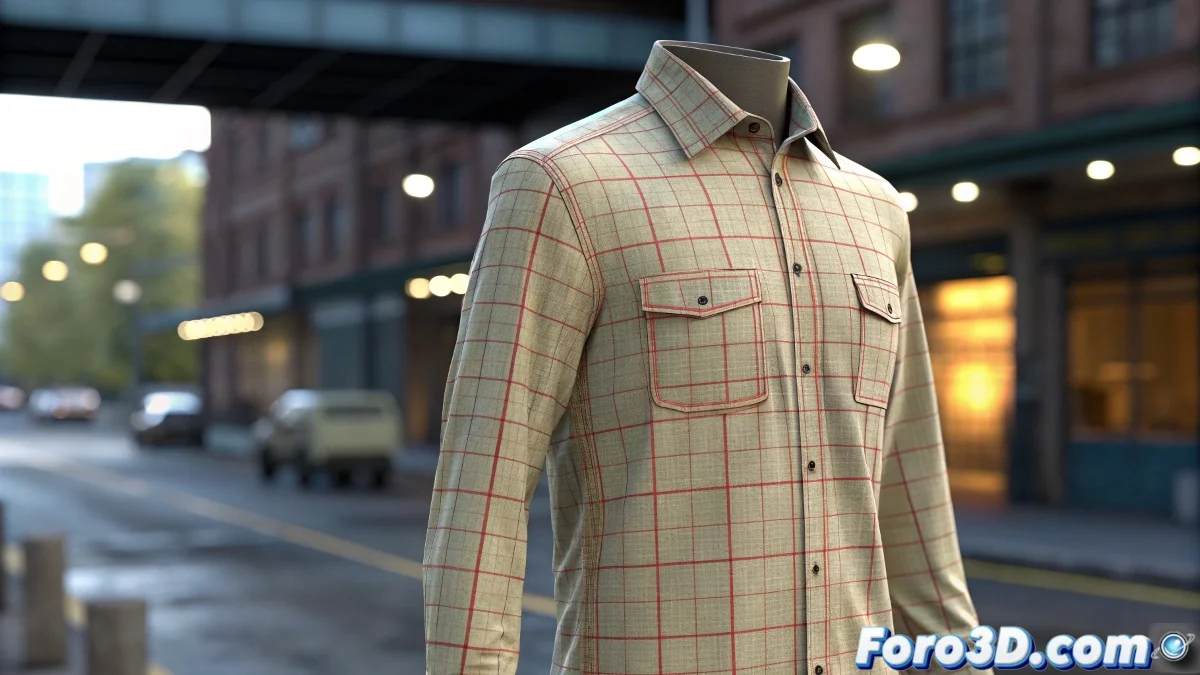
When Your Character Needs to Get Dressed (And It's Not a Metaphor) 👕
Animating clothes in Blender is like dressing a hyperactive child: if you don't do it right, they'll end up showing more than they should. The Cloth modifier is your best ally, but it needs some persuasion to cooperate. Here we show you how to avoid your character looking like they're dressing during an earthquake. 🌪️
The key is finding the balance between simulated physics and manual control, because even the best digital fabric needs adult supervision.
Prepare Your Digital Fabric Like a Pro
Before diving into simulation, make sure your garment is in good condition:
- Clean topology: No stretched polygons like gum (unless it's punk fashion)
- Personal space: Clothes need their personal space, at least 5cm digital from the body
- Applied transformations: Blender doesn't guess weird scales well
The ABCs of the Cloth Modifier
Setting up Cloth is like programming a smart washing machine:
- Adjust stiffness (so it doesn't look like paper or armor)
- Control friction (so it doesn't look like ice)
- Use Vertex Groups in strategic areas (nobody wants to see sleeves flying)
Pinning is your best friend for shoulders and collars. Without it, your shirt will try to escape the character like a teenager at a family gathering. 😅
Tricks So the "Trick" Isn't Noticeable
For professional results:
Well-configured collisions: The body must be an obstacle, not a suggestion. Try with a 5-10% error margin.
Emergency Shape Keys: When physics misbehaves, a manual touch-up saves the shot.
Simulate in parts: Torso first, then sleeves. Like dressing a drunk person, step by step.
And remember: if all else fails, you can always say it's "manga style" and that the laws of physics don't apply. 🎨 (But between us, follow these tips and no one will notice the trick).