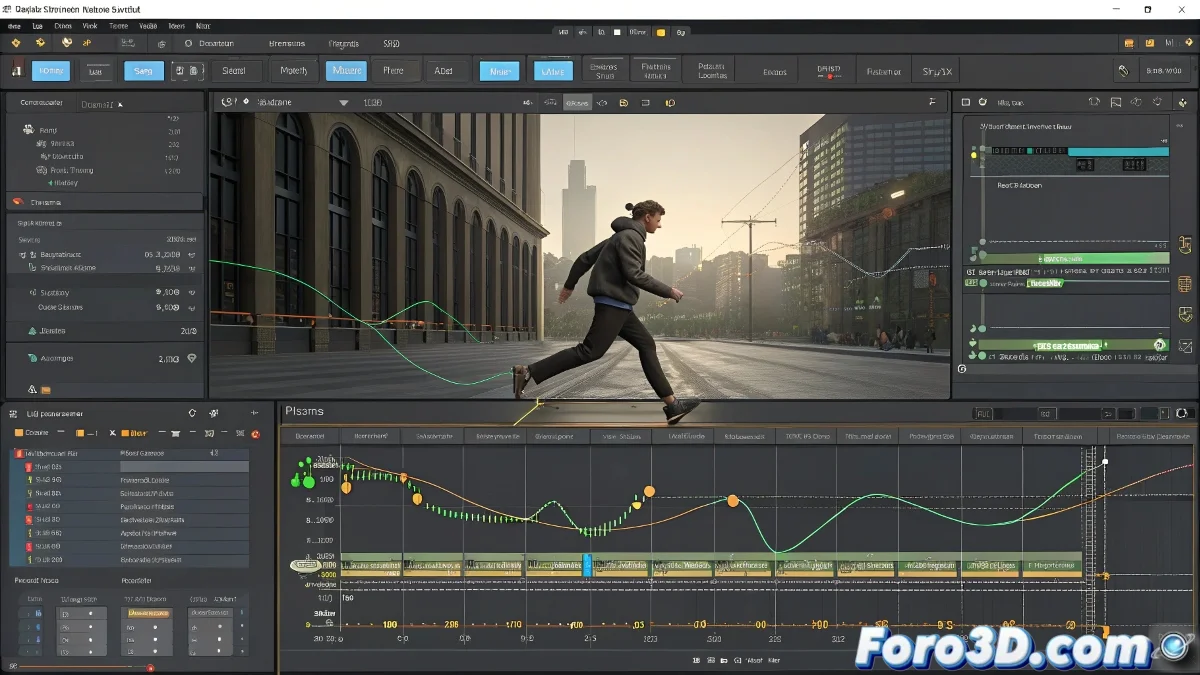
Master Animation Chaining with Motion Flow in 3ds Max
Does your Biped character seem to have existential crises between animations? 🕺💥 Motion Flow is the solution for creating perfect transitions between movements, even if at first it feels like you're programming a robot with Parkinson's. But don't worry, with these steps you'll make it flow like a professional dancer. 💃
Basic Setup: Your First Motion Flow
- Activate Motion Flow Mode (Biped tab)
- Load your .bip animations as individual clips
- Connect them in the Motion Flow Graph
That's it, you already have the skeleton of your animated sequence. Now comes the good part: making it not look like a Frankenstein montage. 🧟
Fine-Tuning Transitions Like a Pro
The Transition Editor is your best ally:
- Adjust blend curves to smooth changes
- Control the exact timing of each transition
- Test different blend lengths between animations
A good transition in Motion Flow is like a good video edit: if you do it right, no one notices the cut; if you do it wrong, it looks like a reality glitch.
Generating Your Final Animation
When everything fits:
- Create a Scripted Sequence
- Apply it to the Biped
- Export as editable animation (Convert to Freeform)
Common Mistakes (and How to Avoid Them)
Don't let it happen to you like it does to 90% of animators:
- Don't forget to keyframe neutral poses between transitions
- Avoid abrupt changes in speed or direction
- Check that the feet don't float during blends
With these tricks, your character will go from moving like a robot to dancing like Beyoncé. And when it finally works, celebrate like you won an Oscar... because mastering Motion Flow well deserves one. 🏆
Animator Bonus: If after hours of work your character is still doing involuntary breakdance, you can always say it's an "innovative artistic style". Creativity to the rescue! 😅