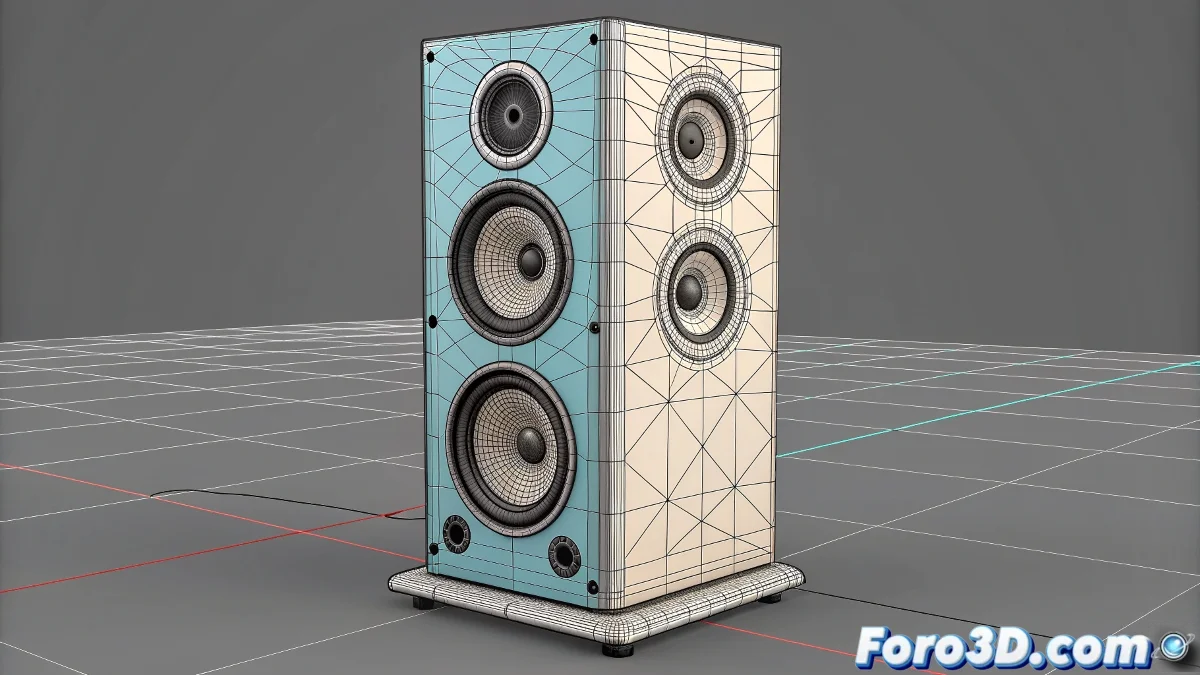
The Challenge of Taming Rebellious Clusters in Maya
Working with lattices and clusters in Maya is a powerful way to deform meshes organically, until you try to make a fine adjustment on a single axis and nothing happens 🎛️. The frustration comes when you select a cluster with the scale tool, drag the X axis, and the geometry refuses to move or, worse still, deforms in a completely unexpected direction. This behavior is not a bug, but a consequence of how clusters inherit the orientation and coordinate system of the parent lattice, which is often not aligned with the world.
The Heart of the Problem: Conflicting Coordinate Systems
A cluster in Maya is essentially a transformation handle that controls a group of vertices or CVs. When created from a lattice, its default orientation is tied to the lattice's local space. If the lattice is rotated or scaled non-uniformly, the cluster's local space will have skewed axes. When trying to move or scale on a global axis (like World X), the transformation tool interprets that action in the cluster's twisted space, resulting in minimal or multi-directional changes instead of the clean, axis-locked movement you seek.
A cluster with a misaligned pivot is like a screw with a stripped head; no matter how much you turn the screwdriver, it won't move.
The Solution: Reorient the Pivot and Change the Mode
The solution has two parts: reposition the pivot and change the transformation mode. First, select the cluster. Activate the Move Tool (W) and press the Insert key (or D to activate pivot editing) to enter pivot editing mode. Move the cluster's pivot to the exact location from where you want to manipulate the geometry. Then, press Insert or D again to exit the mode. Now, crucially, in the transformation toolbar, change the Coordinate System from Local to World. This forces the tool to interpret the X, Y, Z axes in relation to the global world, not the cluster's twisted space.
Alternative Tools: Soft Modification and Axis Restriction
If adjusting the pivot is not enough, Maya offers other tools. The Soft Modification Tool (key B) is excellent for smooth deformations and often responds better to individual axis manipulation when applied over an influence area of a cluster. Additionally, you can use axis restriction directly in the Channel Box. Select the cluster, and in the Channel Box, click on the name of the transformation attribute you want to manipulate (e.g., Translate X). Hold the middle mouse button and drag in the viewport to change that specific value without affecting the other axes.
Workflow for Precise Control
For frustration-free manipulation, follow this workflow:
- Selection and Visualization: select the cluster and activate component visualization (Show Components) to see the manipulation axes.
- Pivot Adjustment: use Insert/D to place the pivot at the center of the desired deformation.
- Switch to World Mode: in the toolbar, ensure the coordinate dropdown says World.
- Manipulation: use the handles of the Move, Rotate, or Scale Tool to manipulate on the desired axis.
- Restriction in Channel Box: for precise numerical adjustments, use the Channel Box fields.
- Test and Repeat: if the deformation is not correct, repeat the process or consider recreating the cluster with the lattice better aligned to the world.
By mastering this control over clusters, you'll stop struggling with deformations and start sculpting with precision. And when that lattice finally bends exactly as you want, you'll feel like you've tamed a digital beast 😉.