The Art of Color-Changing Smoke
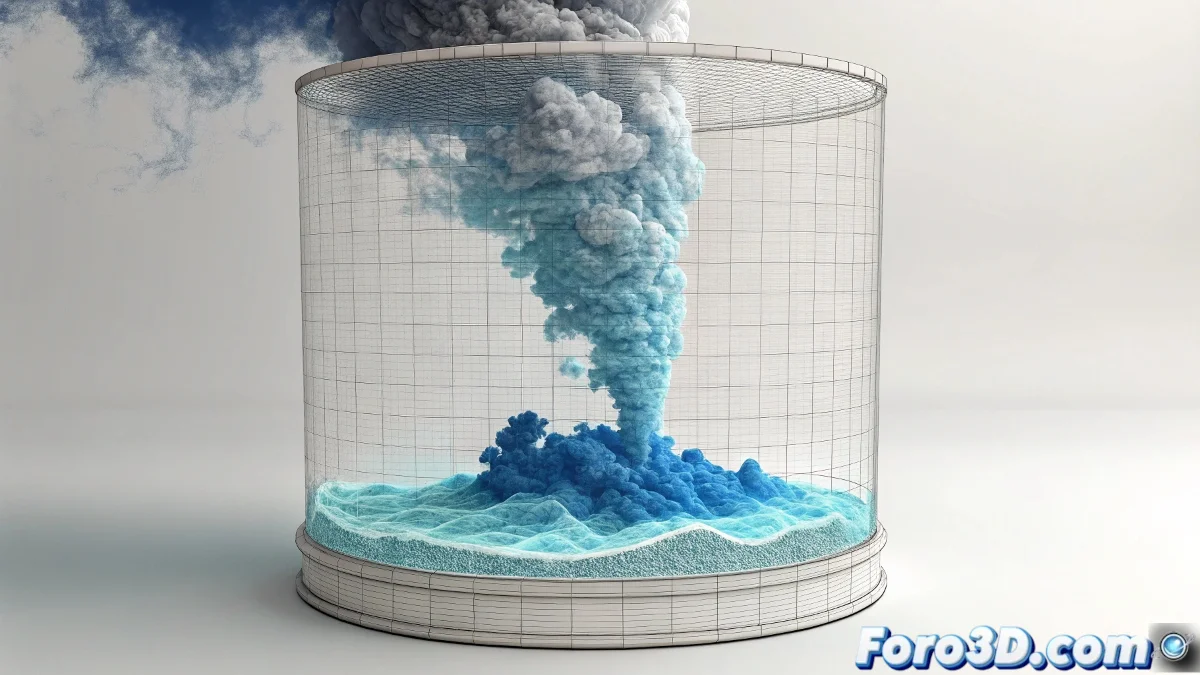
Perfect that you're using a 3D container with an emitter! That makes changing the smoke's color much simpler than you imagine. In Maya, smoke doesn't have a fixed color, but rather it's controlled by what are called color ramps that you can animate to create smooth transitions like the one you're looking for, from blue to white.
The secret is that the smoke's color isn't a single property, but a combination of how it responds to lighting and its own color and opacity values. By animating these parameters over time, you can create that magical transformation you describe.
In Maya, colored smoke is like a volumetric chameleon: it can transform smoothly over time
Basic Smoke Material Setup
First, you need to find where the smoke colors are controlled. In the fluid container, look for the Shading section where all the color options are.
- Open container attributes: select the fluid container and press Ctrl+A
- Go to Shading tab: here you control the visual appearance
- Find Color: in the Color section
- Find Opacity: right below Color
Animating the Color Transition
To change from blue to white, you need to animate the Color Input and possibly the opacity. Maya uses a ramp system where you can define how color maps to the smoke.
Right-click on the Selected Color attribute and choose Set Keyframe. Then go to the frame where you want the change to start and set the blue color, and at the final frame set the white color with another keyframe 😊
- Initial frame: blue color (R:0, G:0, B:1 approximately)
- Final frame: white color (R:1, G:1, B:1)
- Smooth transition: Maya interpolates automatically
- Animation curve: adjust to control speed
Color Ramp Method (recommended)
The most professional way is to use a Ramp node for the color. This gives you total control over the transition and is easier to adjust.
Create a Ramp node in the Hypershade and connect it to the fluid shader's color. Then animate the position of the colors on the ramp to create the transition.
- Create Ramp node: in Hypershade, Create > 2D Textures > Ramp
- Set up colors: blue at bottom, white at top
- Animate position: keyframe the white color position
- Connect to fluid: from ramp.outColor to fluid.color
Simple Technique for Beginners
If the above seems complicated, there's a more direct method using only keyframes on the basic color values.
Simply go to the frame where you want the change to begin, set the blue color with a keyframe, then advance to the frame where you want it to end and set the white color with another keyframe.
- Select fluid container: in viewport or outliner
- Open Attribute Editor: Ctrl+A
- Find Color: in Shading tab
- Set Keyframe: right-click on the color
Opacity Control During the Change
To make the effect more realistic, you should also animate the opacity. White smoke is usually denser and more opaque than colored smoke.
By animating the Opacity Input along with the color, you'll create a more believable transition where the smoke not only changes color but also apparent density.
- Opacity Input: animate from low to high values
- Opacity ramp: use curve for precise control
- Sync with color: same keyframes or slightly offset
- Transparency: adjust if smoke becomes too dense
Render Optimization with Animated Colors
When animating colors in fluids, rendering can become slower. These tips will help you keep reasonable render times.
Use an appropriate simulation resolution for your shot and consider rendering by layers if the effect is very complex.
- Resolution: no higher than necessary
- Cache the simulation: before adjusting colors
- Render layers: separate smoke from other elements
- Preview quality: use low quality during tests
Common Troubleshooting
If the color change doesn't work as expected, here are the most frequent problems and their solutions.
The most common error is forgetting to set keyframes or setting them on the wrong parameters. Always check in the Graph Editor that the keyframes are where they should be.
- Color doesn't change: check keyframes in Graph Editor
- Abrupt transition: adjust animation curve tangents
- Render different from viewport: check lighting and shaders
- Visual artifacts: adjust fluid quality
Step-by-Step Workflow
Follow this simple process to ensure success. Don't skip steps and you'll see everything work perfectly.
Start with a simple simulation and few frames to test the technique before applying it to your full animation.
- Step 1: Simulate smoke without color animation
- Step 2: Go to the frame where the change should begin
- Step 3: Set keyframe with blue color
- Step 4: Go to final frame and set keyframe with white color
After following these steps, your smoke will perform that magical transformation from blue to white right when you need it, creating an effect that will surely impress in your project 🌫️