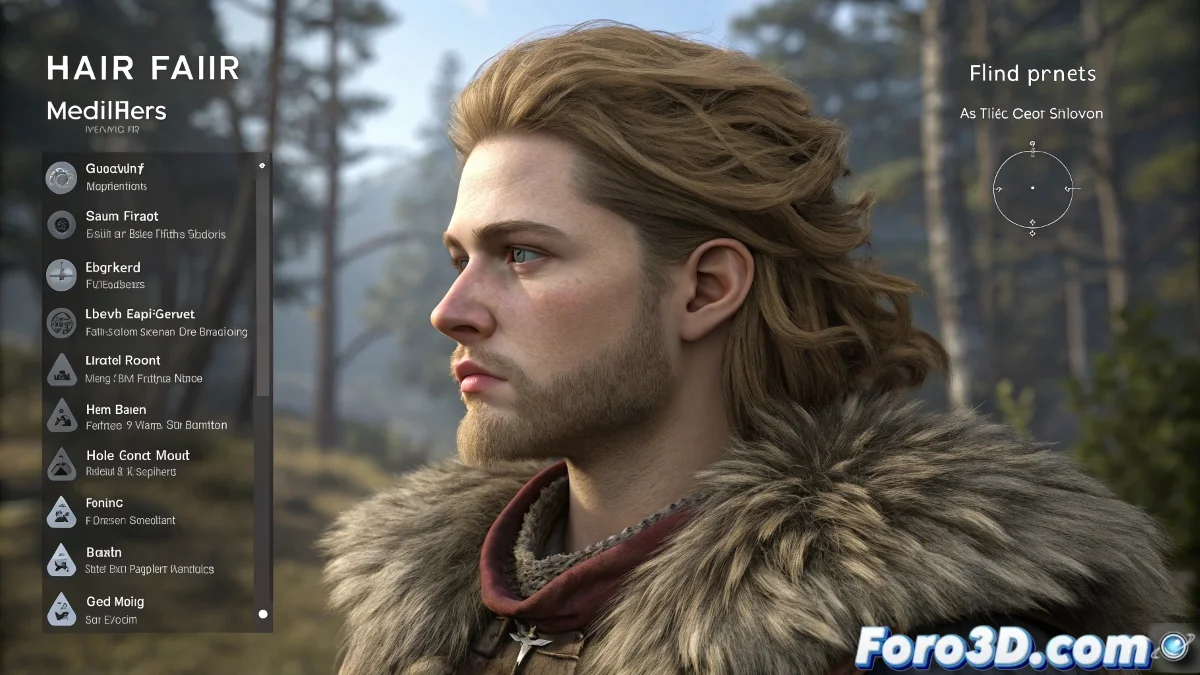
The Drama of Perfect Hair in Viewport That Gets Ruined When Rendering ✨💇
You've created the perfect mane with Hair and Fur in 3ds Max, it looks divine in the viewport... but when rendering it seems like your character went through a paper shredder. This reality clash between preview and final render is more common than you think, and the solution lies in understanding how the render engine interprets your hair.
The 4 Pillars for Perfect Rendered Hair
| Element | Viewport | Render | Solution |
|---|---|---|---|
| Material | Basic Shaders | Complex Hair Shader | Set up specularity and transparency |
| Lighting | Approximate Lights | Real Physical Shading | Adjust intensity and shadows |
| Geometry | Simplified Guides | Full Fibers | Regulate density and thickness |
| Quality | Quick Previz | Detailed Sampling | Increase antialiasing |
Professional Workflow
- Preview with Render Region (it will save you hours of waiting)
- Adjust the Hair Shader according to your render engine:
- Arnold: Use aiStandardHair
- V-Ray: Try VRayHairMtl
- Scanline: Optimize the native material
- Control the lighting with soft light and global illumination
- Test with different modes (Geometry vs Buffer)
"3D hair is like makeup on television: what seems exaggerated in person is perfect on camera"
Last-Minute Tricks
- For quick renders: Use the Buffer method with opacity maps
- For maximum realism: Switch to Geometry and increase segments
- If the hair looks plastic: Add color variation with maps
- When everything fails: Try plugins like Ornatrix or Yeti
Remember: achieving perfect hair is 30% technique and 70% patience. And if after all your character looks like they had a bad day at the hairdresser, you can always say it's an intentional artistic style... until you master the art of digital hair styling 💇♂️.