Light Painting Photography: Drawing in the Dark
This creative technique allows you to paint with light directly in the air, capturing trails and shapes that the human eye cannot see statically. It is based on using a prolonged exposure in complete darkness, where a light source that you control becomes the brush. The camera, stationary on a tripod, only records the bright path left by the light, creating magical and ethereal images. ✨
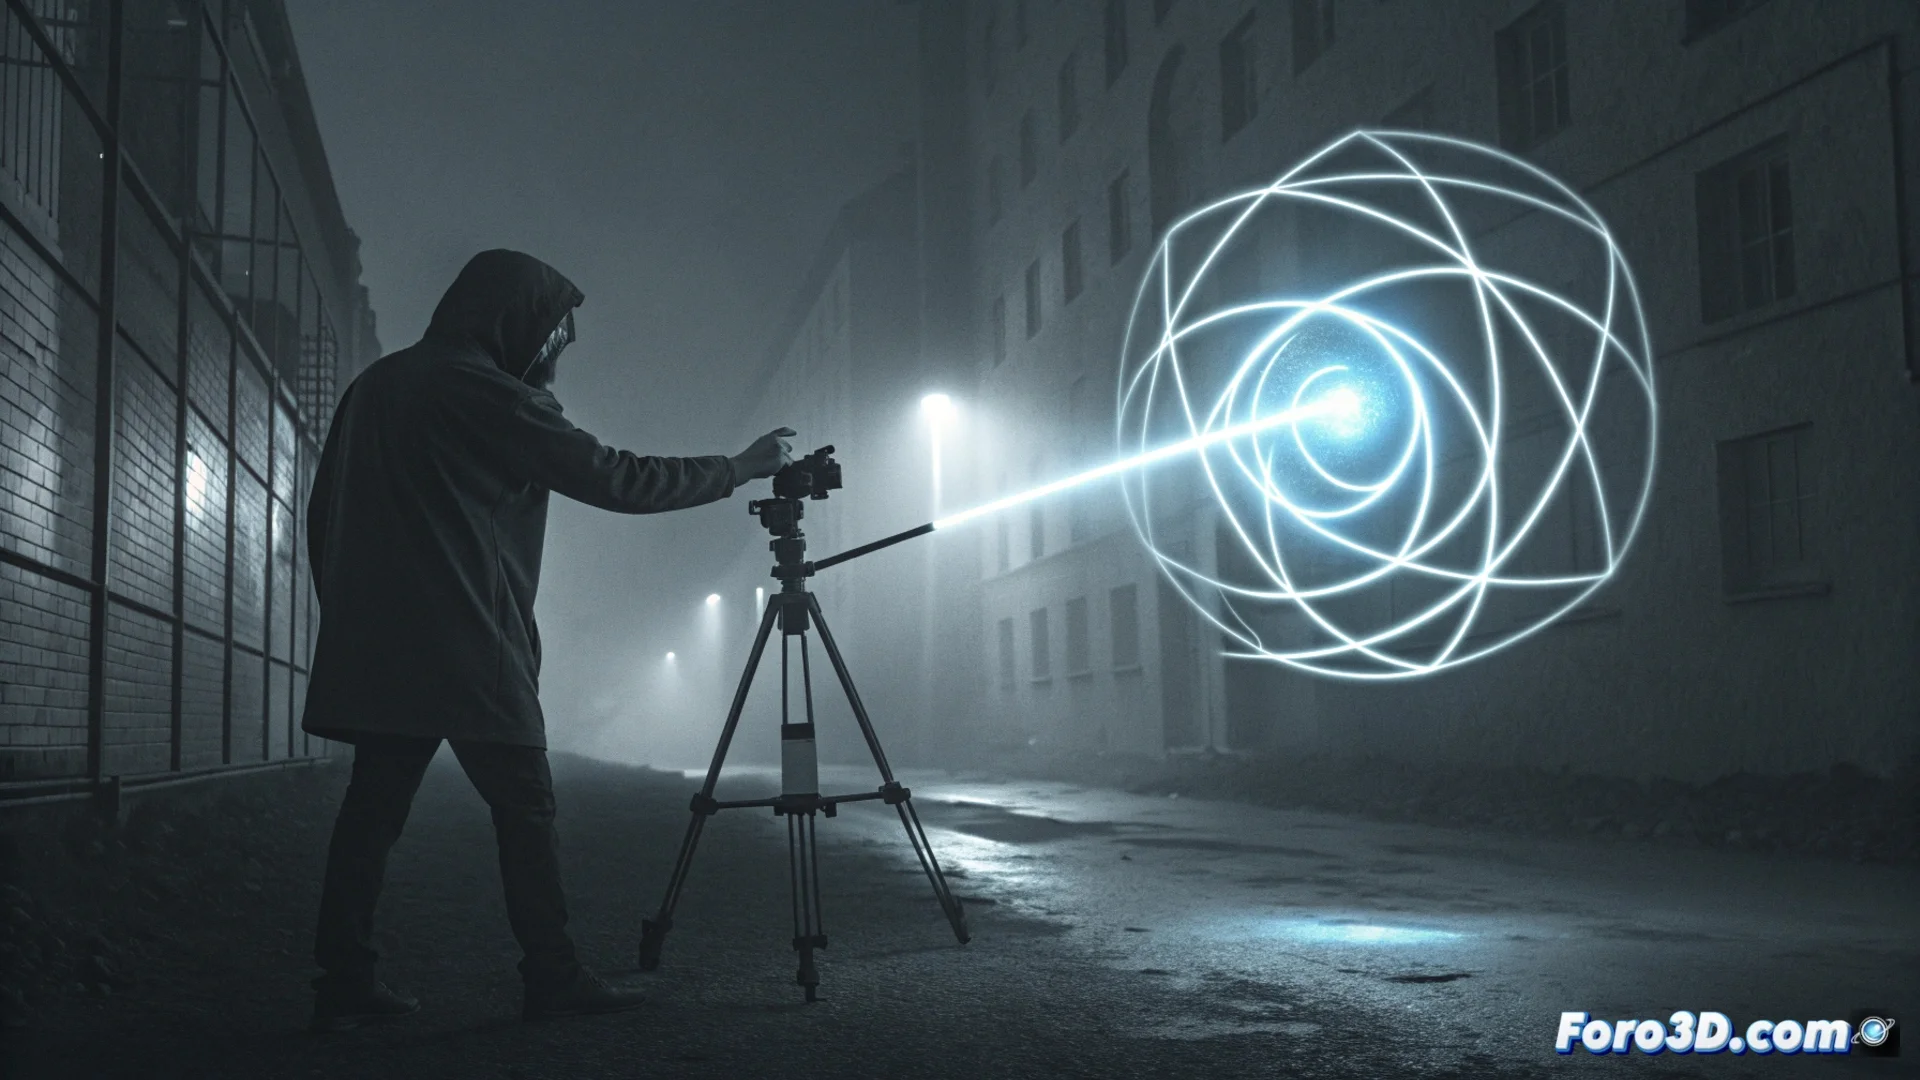
Set Up Your Equipment to Capture the Light
To get started, you need a camera that allows you to operate in manual mode, a wide-angle lens, and a stable tripod. Set a low ISO (100 or 200) to minimize digital noise. Select a medium aperture, around f/8, to achieve good sharpness throughout the trail. The exposure time is variable; start with 10-15 seconds and adjust it depending on how complex your design is. Focus manually on the area where you will move the light and use the camera's timer or a remote shutter release to avoid any vibration when pressing the button.
Essential Setup List:- Camera in manual mode (M) with ISO 100 for maximum cleanliness.
- Medium aperture (f/8 to f/11) to achieve sufficient depth of field.
- Long exposure time, adjustable from several seconds to minutes.
- Prefocused manual focus on the work plane.
- Shutter release with timer or remote control for maximum stability.
- Completely dark environment so that only the light trail is visible.
The key is that the camera integrates all the light it receives while the shutter is open, transforming a movement into a permanent drawing.
Select and Control Your Light Tools
You can use various sources: small LED flashlights, electroluminescent rods (EL wire), or even a smartphone screen. It is essential that you can turn it on and off instantly with a switch. A vital trick: if you want to write words, you must draw them in mirror image and from right to left so that they read correctly in the final photo. Practice the movement several times without the camera to memorize the path. During the shot, keep the light source pointing toward the lens and move at a constant pace to achieve a uniform and bright trail.
Recommended Light Sources and Tips:- LED flashlights with adjustable focus for fine or thick trails.
- Electroluminescent rods or wires for continuous colored lines.
- Mobile device screens with solid colors or images.
- Practice the movement before recording to perfect the shape.
- Keep the light directed at the camera throughout the entire path.
- Wear dark clothing and move quickly to avoid appearing in the photo.
Avoid Common Mistakes in the Technique
A common mistake is accidentally illuminating yourself or your clothing. If the light grazes your body, even if you're wearing dark clothes, you can appear as a blurry silhouette or a "ghost" in the shot, ruining the purity of the light drawing. To avoid this, be aware of the orientation of your light source and maintain a safe distance between it and yourself. Plan well the gesture you want to capture, as the camera will record everything without the possibility of editing during the process. With practice, you can create everything from simple light signatures to complex scenes and abstract portraits. 🎆