Learn to Draw with the 360-Degree Sketch Technique
This method encourages you to circle around a stationary model and capture its outline from eight different positions on a single page. 🎯 It works with any static element, such as a sculpture, utensil, or everyday object. The goal is not to achieve photographic precision, but to grasp the three-dimensional essence of the form through quick and synthetic strokes.
Step-by-Step Process to Capture the Form
You position yourself in front of the object and outline its main silhouette with decisive lines, ignoring internal details. Then, you move around it in 45-degree increments, repeating the drawing gesture until completing a full circle. This cycle forces you to process spatial information globally and translate it into simple marks.
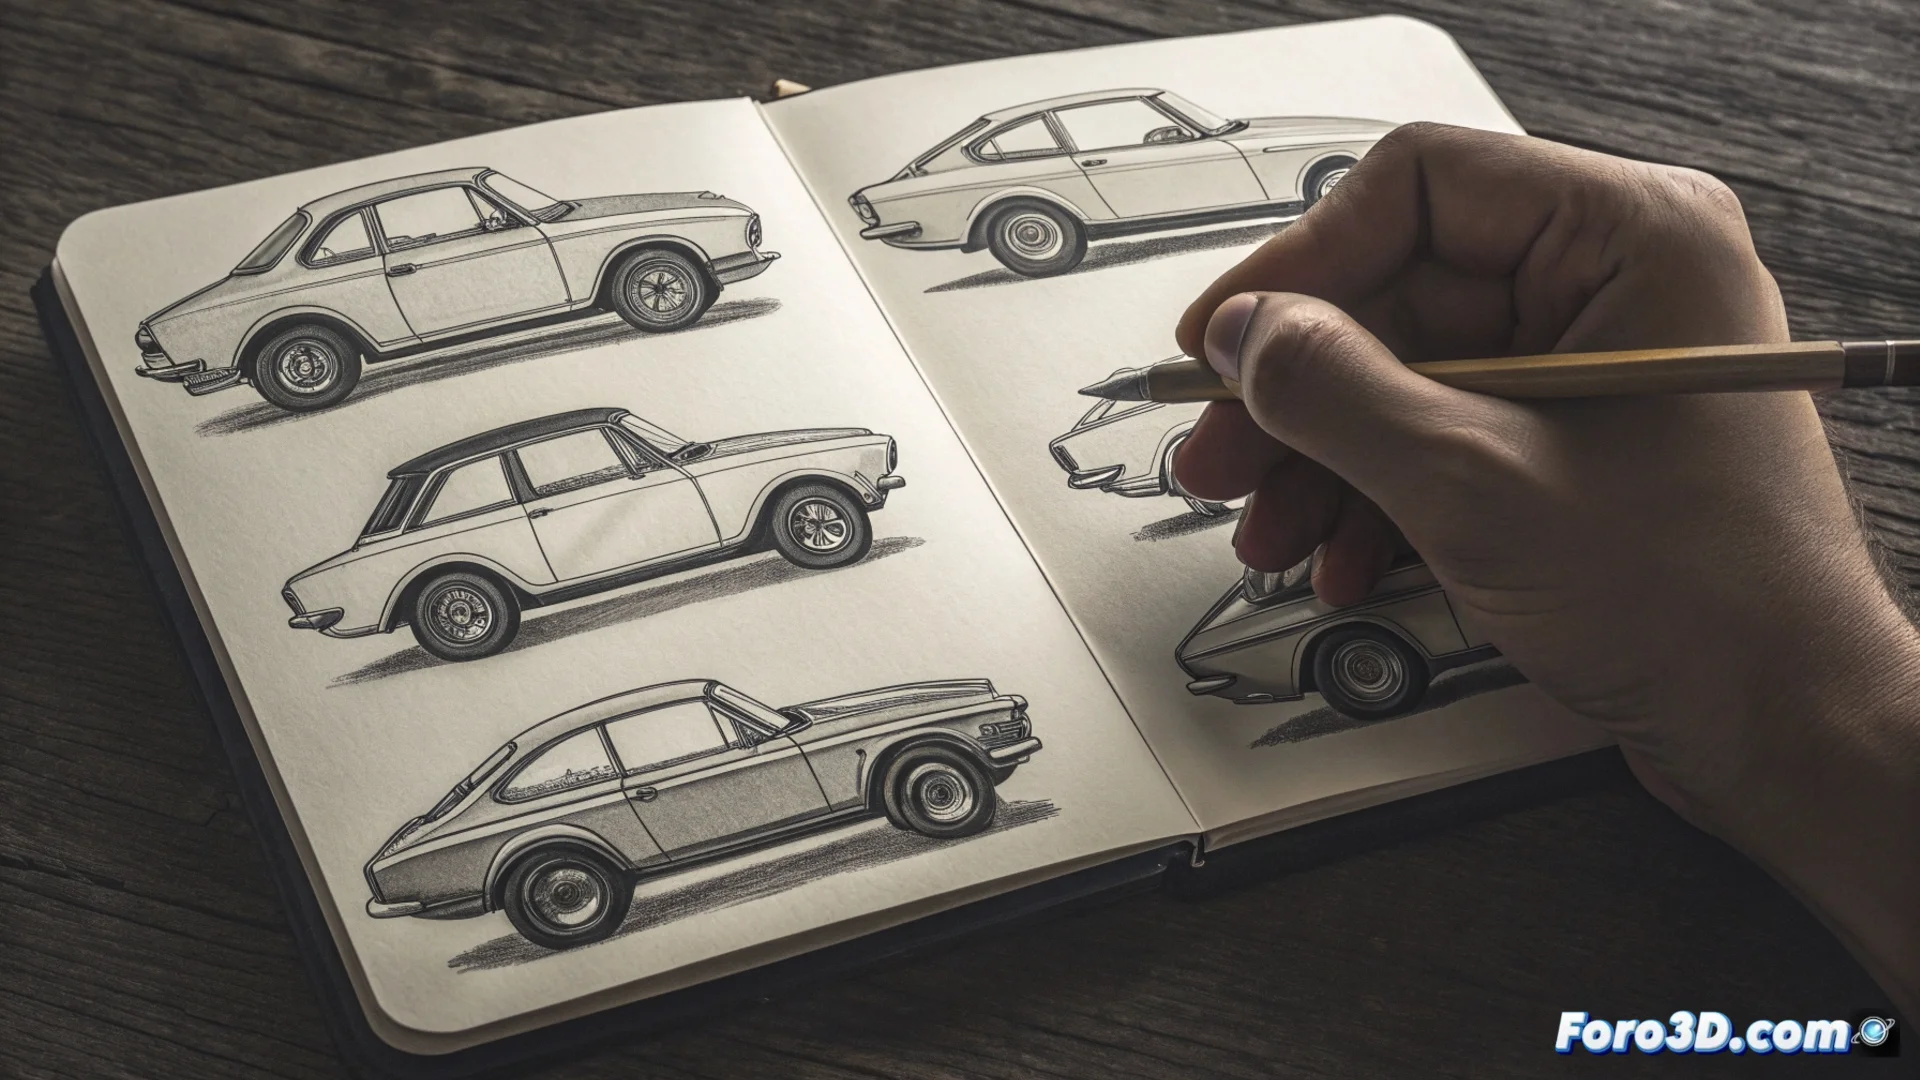
Key Elements to Get Started:- Static Model: Choose plaster figures, miniature vehicles, furniture, or containers that won't move.
- Quick Outline: Focus only on the line that defines the outer boundary of the object in each view.
- Systematic Rotation: Move in a circle, drawing a new silhouette every 45 degrees.
The real challenge arises when the chosen object is your own empty coffee cup, and you realize you have to draw it eight times before you can refill it.
Advantages of Drawing from Multiple Viewpoints
By representing the same subject from varied angles, your brain better understands its structure in space. Your hand trains to interpret how volumes rotate and how some parts hide while others reveal themselves. This practice is essential for those designing characters, scenes, or vehicles, as it develops the ability to visualize complex objects coherently. Additionally, it speeds up your process by teaching you to make decisions, selecting only the lines that communicate the main gesture.
Direct Benefits of the Practice:- Understand the Structure: You perceive how the object is organized in three dimensions.
- Train Hand and Eye: You learn to translate the rotation and overlapping of forms.
- Make Agile Decisions: You practice choosing defining lines and omitting the superfluous.
How to Plan Your Sketching Session
Use a generous format paper, such as A4 or A3. Divide the surface into eight areas, one for each perspective. You don't need a perfect grid. Start with the front view and continue clockwise. Assign a short time to each sketch, between thirty seconds and two minutes. This limit forces you to work with speed and confidence, prioritizing the overall impression over finishes. Use tools like a soft pencil or a fine-tip marker to resist the temptation to erase. The final result will be a page populated with silhouettes that, together, tell the complete story of the object's form. ✏️