Taming Facial Expressions in Softimage XSI Like a Professional
The XSI Shape Manager is like that messy drawer where you keep all your character's facial expressions 🎭. The magic happens when you learn to bring those shapes to the Timeline, transforming static poses into fluid animations that will bring your creations to life. And even though it might seem like you're juggling keyframes at first, the process is simpler than you think.
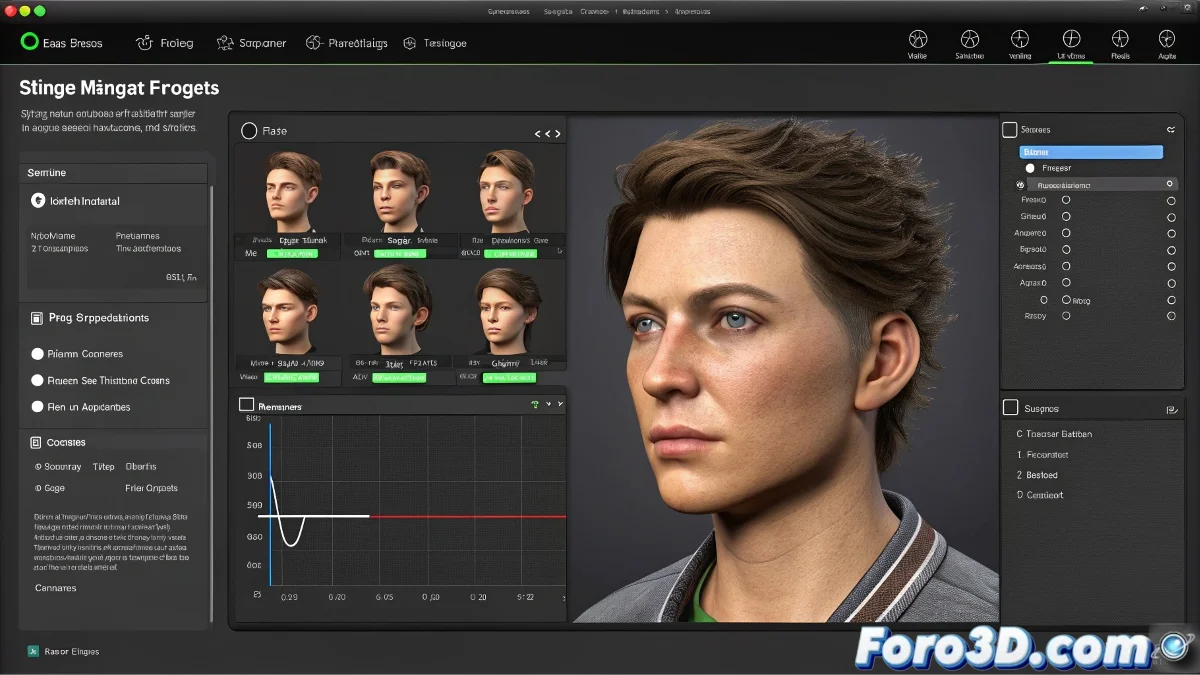
From Static Shapes to Expressive Animation
The essential workflow for animating morph targets includes:
- Preparation: verify that the shapes are correctly configured
- Strategic Keyframing: marking the key moments of the performance
- Fine-tuning: polishing the transitions in the curve editor
"Animating shapes in XSI is like teaching a digital actor to move their eyebrows: it requires patience and lots of test keyframes"
Step-by-Step Guide Without Losing Your Sanity
To transfer your shapes to the Timeline like an expert:
- Select the desired morph target in the Shape Manager
- Position the time cursor on the starting frame
- Adjust the intensity (0-1) and press S to set the keyframe
- Repeat on the key frames to build the performance
The beauty of the system is that XSI handles the interpolations, automatically smoothing the movements between keyframes ✨. Although sometimes you'll need to dive into the curve editor to tame those rebellious transitions.
Common Mistakes and How to Avoid Them
Even the most experienced animators stumble with:
- Forgetting to reset values before starting a new take
- Using too many keyframes, creating robotic animations
- Ignoring the curve editor and its power to refine movements
When all else fails, remember that even the strangest facial expressions can become material for your next showreel. After all, what would animation be without a bit of exaggerated facial drama? 🎬