Layered Animation Workflow with Openshot and Kdenlive
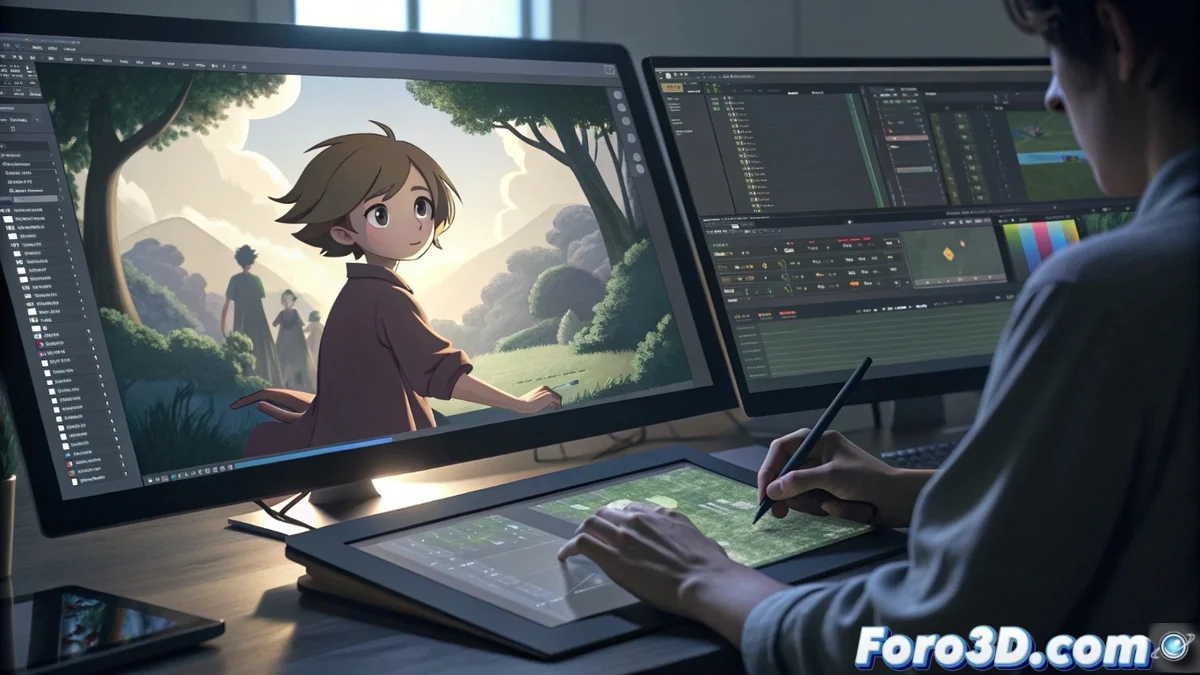
For creators using 2D animation software like Krita or OpenToonz, dealing with complex scenes can become a bottleneck if everything is condensed into a single video file. The key to agile post-production lies in implementing a methodology of independent layers, using a non-linear video assembler like Openshot or Kdenlive. This technique allows exporting each visual component in isolation, preserving its transparency through the alpha channel. Thus, characters, scenarios, and effects become modular clips managed on the editor's timeline, providing unprecedented creative freedom to modify timings, positions, and properties without constantly returning to the original animation program. 🎬
Preparation and Modular Export from Animation Software
The first fundamental link is to set up the output from your animation tool. Both Krita and OpenToonz offer the possibility to render image sequences in formats that preserve transparency, such as PNG or TIFF. Instead of generating a monolithic video, the strategy is to export by functional groups. This means creating a sequence for the static background, a different one for each animated character, and another for dynamic elements like particles or flashes. It is vital to ensure that all these sequences share the same number of frames and resolution, guaranteeing perfect synchronization when loaded into the video editor.
Key Advantages of Layered Export:- Maximum Individual Control: Each element (character, background, effect) becomes an independent and editable asset.
- Preserved Transparency: The alpha channel maintains transparent areas, allowing clean compositions.
- Unlimited Iteration: You can modify a single element (e.g., a character's color) and re-export only that sequence, without touching the rest of the scene.
This method transforms the tedious cycle of rendering, viewing, correcting, and re-rendering into a dynamic and real-time adjustment process.
Advanced Composition in the Non-Linear Video Editor
Upon importing the individual sequences into Openshot or Kdenlive, the creative assembly phase begins. Each sequence is assigned to a separate video track, stacking in a manner similar to layers in an image editor. Thanks to transparency, the elements combine visually. The power of this system lies in the granular control it provides: it is possible to trim clips to adjust synchronies, apply color filters or corrections to a specific layer, and animate scale or position to simulate camera movements or parallax effects that were not in the original plan. 🧩
Highlighted Features in Composition:- Non-Destructive Timing Adjustment: Delay or advance the entry of any element with simple trims on the timeline.
- Layer-Specific Effects: Apply blur, brightness, or saturation only to a specific character or background.
- Property Animation: Create keyframes to move, rotate, or scale elements directly in the video editor, adding extra dynamism.
- Blend Modes (Kdenlive): For more sophisticated integrations, use modes like "Multiply" or "Overlay" for realistic light and shadow effects.
Revolutionizing the Final Creative Process
Adopting this layered workflow represents a paradigm shift. The main concern stops being the waiting time for complete renders to become fine creative decisions, such as the exact duration of a transition or the intensity of a visual effect. It is the difference between working with a solid block that must be completely redone for any change, and having the malleability of modeling with digital clay, where each component is flexible and adjustable at any time. This methodology not only optimizes time but also expands artistic possibilities during the final composition phase. ✨