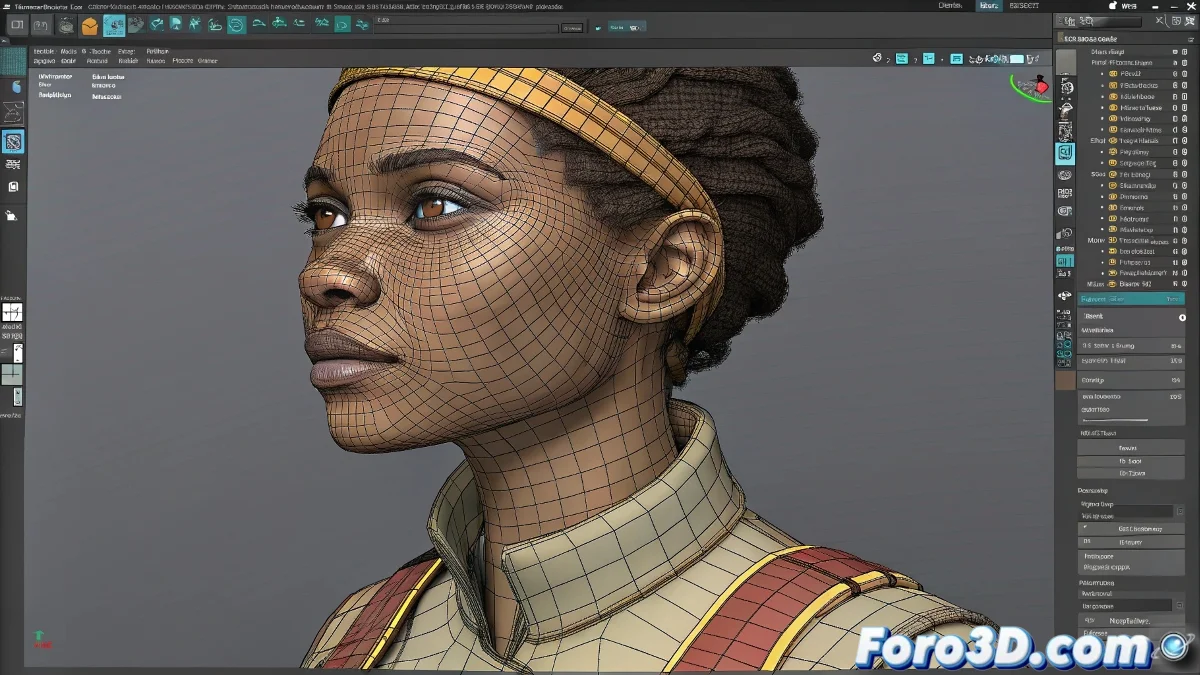
When Your Rig Seems More Protected Than a Swiss Bank 🏦
It's frustrating: you need to adjust that mesh but the professional rig you downloaded won't even let you select a vertex. Before giving up, understand that this "excessive protection" has a good reason - to prevent you from ruining months of rigging work with an accidental click.
Unlocking the Geometry Without Causing a Disaster
In Autodesk Maya:
- Open the Outliner (not the normal view) 🗂️
- Select the base mesh (it's usually hidden in the hierarchy)
- Go to the Attribute Editor → Transform tab
- Right-click on the locked attributes → Unlock Selected
- Repeat for Visibility and other relevant attributes
"Riggers lock meshes for the same reason parents hide knives: they know you could hurt yourself (the model)" - Rigging Technician
Safe Editing Without Touching the Rig ⚠️
Safer alternatives than modifying the mesh directly:
- Assignment by Materials: Create new shaders and assign them to specific faces
- Texture Masks: Use ID channels in Substance Painter or Mari
- Temporary Deformers: Apply blendshapes or clusters only to your version
- Controlled Duplicate: Create an editable copy while keeping the original
Common Problems and Express Solutions
- 🔒 "I Can't Select Anything": Check if the model is in reference mode (import the complete scene)
- 🎨 "Materials Won't Apply": Verify that the Assign New Material option is active
- 👻 "Changes That Disappear": Some rigs have reset systems - save incremental versions
When All Else Fails... Plan B
If the rig still resists:
- Export only the geometry as OBJ/FBX
- Make your modifications in a new scene
- Import it back as a morph target or skin wrap
- Or better yet: ask the original rigger for advice
Remember: editing a locked rig is like open-heart surgery... without gloves. Technically possible, but better to know exactly what you're doing. When you finish, consider locking the attributes again - that protected rig saved your model from many mistakes before it reached you. 🛡️