How to Fix Endstop Sensor Failures on a 3D Printer
It is common for a print to be abruptly interrupted with an error message related to the axes. This problem, which usually manifests when trying to home or start a job, indicates that the machine cannot reliably establish its origin point. Behind this are mechanical, electrical, or configuration causes that we can diagnose and repair. 🛠️
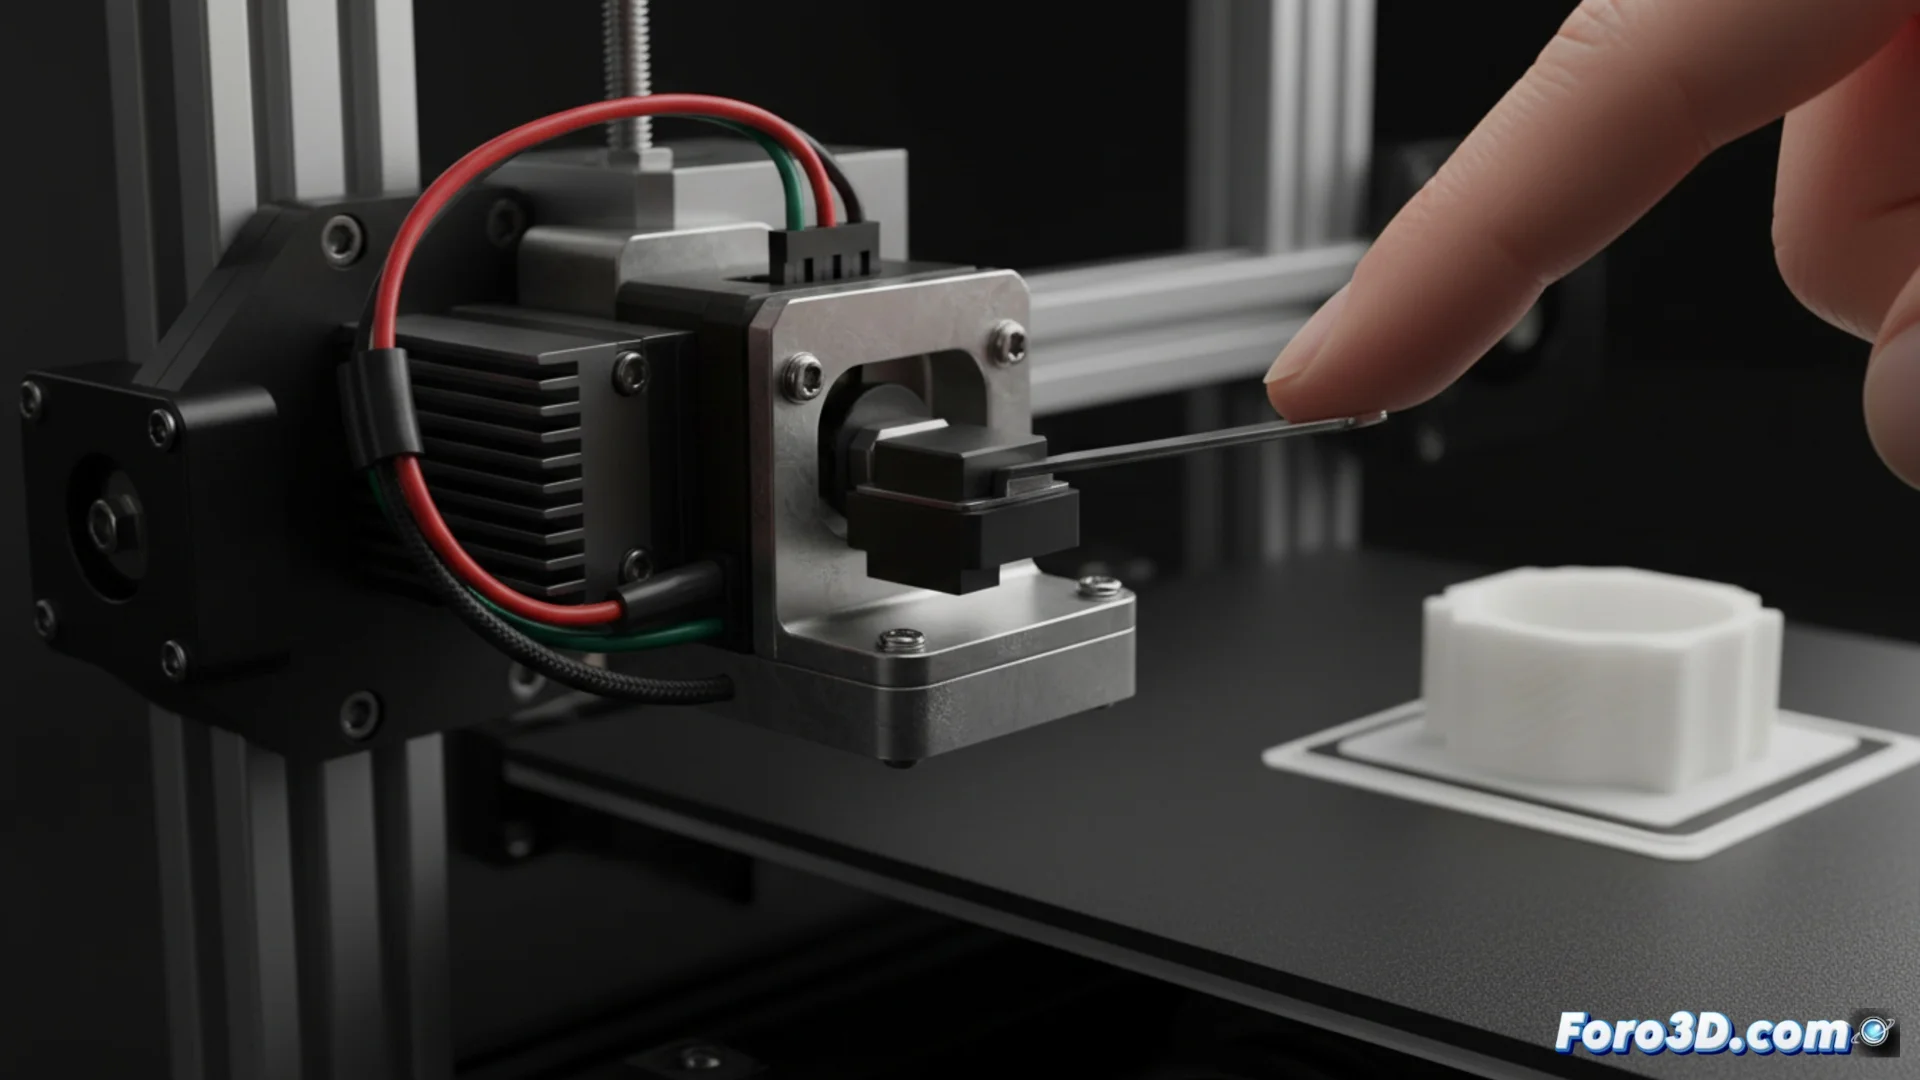
Locate and Remove Physical Blockages
The first step is always to inspect the hardware. An obstacle that prevents the full movement of the carriage or bed will prevent the sensor from activating. Turn off the equipment and manually move each axis to check for abnormal resistance.
Steps for a complete mechanical inspection:- Look for and remove any filament residue, loose cable clamp, or small piece that may interfere with the travel.
- Carefully clean the endstop sensor area and the tab or screw that must press it. Ensure that this element makes firm contact.
- Check that the mechanical switch moves freely and is not stuck or worn from use.
An endstop error is your printer's way of telling you it needs attention, even if the moment it stops is rarely convenient for you.
Check Wiring and Configure the Software
If there are no blockages, the failure may be in the electrical connections or how the firmware interprets the signal. A loose, broken cable, or oxidized connector on the mainboard are common culprits.
Electrical and software diagnostic procedure:- Verify that the sensor cables are properly inserted both in the switch and in the controller board. Visually inspect for damage.
- Use an interface like Pronterface to send the M119 command. This command reports the current state of all endstop sensors.
- If a sensor shows "triggered" when it should be open, its logic needs to be inverted in the firmware. Look for and modify the corresponding ENDSTOP_INVERTING directive.
- For leveling-specific issues, adjust the Z offset distance. A bed sensor that is not properly calibrated can generate this error.
- To confirm the switch status, use a multimeter in continuity mode. If there is no change when pressing it, the component has failed and must be replaced.
Conclusion and Final Steps
Resolving an endstop error involves a methodical process: first rule out obstructions, then check the wiring, and finally audit the firmware configuration. Often the solution is as simple as cleaning a rail or tightening a connector. However, when the mechanical sensor is worn out, replacing it is the safest option to recover the precision and reliability of your 3D printer. Keeping these components in good condition is key to avoiding unwanted stops. ✅