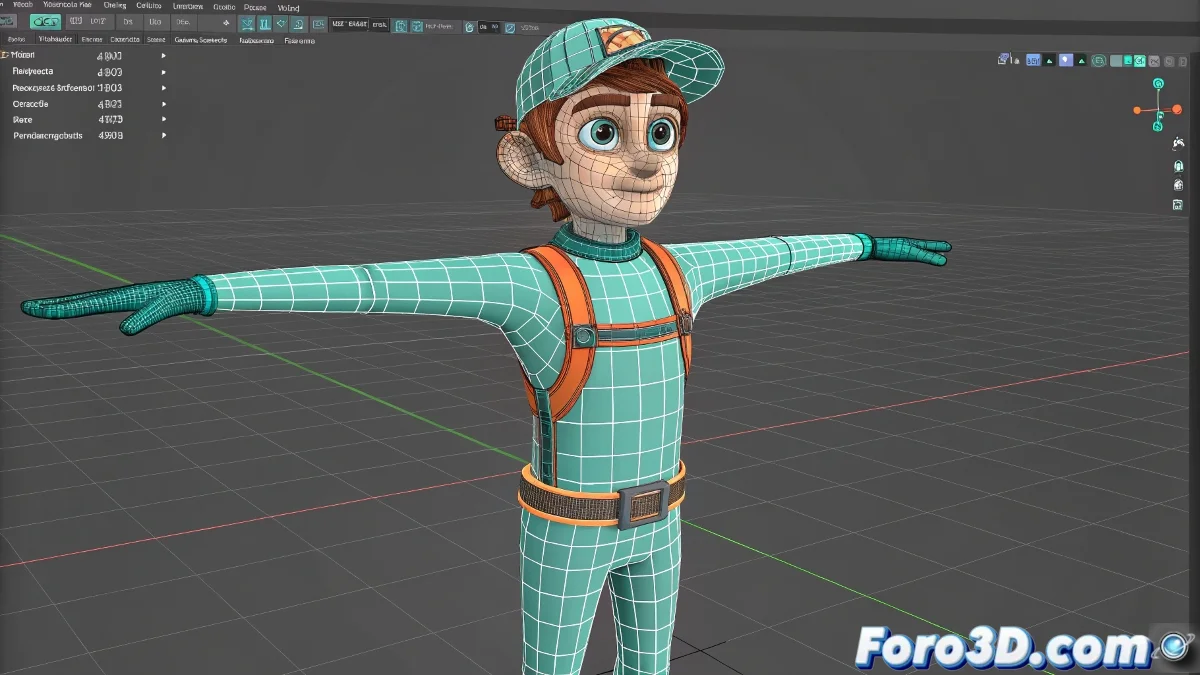
The Eternal Biped Dilemma: Animating Without Destroying the Anatomy
Working with biped in 3ds Max can be as frustrating as dressing a cat: no matter how hard you try, it always ends up twisting into impossible positions 🐈⬛. But don't worry, these professional tricks will help you maintain that perfect pose you worked so hard to achieve.
Essential Initial Setup
To prevent your character from looking like an animated pretzel:
- Perfect alignment in Figure Mode (T-pose/A-pose)
- Skin applied after defining the base pose
- Deformation test in extreme poses
- Freezing transformations beforehand
Practical Step-by-Step Solutions
When disaster has already struck:
- Use Figure Reset to restore without losing animation
- Re-assign weights in problematic areas
- Adjust the initial pose in the Biped Apps
- Try Mixer Mode for smooth transitions
"A good rig is like a good skeleton: it should move without being noticeable, always maintaining the anatomical structure. When it fails, it's like watching a zombie breakdancing." - Veteran Animator
Alternatives When Biped Resists
For hopeless cases or complex projects:
- CAT System: More flexible for custom poses
- Control Rig: The modern option in 3ds Max
- Specialized plugins like Advanced Skeleton
- Export to Mixamo for retargeting
Verification Checklist
Before giving up and declaring your character "abstract art":
- Does the base pose match the skin?
- Are the transformations frozen?
- Did you test on key animation frames?
- Did you check the weights in critical areas?
Remember: if after all these adjustments your character still looks like a circus contortionist, you can always argue it's an "expressive artistic style"... although most likely, with these techniques, you will finally achieve that perfect balance between fluid animation and correct anatomy. 🤹♂️