How to Locate and Configure Sliding Joints in Inverse Kinematics Chains
In the field of animation with inverse kinematics (IK), sliding joints are an essential constraint. They allow a bone to translate in a controlled manner along a defined straight path, a key resource for simulating realistic mechanisms. However, locating this option can be a challenge, as not all systems label it directly. 🛠️
Where to Find the Sliding Function
The configuration for sliding a bone is rarely found in an explicit menu called "Sliding Joints". Most commonly, it is integrated within the parameters that manage joint limits. To access it, you must inspect the properties panel of the bone or IK controller you are using.
Common places to check:- "Limits" or "Joint" section: Look for parameters to control translation on the X, Y, and Z axes.
- "Constraints" panel: Some programs group options here to lock or allow degrees of freedom.
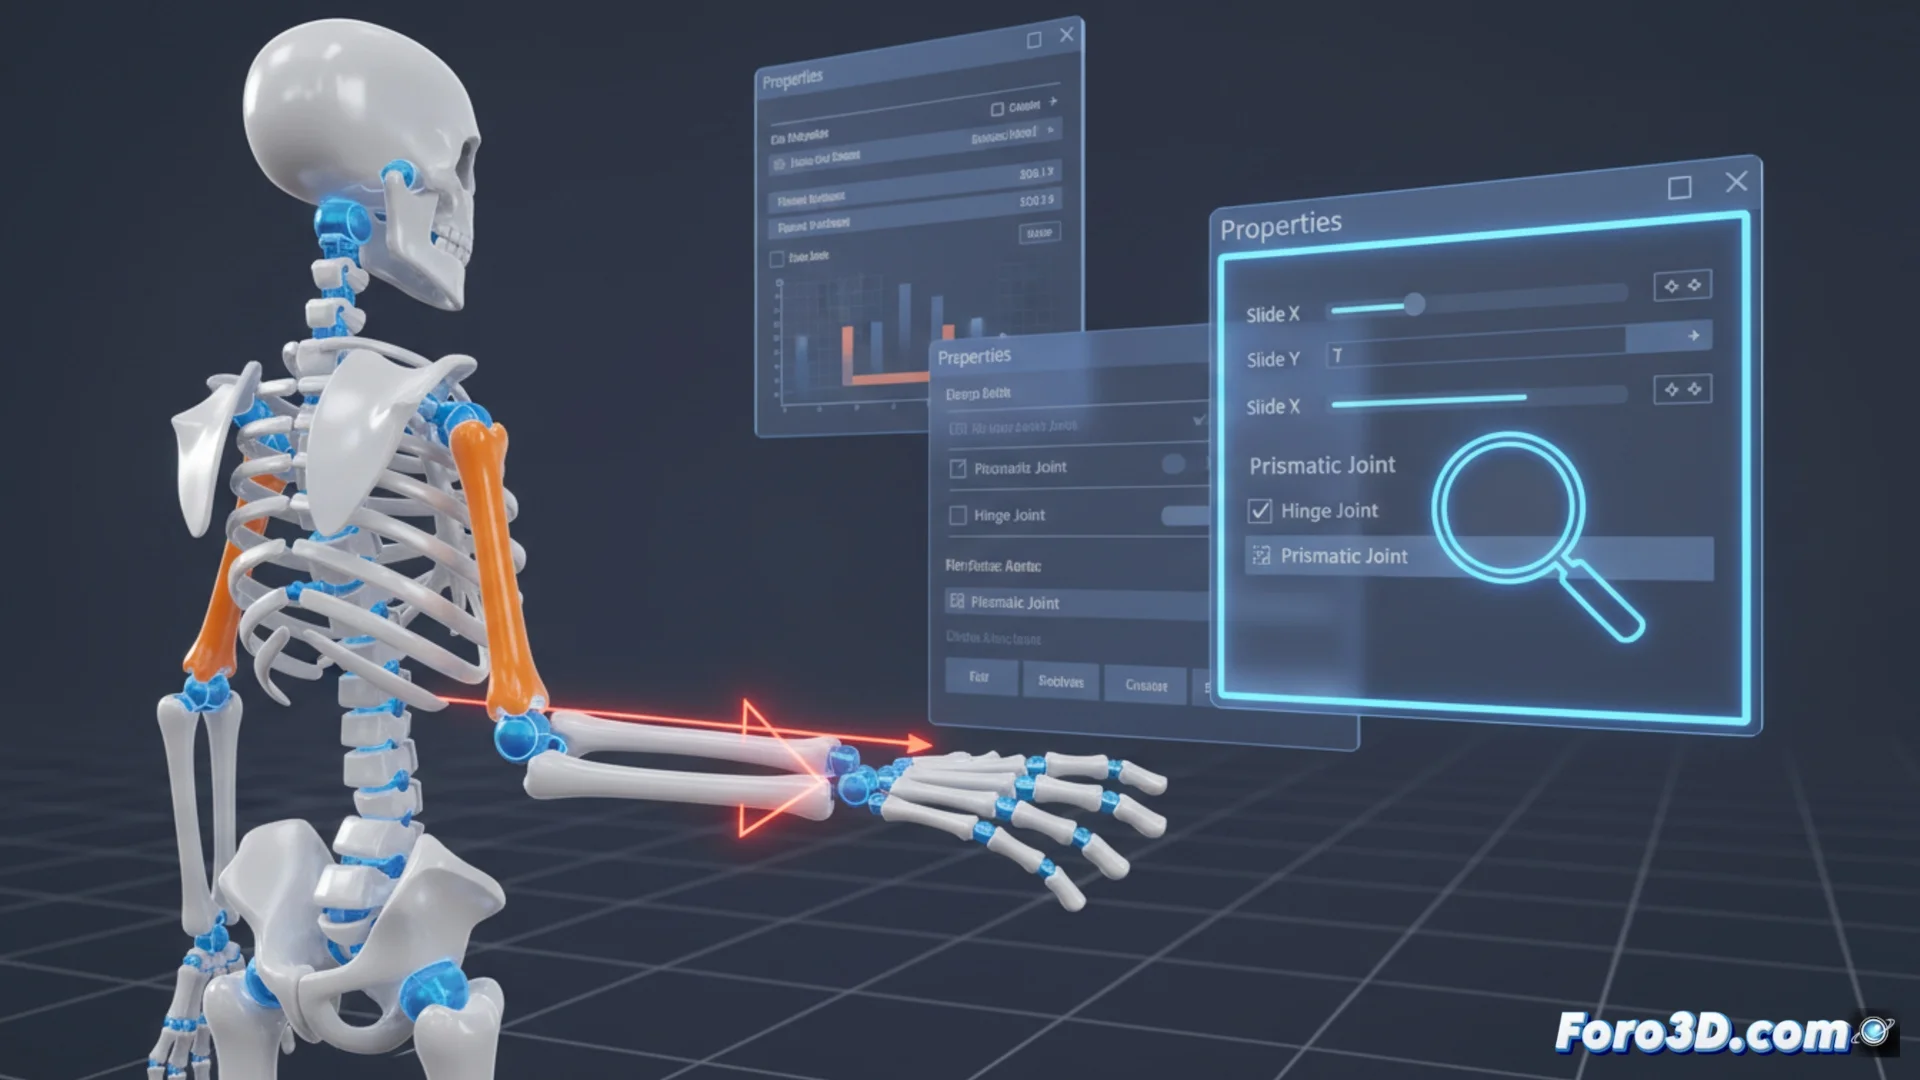
- Specific checkboxes: Names like "Slide", "Prismatic", or "Linear" usually enable sliding behavior for a specific axis.
Activating a minimum and maximum limit different for an axis usually makes the system interpret that the bone can slide within that range.
Procedure to Define Sliding
Once you locate the correct controls, the process to configure linear movement is straightforward. The goal is to create a virtual rail that precisely delimits the bone's path. This method is ideal for producing the effect of pistons, sliders, or any element with rectilinear displacement within an IK chain.
Steps to configure:- Select the axis: Choose the axis (X, Y, or Z) along which translation should occur. This defines the direction of movement.
- Define the range: Set the minimum and maximum distance values. These values mark the endpoints of the sliding path.
- Lock rotation: Ensure that rotation on that axis is restricted, to force the only possible movement to be linear.
Conclusion on Its Utility
Mastering the use of sliding joints greatly expands the potential of inverse kinematics chains. Although the option sometimes seems to hide on purpose in the menus, its correct configuration allows animating with great realism mechanisms of controlled linear movement, adding a layer of complexity and precision to your rigs. 🔩