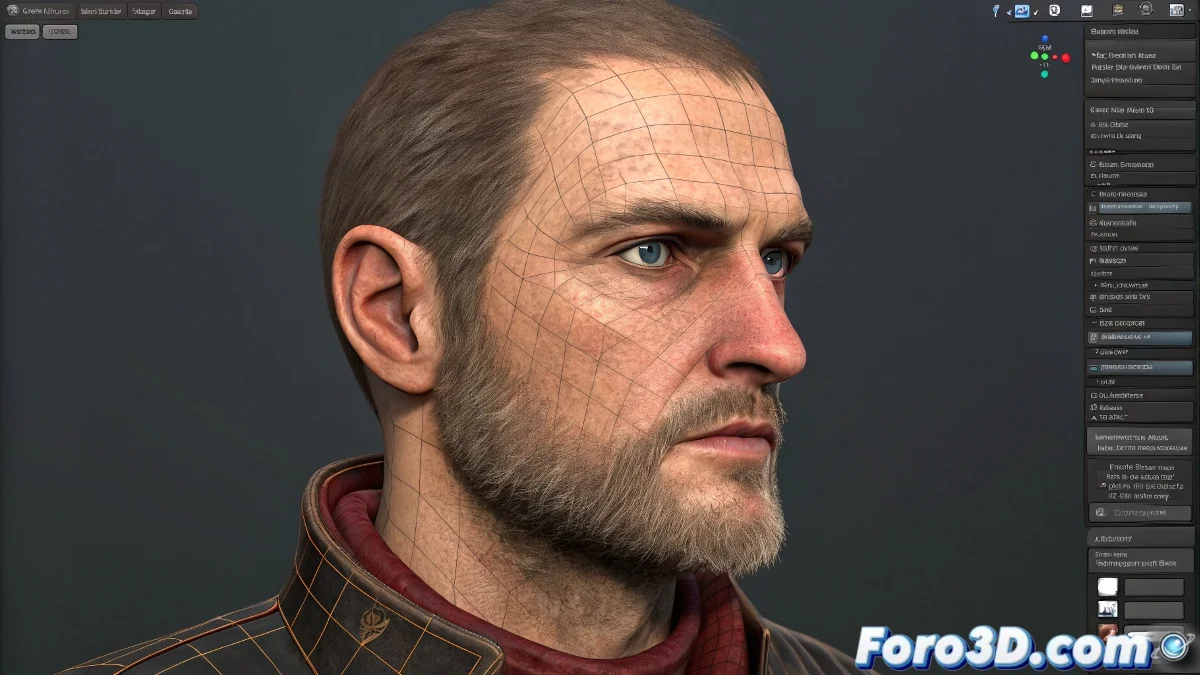
How to Fix Crossed Vertices in the Skin Mirror Modifier in 3ds Max
When you are doing skinning in 3ds Max and use the Skin Mirror to copy weights from one side to the other, it can happen that some vertices do not mirror correctly, especially in delicate areas like the eyes. If you see a vertex swapping with the opposite one instead of staying symmetrical, the problem is likely in how 3ds Max interprets the symmetry of that topology, not in the modifier itself. And no, you don't need to be a modeling expert to solve it! 🔄
What to Check and How to Fix It
First, make sure the mesh is perfectly centered. Activate Vertex mode in the Editable Poly modifier, select all vertices, and verify that the ones at the center have their X coordinate equal to zero. If not, correct it with Snap to Grid and then apply a Symmetry Modifier to ensure the topology is correctly aligned.
Then, in the Skin modifier, use Mirror Mode and check if the vertex is paired with the correct one on the other side. If it's not, you can manually unassign it from the Mirror Parameters tool and then use Assign Vertex to pair it yourself with the correct vertex on the opposite side. This will prevent them from "crossing" during weight copying.
Just in case the vertex gives you trouble... If after all that it still does whatever it wants, maybe that vertex is thinking about a career change: from vertex to abstract artist. So, let's get to work and fix those vertices! 🎨
With these tips, you will be able to fix crossed vertices in the Skin Mirror modifier in 3ds Max effectively. And remember, if the vertices don't behave as expected, you can always review your symmetry settings! 🔍