How to Copy a Single Keyframe from a Controller in Maya's Time Slider
Copying a single keyframe from a specific controller in Maya can be a bit tricky if not done correctly. The common problem is that when copying from the Time Slider, Maya copies all selected channels, which can result in unwanted changes to your animation. But don't worry, it's not black magic! 🎩✨
The Correct Way to Copy an Individual Keyframe
To copy only the key from a specific controller, follow these steps:
- Select the exact controller or attribute you want to copy in the Channel Box (for example, the right leg's rotation).
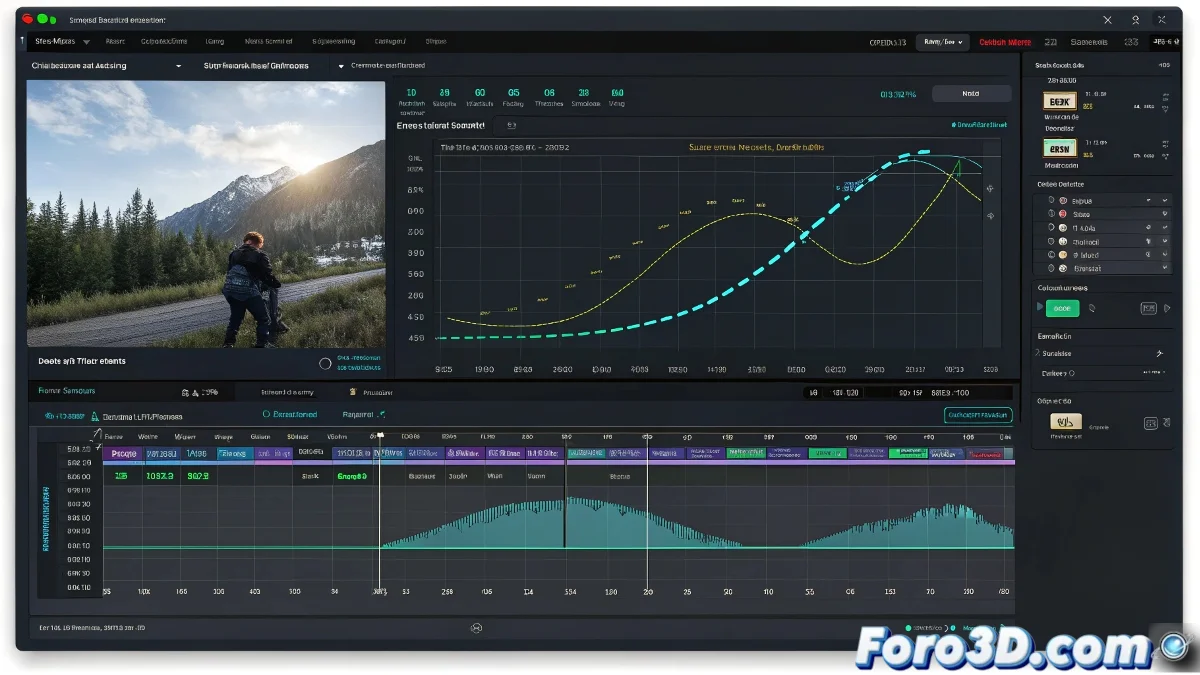
- Open the Graph Editor for that channel.
- Select the keyframe you want to copy.
- Use Ctrl+C to copy, then move the time cursor to the new frame and press Ctrl+V to paste only that keyframe on that channel.
Why Does This Problem Occur?
If you try to copy directly from the Time Slider without filtering by channel, Maya copies all channels that have keyframes on that frame. That's why it sometimes seems like the entire pose changes and not just the part you want.
Using the Graph Editor is the most precise way to manipulate and copy keyframes individually or by attribute. Furthermore, it helps you visualize curves and avoid multiple selection errors.
Remember, in Maya, precision is key. Make sure to select only what you need to copy to avoid unwanted surprises in your animation.
So now you know, with these steps you can copy a single keyframe from a specific controller in Maya without affecting other channels. And remember, if something goes wrong, you can always blame the rebellious keyframes! 😉