How to Animate a Robotic Arm in Blender Step by Step
Creating the illusion of life for a mechanical limb requires planning and executing several stages in Blender. This process, known as rigging and animation, transforms a static model into a moving piece ready to act. 🦾
Build the Internal Structure and Link the Mesh
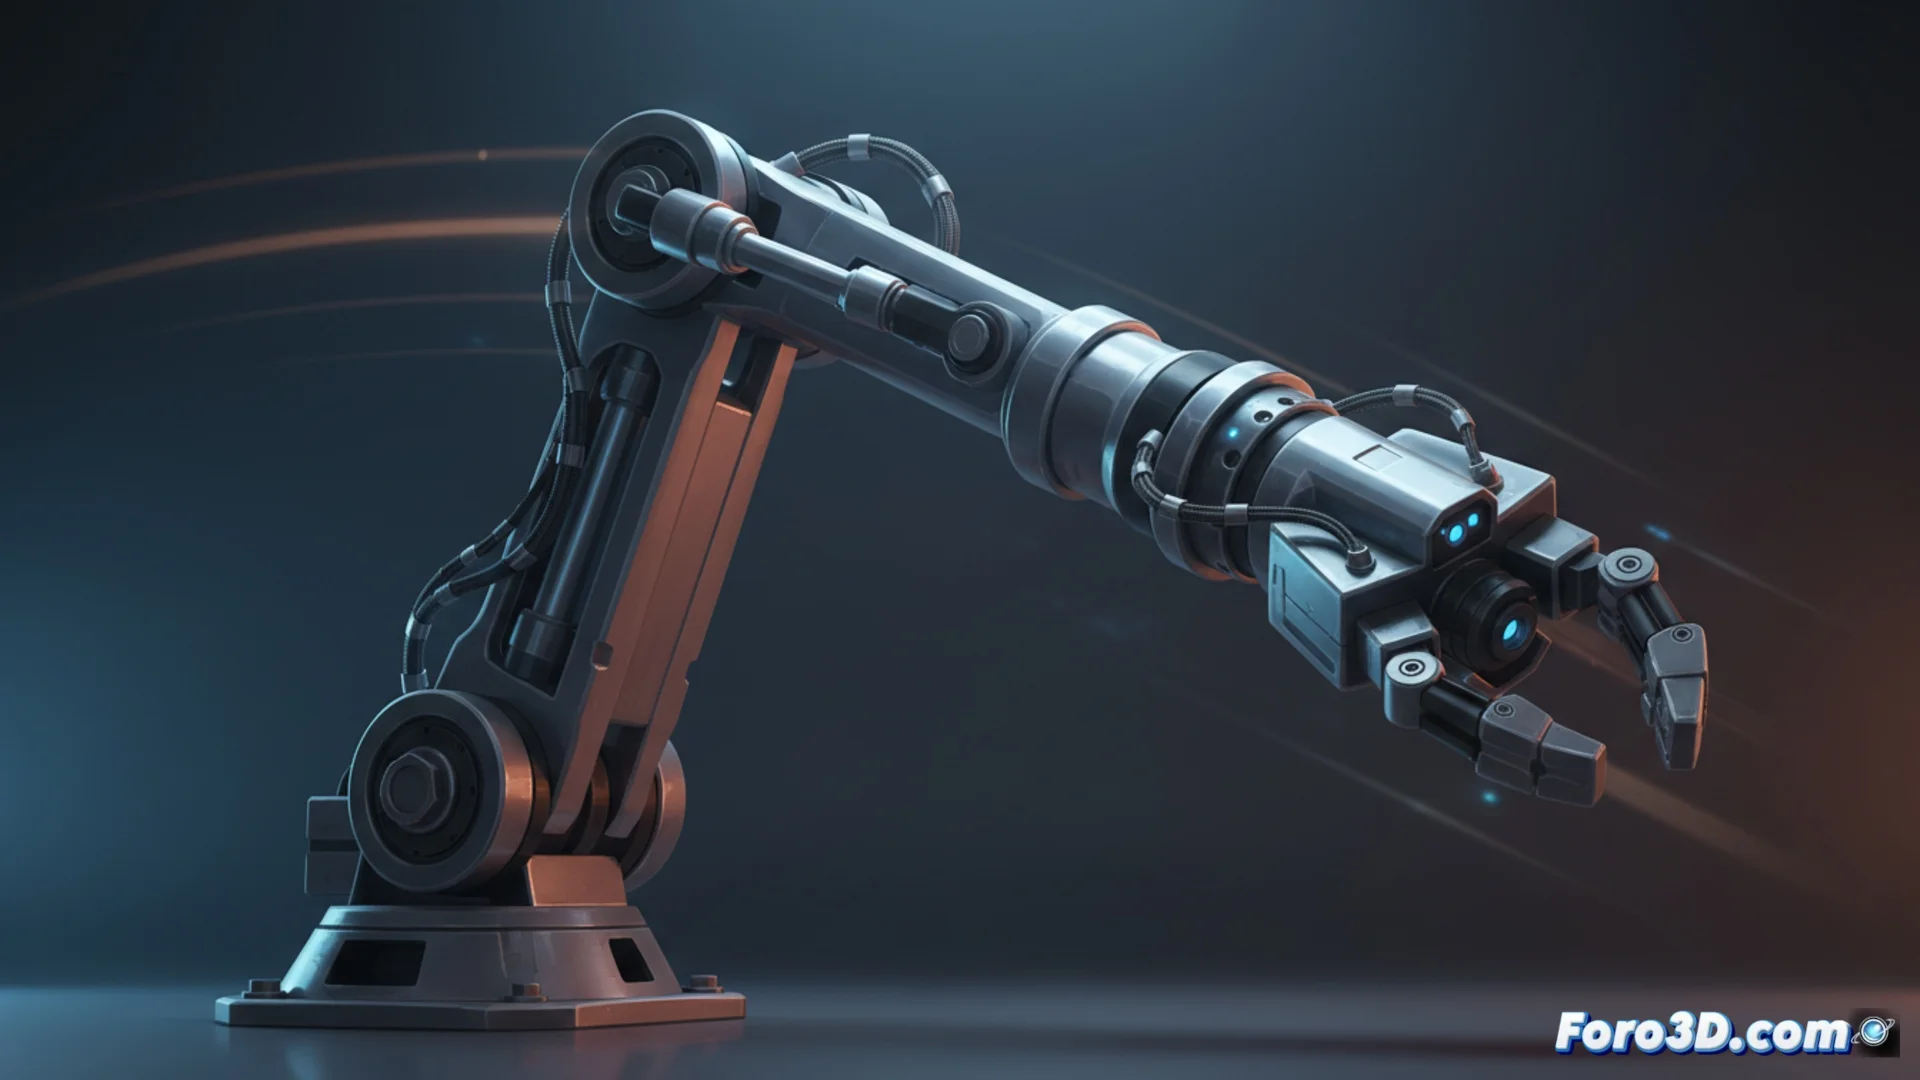
The first step consists of having the arm's geometry, whether modeling it from scratch or importing an existing mesh. Over this, a digital skeleton is built using bones that replicate the key joints: the base (shoulder), the central joint (elbow), and the end (wrist or gripper). It is vital to name and organize these bones clearly within the Outliner for an efficient workflow. The main bone governs the entire set, and the dependent bones direct the individual segments. Then, the mesh is connected to the skeleton by applying the Armature modifier. The crucial next phase is painting the influence weights, defining how the surface vertices adhere to each bone to deform credibly when manipulating the rig.
Key Points in Rig Preparation:- Model or import the mechanical arm geometry.
- Create and organize a logical hierarchy of bones that mimics real anatomy.
- Link the mesh to the skeleton and refine vertex weights for natural deformations.
A well-organized rig is the foundation for controllable and smooth animation.
Implement Intuitive Controls for Animation
To manipulate the arm agilely, constraints are added to the bones. Applying an Inverse Kinematics (IK) chain to the arm allows positioning the final claw and having the elbow and shoulder orient automatically, a much more direct method than animating each rotation manually. Empty bones or custom-shaped controls are usually generated to handle these IK solvers and other actions, such as the gripper opening mechanism. These visual controls are then animated in the timeline, setting keyframes for their location and rotation properties at the desired moments, resulting in the complete movement.
Elements for Efficient Animation:- Use Inverse Kinematics (IK) constraints to handle bone chains naturally.
- Design custom controls (like empty bones) to operate the rig.
- Animate the controls by setting keyframes in the timeline.
Refine and Smooth the Resulting Action
The initial animation often looks mechanical and inorganic. To infuse it with fluidity, work in the Graph Editor. In this space, the interpolation curves that connect the keyframes are adjusted, smoothing their handles to create progressive accelerations and realistic decelerations, eliminating abrupt jumps. It is essential to review the animation constantly in the viewport, checking that the rotations are logical and that the mesh does not suffer unwanted deformations during the movement. If a cycle is created, such as a repetitive swing, the first and last frame must be identical for a perfect loop. Remember, an animation without a defined narrative or purpose reduces to a soulless simple cyclic movement. 🎬