Taming the Skin Morph Beast
In the wonderful world of 3ds Max, you can encounter more surprises than in a cereal box. A classic example is discovering that yes, you can modify vertex weights even after applying Skin Morph! 🧙♂️. So if you thought you had signed a contract with your weights from the start... relax, there's room for regret!
Weight Before or After? You Decide
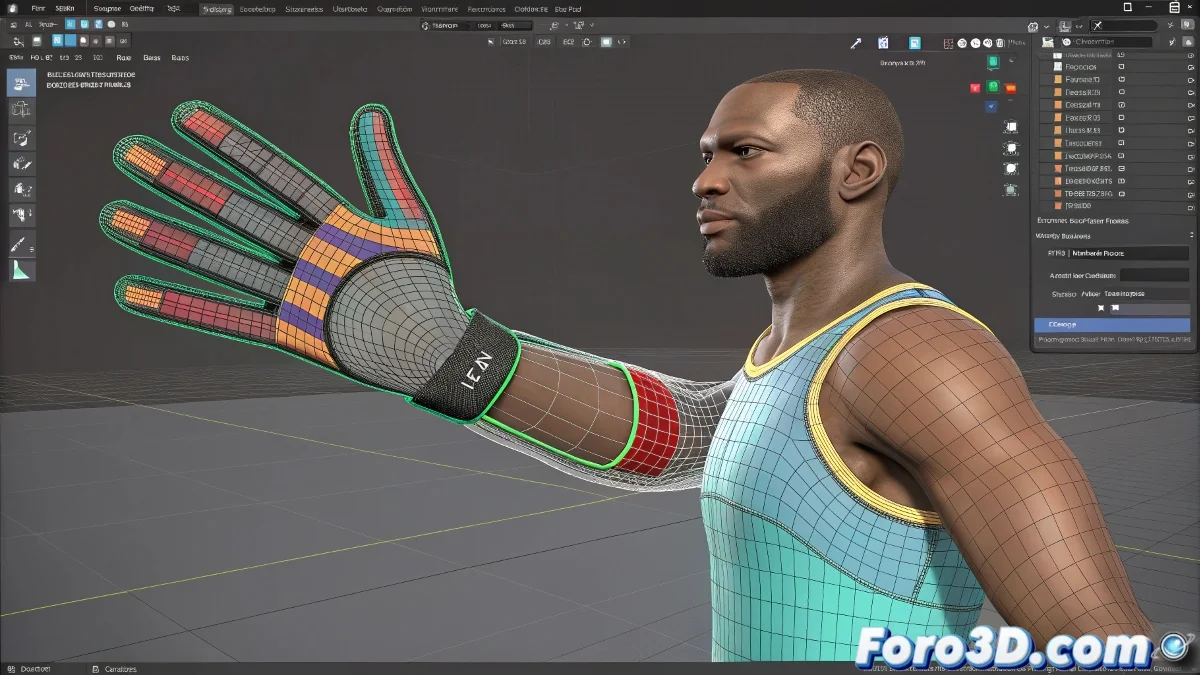
Contrary to popular myth, it is not necessary to have the entire mesh weighted before applying Skin Morph. In fact, many professionals prefer to work in zones. You can start with the elbow, apply its respective Skin Morph, and then move on to that rebellious knee without issues. This modular technique gives you surgical control over each deformation.
When Vertices Inflate Like Balloons
If you've ever seen vertices puff up as if they were in the Macy's parade 🎈, it's time to talk about poorly balanced weights. This phenomenon occurs when the effects of the Skin Morph overlap with the base skinning. It's crucial to keep the weights in harmony and check that the morph isn't exaggerating the curves more than it should.
A poorly applied Skin Morph is like giving steroids to a vertex… then no one can stop it.
Furthermore, make sure the base mesh is clean, without previous deformations that could generate weird side effects. Carefully work on the transitions between zones, as if you were sculpting a statue in butter... melted butter. 🧈
Tips to Not Hate Your Rigging Tomorrow
- Start with zones that have a high impact on deformation, like shoulders or hips.
- Apply Skin Morph in parts, for targeted corrections without messing up what already works.
- Use tools like the Weight Tool to polish weights once the morph is applied.
- Keep your mesh as clean as possible... no double vertices, no previous history.
Is Skinning Art or Torture?
Skinning is a bit of both. Do it wrong, and your characters will look like defective inflatables. Do it right, and they'll move like ballet stars 🩰. As they say, it's better to invest time now than to animate regrets later.
And remember: rigging isn't improvised, it's suffered... but with humor, everything is more bearable 😅.