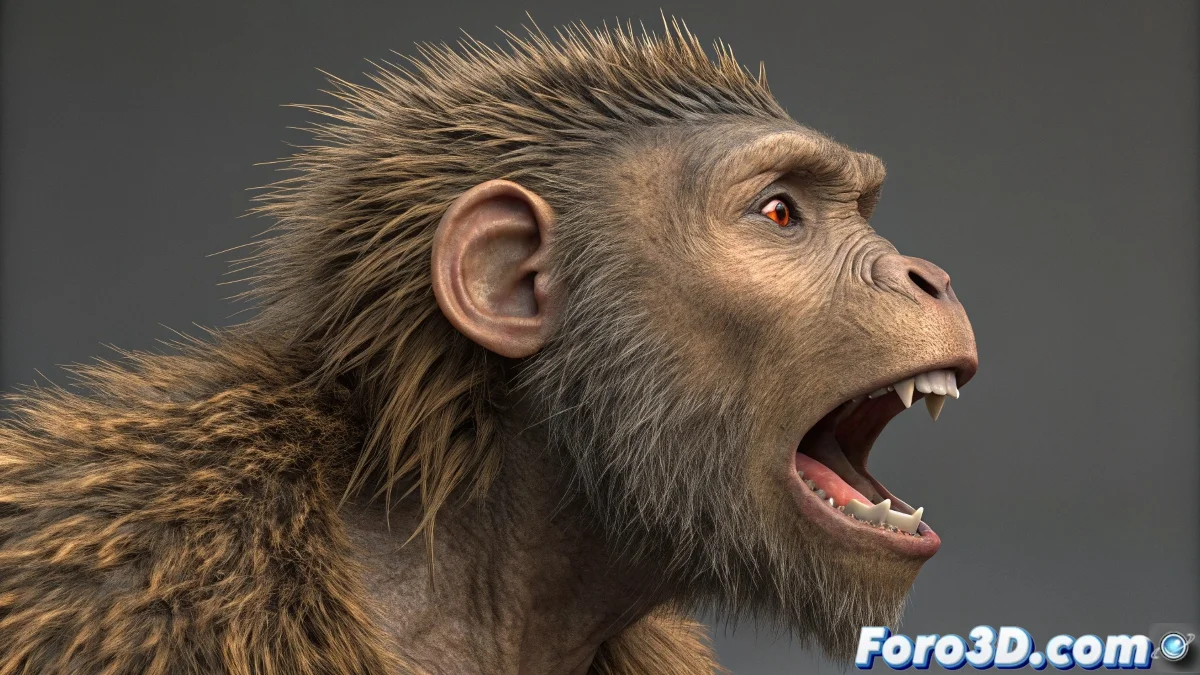
When Your Character's Hair Needs to Move with Personality 💇♀️✨
Creating hair that reacts organically to every gesture and movement in 3ds Max is an art form. Discover how to avoid that annoying "space helmet" effect and make every strand dance to the rhythm of your animation.
The secret lies in three key steps:
- Prepare a base mesh that will follow the skin deformations
- Seamlessly integrate the Hair and Fur system
- Precisely adjust the bone influence
"Perfect hair isn't noticed... until it's missing. Then everyone notices something is wrong."
For specific areas like eyelashes or beards:
- Create thin meshes attached to the face
- Assign them to specific facial bones
- Control the density to optimize performance
Crucial tip: The scene of hair blowing in the wind at the climax of your animation can consume more resources than everything else combined. Plan your renders well 💻🌀.
If you're looking for cinematic results, plugins like Ornatrix offer:
- Advanced skin weight-based deformation
- Interactive grooming tools
- Integration with simulation systems
Remember: if your character ends up with statue-like hair, it's not the end of the world... unless you're specifically animating a statue. 🗿