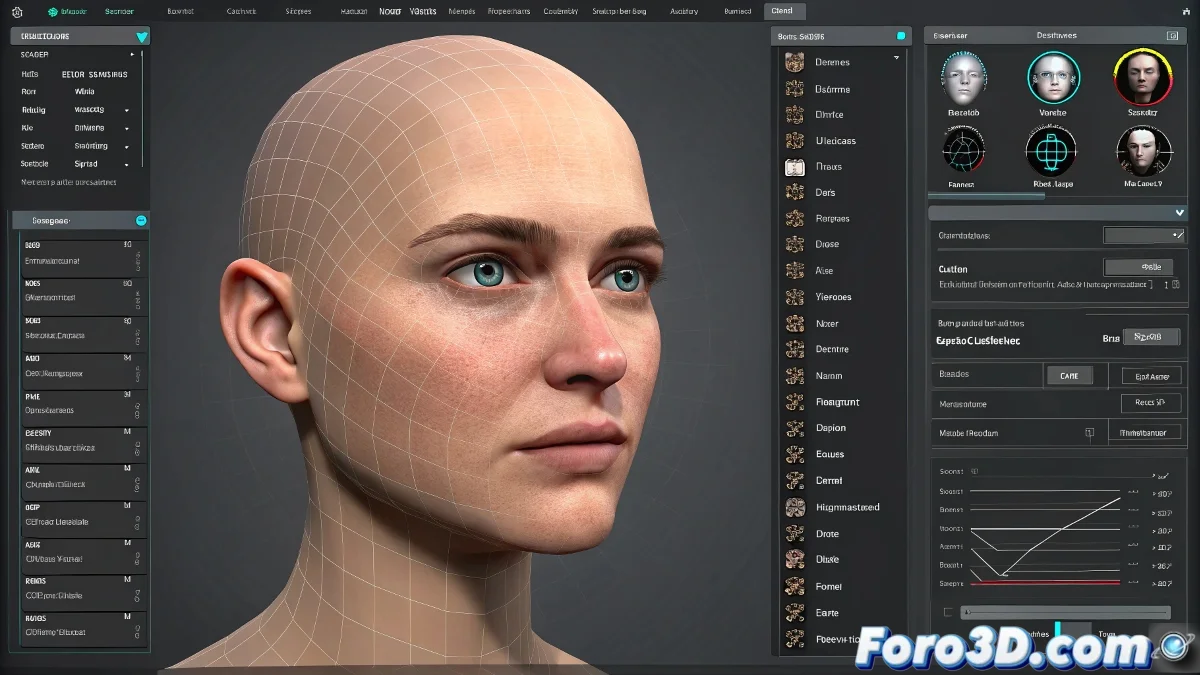
The Art of Taming Morphs in 3ds Max Without Losing Your Sanity 😅
Animators worldwide have all tried at some point to make a character blink without it looking like they have a nervous tic. The Morpher modifier in 3ds Max is like that friend who promises to help you move but then only brings a box of scented candles. Powerful, but with its limitations.
Morpher vs Morph-o-Matic: The Battle of Controls
The native Morpher in 3ds Max is like a car without air conditioning: it works, but it'll make you sweat. It doesn't allow direct grouping of facial movements, which means animating a sincere smile can turn into a task of epic micro-management. In contrast, Morph-o-Matic (its clever cousin) does allow you to create groups of morphs and control them with a single slider. 🎚️
- Morpher: Ideal for those who enjoy repetitive clicking.
- Morph-o-Matic: For those who prefer shortcuts and preserving their mental health.
- Heroic Alternative: Custom scripts (requires zen master-level patience).
Tricks to Not Die Trying
If you don't want to install additional plugins, you can always resort to:
The 3ds Max parameter system, which is like using a screwdriver to open a can, but it works.
Some animators share scripts on forums like foro3d.com to simulate morph groupings. That said, be prepared to read code that looks like Egyptian hieroglyphics. 📜
Conclusion: Which Path to Choose?
If you seek efficiency and don't mind investing in a plugin, Morph-o-Matic is your best ally. If you're one of those who enjoy challenging the software with creative solutions (or simply like to suffer), custom scripts and controls are your option. After all, animating facial expressions is like juggling: if you don't synchronize the movements well, the result will be worthy of a comedy show. 🤹
And remember: if your character ends up with a smile that scares children, you can always say it's an artistic style. 👻