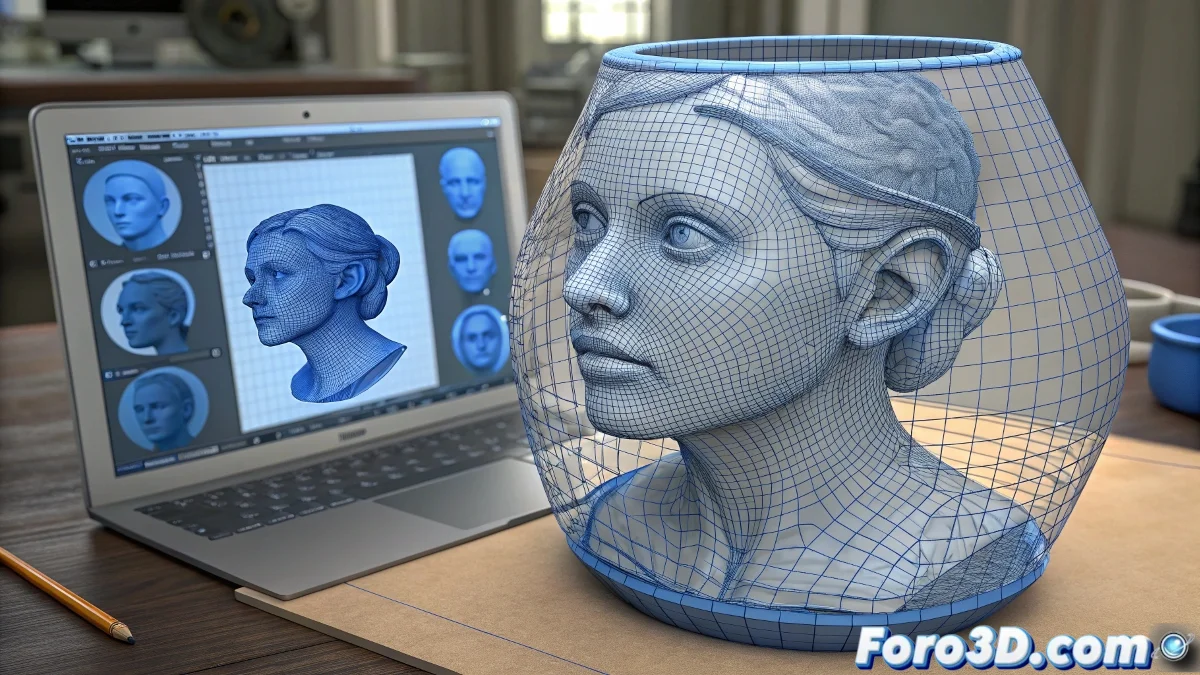
Extrude Faces Along Normals: The Professional Technique for Adding Thickness in Blender
In professional 3D modeling, adding thickness to a flat mesh or adding volume to existing surfaces is a fundamental operation. Blender offers multiple methods to achieve this, but Extrude Faces Along Normals (accessible via Alt + E and then selecting the corresponding option) emerges as the recommended and most efficient technique for this task. Unlike traditional extrusion that moves faces in a uniform direction, this tool extrudes each face along its individual normal, creating a result that preserves the original shape while adding volume in an intelligent and controlled manner. This approach makes it indispensable for hard-surface, organic, and technical modeling workflows. 📐
The Mechanism of Extrusion Along Normals
The operation of Extrude Faces Along Normals is based on a fundamental principle of 3D geometry: each face of a mesh has a normal - a perpendicular vector that defines its orientation in space. When you activate this tool, Blender does not extrude all selected faces in a uniform global direction, but rather calculates the individual extrusion direction for each face based on its specific normal. The result is that the faces expand "outward" from their original position, maintaining their angular relationships and creating a uniform and natural thickness that follows the curvature and orientation of the base surface.
Advantages over traditional extrusion:- Preserves the original shape of the surface
- Maintains existing angles and curvatures
- Avoids geometric collapses on complex surfaces
- Automatic creation of connecting side faces
- Predictable results on irregular topology
Step-by-Step Workflow
To use this tool effectively, start by selecting the faces to which you want to add thickness. Press Alt + E to open the extrusion options menu and select "Extrude Faces Along Normals". Once activated, move the mouse or enter a numerical value to define the amount of thickness. Blender will display a real-time preview of the result. It is crucial to understand that this operation creates two elements: the extruded faces in the new position and the side faces that connect the original geometry to the new one, forming a closed and coherent volume.
Extrude Faces Along Normals not only adds thickness, but intelligently builds the necessary connection geometry.
Practical Applications in Professional Modeling
This tool shines in numerous production scenarios. In vehicle modeling, it allows creating body panels with realistic thickness. In product design, it facilitates the development of housings and components with precise thicknesses. For architecture, it is ideal for converting flat surfaces into volumetric walls and structural elements. In organic modeling, it helps create skin, muscle, or tissue layers with natural thickness variations. The ability to preserve existing topology while adding volume makes it a tool of choice for retopology and mesh refinement.
Key Differences with Other Thickness Techniques
It is important to distinguish Extrude Faces Along Normals from other similar tools. The Solidify Modifier adds non-destructive thickness but with less direct control. Traditional manual extrusion (E) requires manual adjustments to maintain the shape. Shrink/Fatten (Alt+S) expands the geometry but does not create connecting side faces. Extrude Faces Along Normals offers the best balance between direct control and automatic results, generating clean geometry ready to use without the need for subsequent cleanup.
Specific use cases:- Conversion of flat surfaces into volumetric objects
- Creation of walls with constant thickness in structures
- Development of mechanical elements with precise thicknesses
- Preparation of meshes for 3D printing
- Generation of multiple layers in organic modeling
- Refinement of edges and corners in hard-surface modeling
Topology Optimization and Edge Flow
One of the most significant advantages of this technique is how it handles the resulting topology. By extruding along normals, Blender automatically generates clean edge flows and optimized connections between different sections of the mesh. This is particularly valuable when working with subdivision, where topology quality directly affects the final result. The side faces created during extrusion naturally follow the flow of the existing geometry, reducing the need for manual retopology and minimizing the creation of problematic triangles or n-gons.
Advanced Adjustments and Complementary Techniques
For advanced users, Extrude Faces Along Normals offers additional possibilities when combined with other tools. Using Offset Even in the operation adjustment panel ensures uniform thickness distribution on faces of different sizes. Combining multiple successive extrusions allows creating complex profiles and gradual transitions. Applying the tool selectively to different parts of a mesh enables controlled thickness variations that add realism and visual complexity to the final model.
Mastering Extrude Faces Along Normals is a milestone in the journey of any 3D artist using Blender. This tool encapsulates the software's philosophy of providing efficient and logical methods for complex tasks. It is not simply another extrusion option, but a fundamentally different approach to adding volume that respects the intelligence of the existing geometry. By incorporating this technique into your regular workflow, you will not only accelerate your modeling, but also produce technically and visually higher quality results, establishing a solid foundation for more advanced work in the Blender ecosystem.