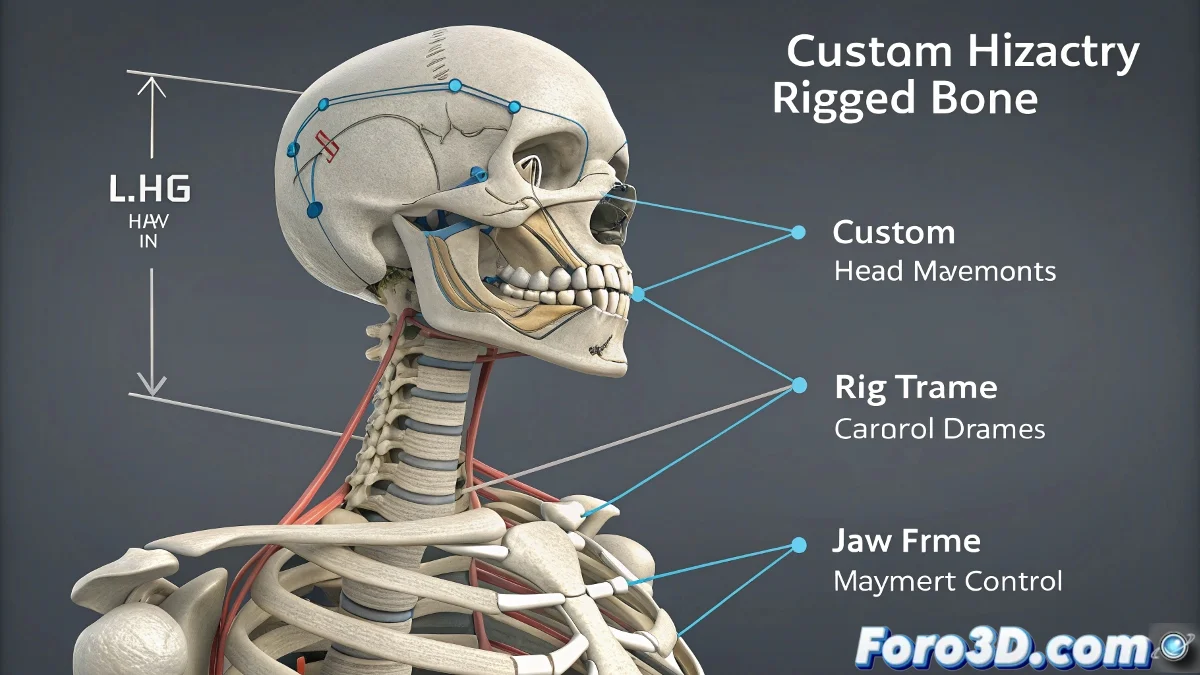
When the Biped Falls Short and You Need "Extra" Bones 🦴🔧
The Biped system in 3ds Max is like that Ikea furniture: practical, quick to assemble, and works well… until you want to modify it. 😅 Its rigid structure doesn't allow adding additional bones directly, but with a bit of ingenuity (and some tricks), you can integrate elements like an articulated jaw without the rig exploding.
Linking External Bones: The Art of "Parasitic Rigging"
To add extra functionality to the Biped without touching it internally, follow this approach:
- Create an independent bone (or helper) for the jaw
- Link its position to the head bone with a Parent Constraint
- Add custom controls (sliders, manipulation circles)
- Use Rotation Constraints for opening/closing movements
"A Biped with custom bones is like a cyborg: half pre-built system, half digital guerrilla modifications." – Anonymous, after 6 hours debugging constraints.
Advanced Techniques for a Believable Jaw
If you need more realism, try these alternatives:
- Auxiliary objects as controllers: Use a Point Helper to handle rotation and position
- Alternative rigging systems: CAT allows greater flexibility for facial details
- Complementary morph targets: Combine bones with blendshape deformations
For complex facial animations, many artists end up using hybrid rigs: Biped for the body and a custom system for the head. 🎭
Common Mistakes (and How to Avoid Them)
When working with Biped + custom bones:
- ⚠️ Don't force the hierarchy: External bones must be "children" of the Biped, not the other way around
- ⚠️ Avoid Scale Constraints: They can cause strange stretching when exporting
- ⚠️ Always test in T-Pose mode: Before animating, verify that everything returns to its initial position
And remember: if your character ends up with a shark smile or a jaw that spins 360 degrees, it's not a bug... it's an artistic style. 😂 In the end, working with Biped and custom bones is like dancing tango with a robot: it requires patience, fine adjustments, and accepting that there will sometimes be unexpected steps. But when it works, the animation comes to life!