The Art of Bringing Digital Life Through Rigging
Rigging is like turning a static sculpture into a digital puppet ready to perform 🎭. This process transforms inanimate 3D models into characters capable of moving, expressing emotions, and telling stories. A well-built rig not only enables animation but makes the process intuitive and enjoyable for the animator.
Preparation: The Foundation of Success
Before creating a single bone, the model must go through a rigorous preparation process. A poorly prepared model will result in poor deformations regardless of the rig's quality. This stage is like laying the foundations of a building – invisible but fundamental.
- Topological Cleanup: Remove duplicate vertices and non-manifold geometry
- Correct Pivots: Ensure all elements rotate from logical points
- Appropriate Density: Sufficient geometry in deformation areas, less in rigid areas
- Verified Symmetry: Save time through symmetric work
A well-prepared model is half the rigging done.
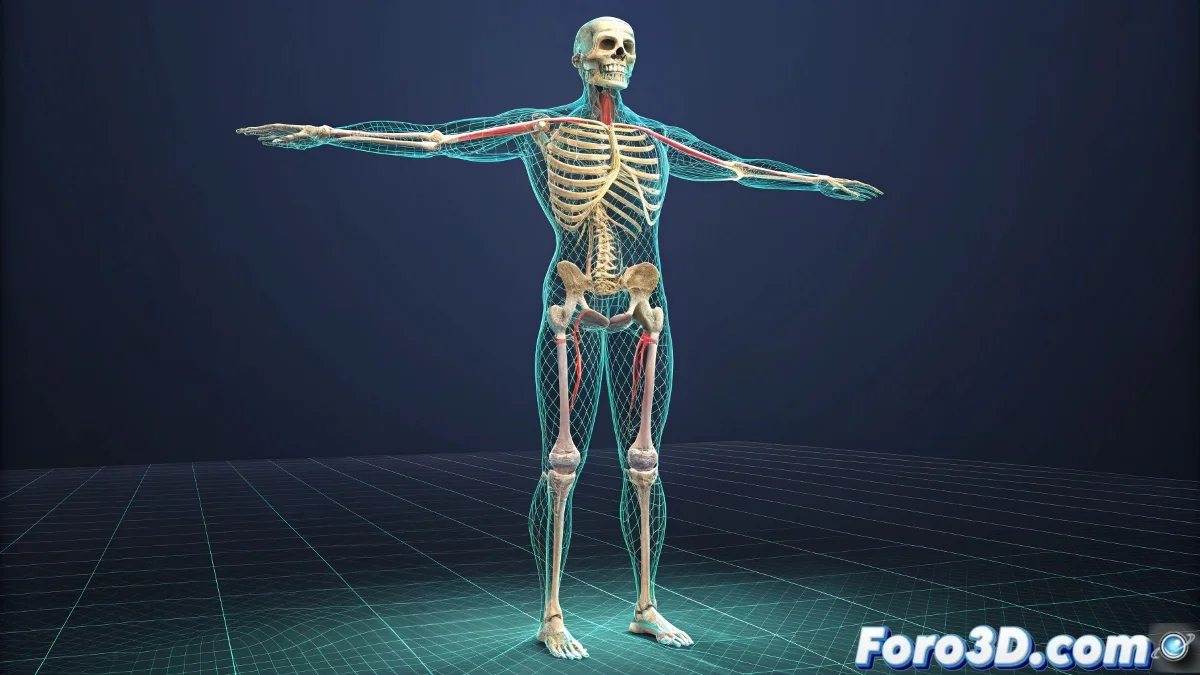
Building the Skeletal System
Bones form the invisible framework that will give structure to the movement. Their strategic placement follows real anatomical principles even for stylized characters or fantastic creatures.
- Logical Hierarchy: From pelvis to limbs following natural chains
- Consistent Orientation: Aligned axes for predictable rotations
- Organized Nomenclature: Clear names for each bone element
- Organization Layers: Keep the scene orderly and manageable
Control Systems for Intuitive Animation
Controllers transform the complex bone system into user-friendly interfaces for animators. These visual elements allow manipulating the character without needing to understand the underlying technical structure.
- NURBS Curves as Controllers: Intuitive shapes for different functions
- IK/FK Systems: Switch between inverse and forward kinematics as needed
- Custom Attributes: Sliders and controls for facial expressions and deformations
- Space Switching: Switch between different coordinate spaces
The Magic of Skinning: Where Geometry Comes to Life
Weight assignment is where the model truly learns to move with the skeleton. This process determines how each vertex of the mesh follows the bone transformations.
- Skin Modifier/Cluster: Apply bone influence to the geometry
- Paint Weights: Visually adjust influences with a brush
- Weight Table: Precise numerical adjustment of values
- Mirror Weights: Transfer settings to the symmetric side
Advanced Techniques for Problem Areas
Certain body areas present particular challenges that require specialized solutions for believable deformations.
- Armpits and Groins: Triple bone systems for clean deformations
- Shoulders and Clavicles: Follow mechanisms for natural movement
- Face and Expressions: Combination of bones and blendshapes
- Clothing and Accessories: Secondary simulation or rigging systems
Professional Workflow
Following an organized methodology ensures consistent and efficient results, especially important in productions with multiple characters.
And when your first deformations look more like nightmare fuel than professional animation, remember: even the most experienced riggers once created deformation monstrosities 🦴. The learning curve is steep, but the reward is bringing imaginary worlds to life.