Digital Cross-Hatching Defines Shapes and Tonal Values
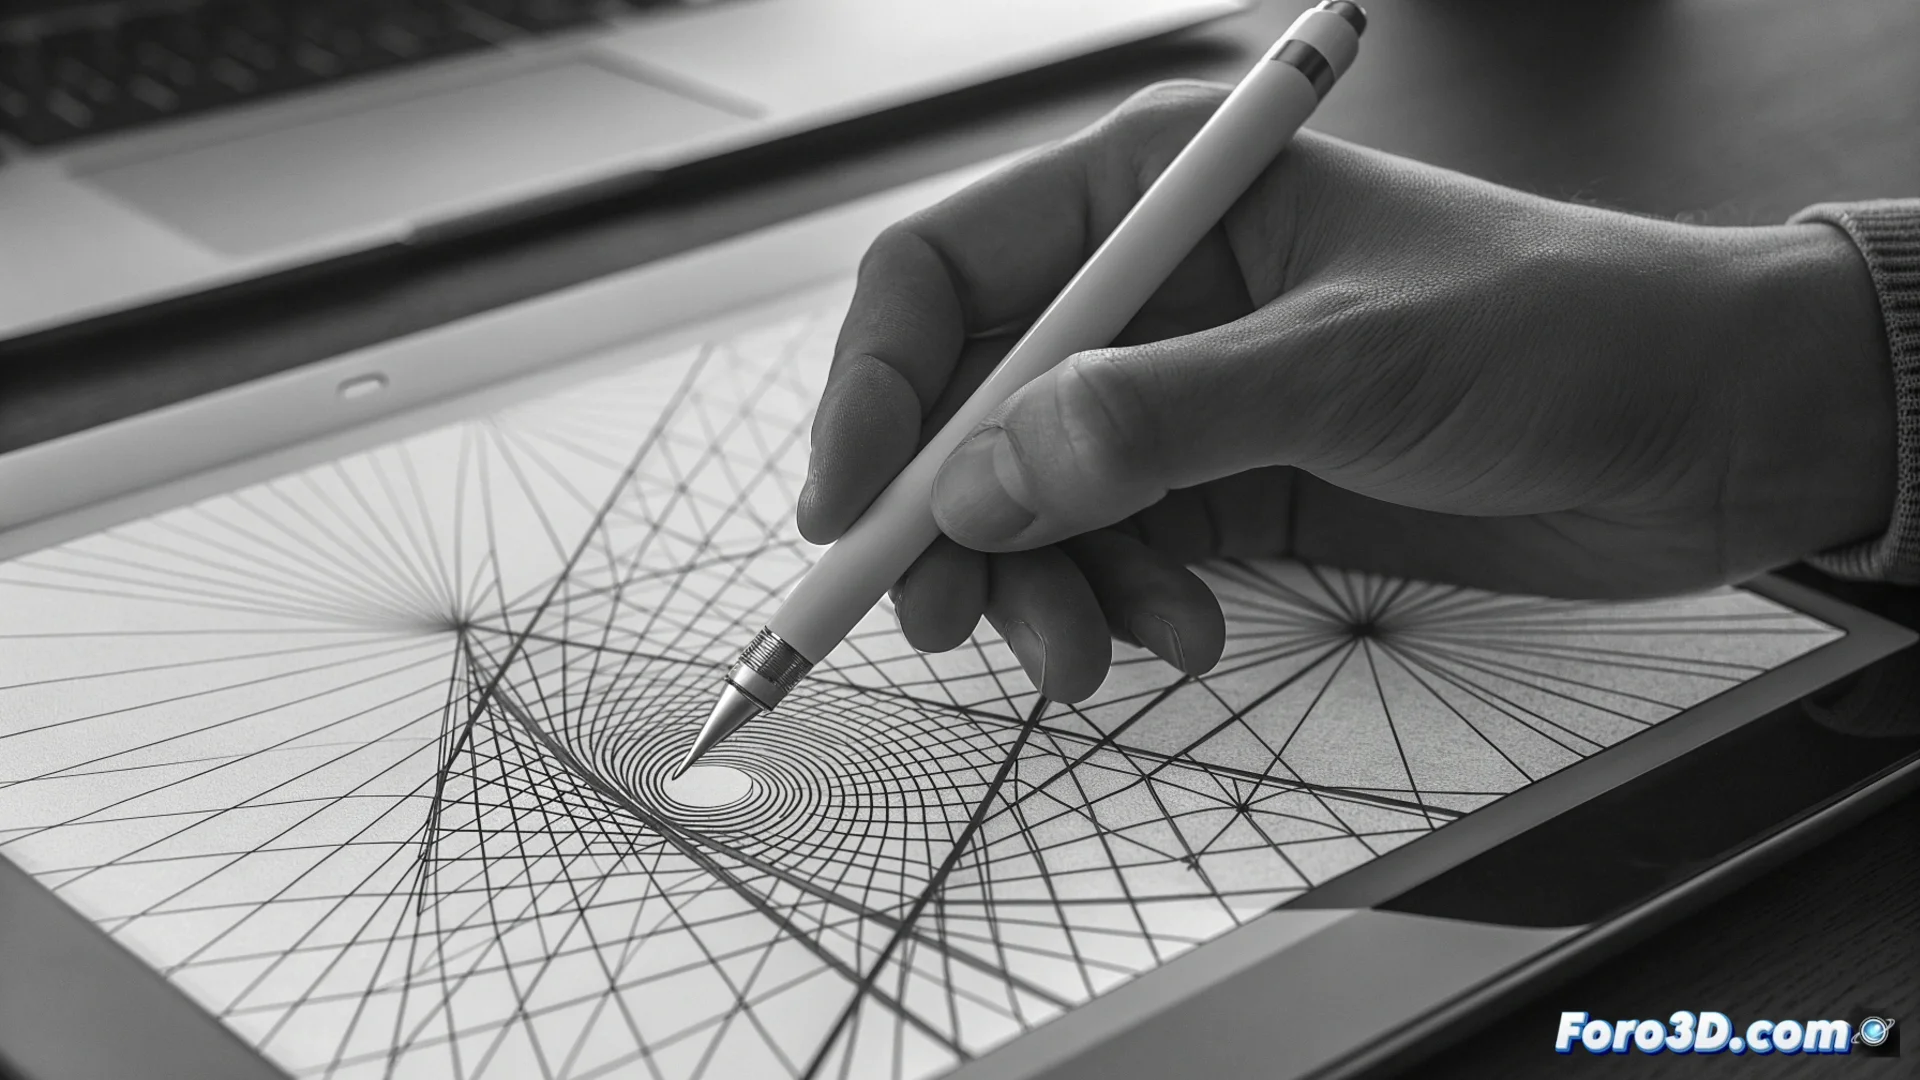
In digital drawing, one technique stands out for its ability to build form and depth methodically: digital cross-hatching. This method transfers the classical engraving principle to the virtual canvas, where the artist arranges parallel lines that interlace to suggest shadows and model surfaces. The density and angle of these lines directly dictate the darkness and visual texture of the area, offering precise control over chiaroscuro 🎨.
Fundamentals of the Overlaid Lines Technique
The essence of this practice lies in organizing several series of parallel strokes. Each set is placed in a specific direction, and when overlapping with others at different angles, it generates a mesh. This network of lines is what the eye interprets as a continuous tone or specific texture. Unlike applying flat shading, this system allows graduating the intensity organically and rhythmically, mimicking the artisanal character of ink drawings but with the advantages of digital tools.
Key elements you control:- Direction and angle: Defines visual flow and how the object's form is perceived.
- Spacing and density: A tighter grid produces darker areas, while a looser one lets light through.
- Line thickness: Adds another level of contrast and defines the final texture's character.
Digital cross-hatching doesn't just shade; it weaves the very structure of the illustration.
Implementing with Specialized Layers and Brushes
To execute this technique efficiently, it is almost always worked with independent layers in illustration software. Many creators use custom brushes configured to draw equidistant lines quickly. The process usually begins by defining a main light direction. On a base layer, the first set of lines is applied, for example, at a 45-degree angle. Then, on new layers, more series of strokes are added at angles like 90 or 135 degrees, progressively darkening the deeper shadow areas. Adjusting the opacity of each layer allows refining the global contrast without losing flexibility.
Typical workflow:- Plan light and shadow areas according to a light source.
- Create the first hatching layer with parallel lines at a base angle.
- Add successive layers with different angles to darken and add volume.
- Adjust layer opacity and blending mode for smooth transitions.
The Result: Organic Texture and Absolute Control
The final product has a tactile and rich quality reminiscent of ancient printed works, but with a cleanliness and mastery unattainable manually. This method is ideal for producing complex gradients and detailed tonal transitions, simply by varying the space between lines. The resulting texture can evoke anything from the roughness of stone to the softness of fabric, depending on how the line networks are structured. It requires patience and careful planning, but grants the digital piece a distinctive character and a sense of craftsmanship. It's a common paradox that, after sessions of meticulous digital line work, the artist's hand in the physical world may end up covered in involuntary doodles ✍️.