Diagnose and Troubleshoot Axes and Endstops in 3D Printers
When a 3D printer stops unexpectedly, the cause is often in its motion or homing systems. Two of the most common problems that halt a machine are those related to linear axes and endstop sensors. Identifying and fixing these failures is key to restoring the precision and reliability of your prints. 🛠️
Analyze and Fix Motion Axis Failures
The X, Y, and Z axes direct the movement of the print head and bed. If they become misaligned or develop play, print quality suffers immediately. To diagnose an axis, proceed methodically, checking each component that affects its smoothness and accuracy.
Steps to check an axis:- Inspect and clean the linear guides and bearings, applying lubricant if necessary.
- Check the tension of the drive belts and ensure the pulleys are firmly fixed to their shafts.
- Listen for strange noises or observe jerky movements, which may indicate worn bearings or an obstacle in the guide.
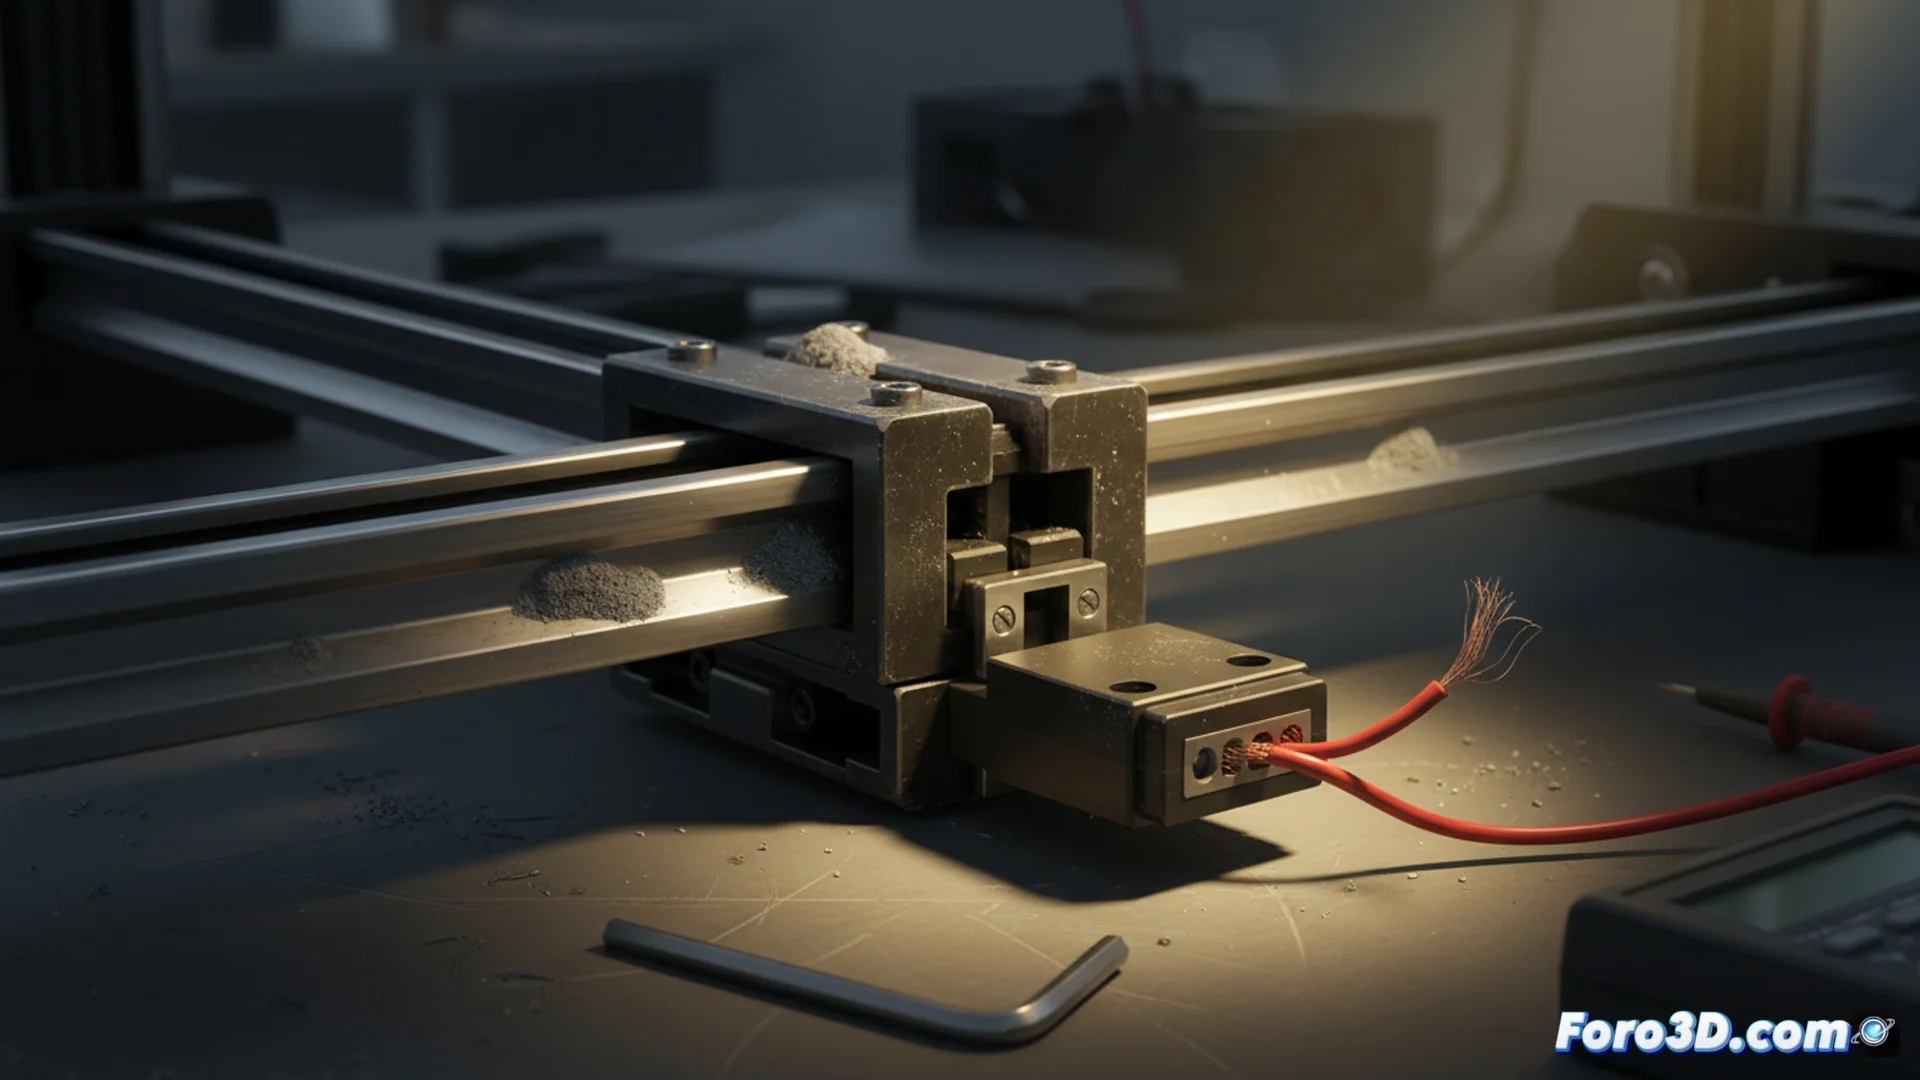
- Verify that the stepper motors are properly anchored and that their electrical connections are not broken or loose, to prevent lost steps.
Irregular movement or a squeaking sound is the machine's way of telling you something is wrong with its axes.
Repair Malfunctioning Endstop Sensors
Endstops are the components that tell the controller the initial position of the head or bed. If they fail, the printer cannot find its origin and the print won't start or will show errors in the layers. Fixing this requires a practical approach.
Process to troubleshoot a faulty sensor:- Confirm that the sensor wiring is properly connected to the main controller board.
- Test the sensor manually by activating its mechanism with a non-metallic object while monitoring its status in the firmware interface.
- If there is no response, the sensor may be obstructed by dirt, poorly adjusted, or physically damaged. Cleaning it or recalibrating its position often resolves many cases.
- When the component is broken, it is necessary to replace it with an identical one, whether mechanical, optical, or magnetic, depending on your printer model.
Conclusion to Keep Your Printer Operational
Diagnosing problems in axes and endstops is essential for preventive maintenance. Periodic checks of lubrication, belt tension, and sensor condition can prevent long downtimes. Remember that a machine that "ignores" its limits and moves uncontrollably is usually demanding attention to these basic systems. Keeping them in optimal condition ensures consistent, error-free prints. ✅