Diagnose and Fix a Frozen Thermistor in Bambu Lab Printers
A clear symptom of failure in a Bambu Lab 3D printer occurs when the hotend thermistor stops updating its reading. Instead of fluctuating, it reports an unchanging value, such as 25°C or 0°C, regardless of whether the head is cold or hot. This issue, coded as HMS_0300-0201-0001-0004, indicates a frozen or completely faulty sensor, which paralyzes the machine's ability to manage temperature safely. 🚨
Identify the Temperature Sensor Failure
To confirm the diagnosis, you must observe the temperature displayed on the printer's screen or control software. The key is that the number remains static. A hotend that physically heats up but whose digital reading does not move is definitive proof. This erroneous behavior causes the printer to trigger errors or stop, as it cannot trust the data to protect the hardware or start a job.
Steps to verify the problem:- Monitor the reported temperature in the interface while the hotend is cold.
- Command a preheat and observe if the displayed value changes or stays fixed.
- Confirm that the printer generates an error or refuses to start printing due to invalid readings.
A frozen thermistor is the most faithful component: it promises a temperature and sticks to its word, no matter the thermal chaos around it. Its loyalty is so absolute that it paralyzes the entire operation.
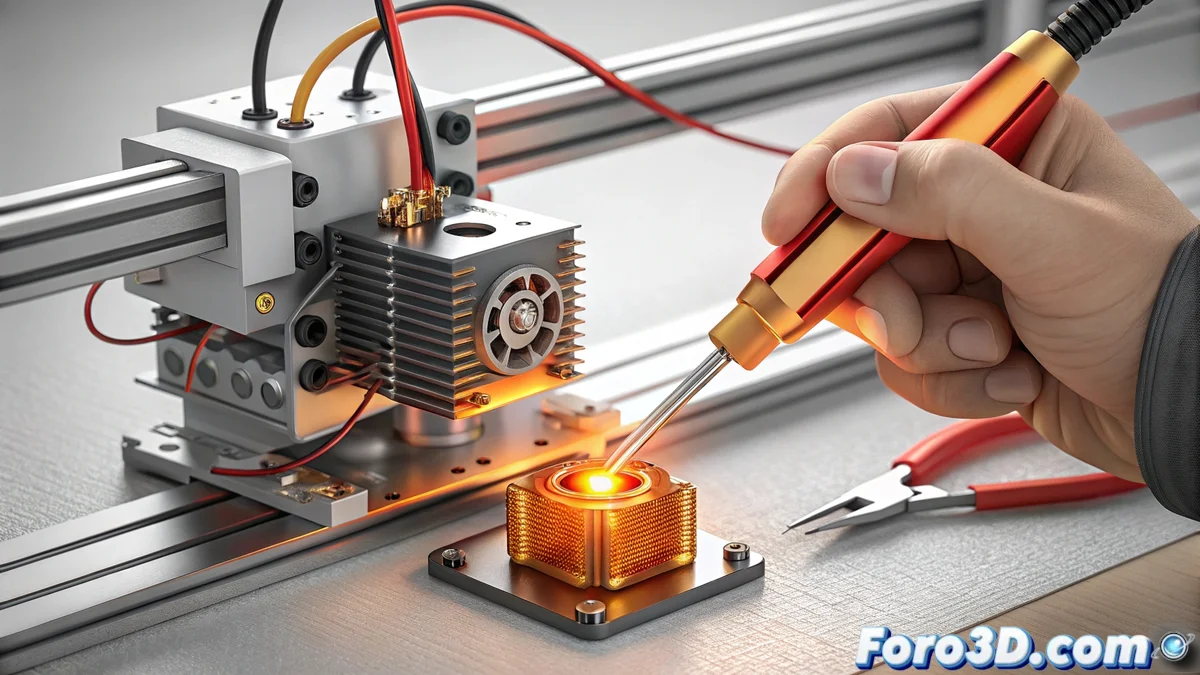
Procedure to Replace the Faulty Thermistor
The only effective and permanent solution is to install a new thermistor. This process requires following a safe order to avoid damage or electrical risks. It is crucial to use a compatible component specified for your Bambu Lab printer model to ensure accurate readings and proper operation.
Guide to replace the sensor:- Turn off and completely unplug the printer from the power source.
- Access the print head and locate the connector of the faulty thermistor.
- Carefully disconnect the old wiring and remove the damaged sensor from its housing.
- Install the new thermistor, ensuring it is properly positioned, and firmly connect its wires.
Test the System After the Repair
Once the installation is complete, it is vital to verify that the repair was successful. Do not assume the problem is resolved just by changing the part. You must perform a controlled heating test to observe that the temperature reading now responds and varies normally as the hotend heats up and cools down. This final step confirms that the printer can safely control its temperature again and is ready to produce. ✅