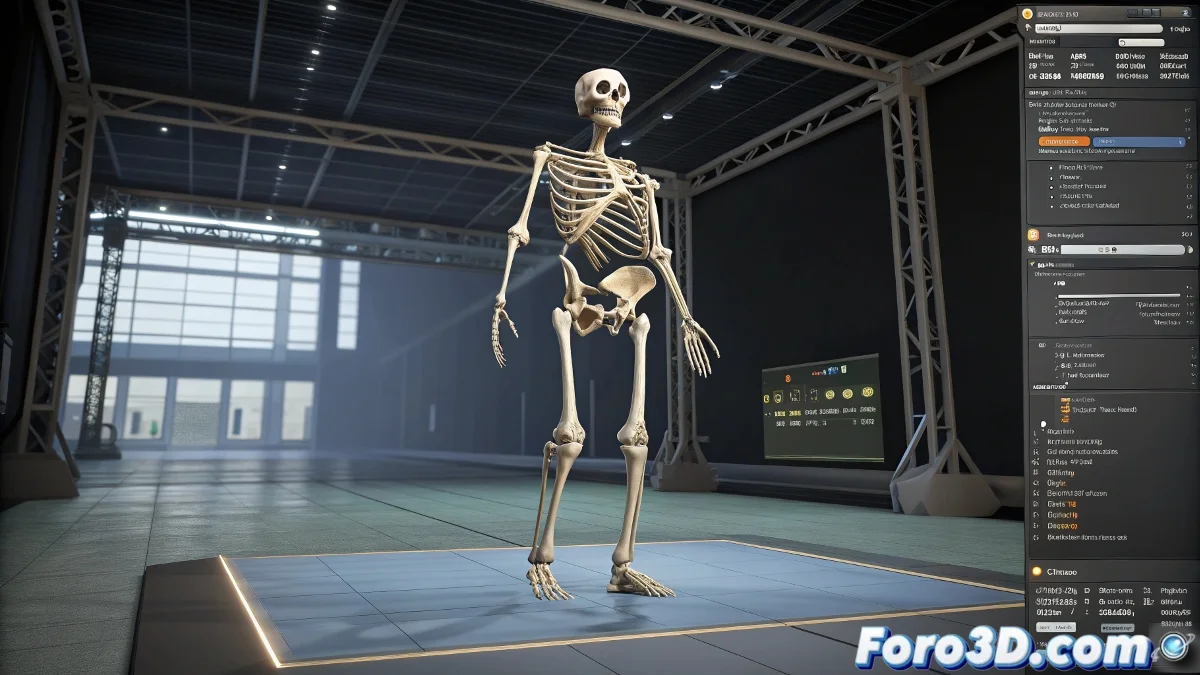
When Your Character's Fingers Develop a Life of Their Own (And It's Not Pretty) 🤚💀
You enthusiastically animate your character in 3ds Max until... horror! The fingers twist like worms, ruining the entire scene. Don't worry, this classic problem has a solution, and we'll explain how to master it.
The Root of the Evil: Misconfigured Skin
90% of these problems come from a poorly adjusted Skin modifier. Clear symptoms:
- Fingers that stretch like chewing gum when moving the wrist
- Joints that collapse on themselves
- Fingertips that dance uncontrollably
Professional Step-by-Step Solution:
- Select your model and apply Reset XForm (removes weird transformations)
- Open the Skin modifier and select the problematic bones
- Activate Paint Weights to see the current influence
- Manually paint the weights with:
- Value: 1 for areas of total control
- Value: 0 to remove unwanted influence
- Brush Size small for precise details
Veteran Tricks
- Use Envelopes as a base before refining with Paint Weights
- Isolate bones with the "Edit Envelopes" button to see only their influence
- Test extreme movements during painting to detect problems
- Save Skin presets for similar characters
"A good hand rig needs as much care as plastic surgery: millimeter precision and anatomical knowledge"
Mistakes You Must Avoid
- Do not scale bones after applying Skin
- Do not mix influences between palm and finger bones
- Do not ignore the joints (each phalanx must have clear control)
- Do not forget the thumb (it usually needs different weights)
Crucial Fact: If you work with stylized characters, sometimes it's better to exaggerate the weights than to seek perfect anatomical realism. Visual clarity wins over scientific precision!
And remember: when those deformed fingers make you doubt your career, think that even Pixar animators struggled with this in their early days. The difference is that now you have this guide to fix it faster. 💪
Bonus: If all else fails, there's a dirty but effective trick - animate the fingers as separate objects without Skin. It's not elegant, but in emergencies... it works!