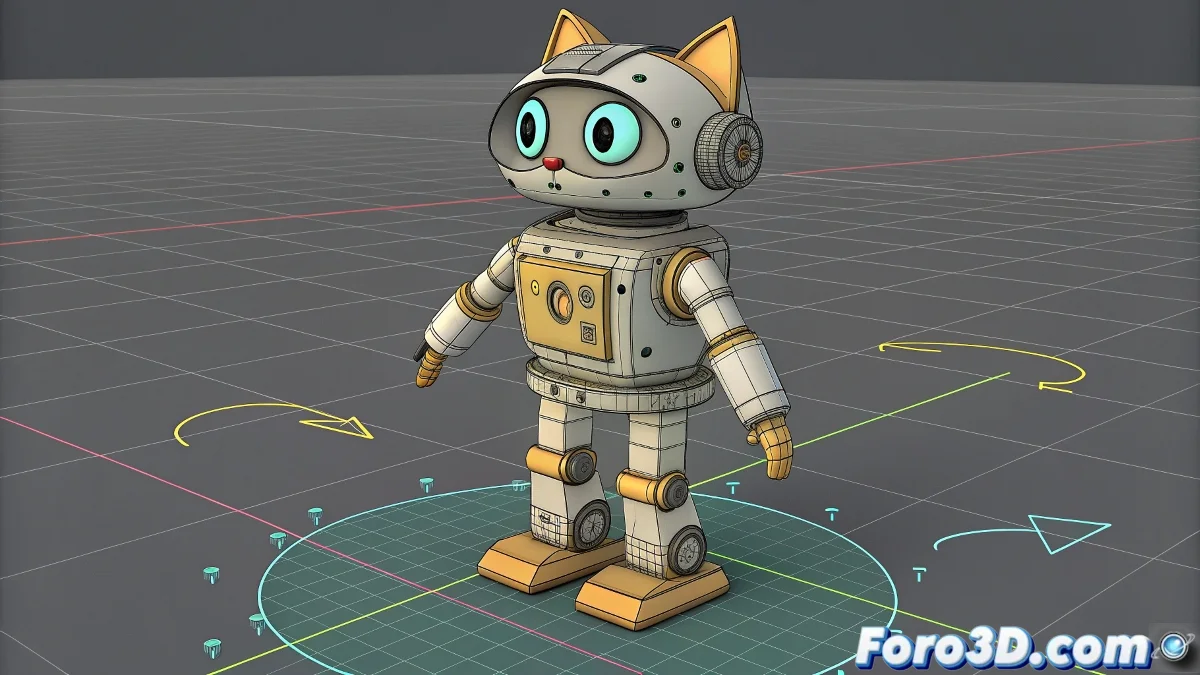
The Challenge of Taming CAT Parent Pivots
Working with CAT Parent in 3ds Max to rig a robot should be a piece of cake, but soon you discover that its pivots have a mind of their own 🤖. The system is optimized for organic creatures, where rotations follow predictable biomechanical patterns. For a robot, where each joint in the armor may need a unique and customized rotation axis, CAT's automatic pivot management becomes a wall. Trying to move a pivot manually is a lost battle; CAT will reset it on the next refresh, leaving you with the frustration of rigid control where you need flexibility.
The Elegant Solution: Helpers as External Pivots
The winning strategy is not to fight against CAT, but to go around it. Instead of modifying the internal pivot of the CAT bone—almost impossible mission—use a Helper or Dummy as an external proxy pivot. Place this helper exactly in the position and with the orientation you want for the robot part's rotation axis. This helper acts as an intermediary; it will be the point around which the part actually rotates, freeing you from the tyranny of CAT's internal pivot system.
Fighting against CAT pivots is like boxing with a mirror; you always get the punch back.
The Bridge Constraint: Linking the Bone to the Helper
With the helper in place, you need to link the CAT bone to it. This is where Constraints shine. Select the CAT bone, go to the Animation > Constraints > Parent Constraint panel and pick the helper. In the constraint options, make sure only rotation (Rotation) is active and not position, unless you also want the bone to move with the helper. Adjust the axes in Key Mode so that the helper's rotation maps correctly to the bone's rotation. Now, when you rotate the helper, the CAT bone will obediently rotate around the helper's customized pivot.
Maintaining Hierarchy and Organization
For a clean and animatable rig, organization is key. Parent each helper to the same element to which its corresponding CAT bone is parented (e.g., the same parent limb segment). This ensures that when you move the entire arm, the helper and its custom pivot move with it, maintaining the correct spatial relationship. Name the helpers clearly, like Helper_Arm_L_Pivot, so you don't get lost in a tangle of control points. Use layers to show or hide all helpers easily and keep the viewport clear during animation.
Workflow for a Perfectly Articulated Robot
Follow these steps to implement custom pivots in your robot:
- Base CAT Setup: create your base skeleton with CAT Parent as you would normally.
- Helper Placement: for each bone that needs a custom pivot, create a helper positioned and oriented exactly as you want the rotation axis.
- Constraint Application: apply a Parent Constraint from the CAT bone to the helper, activating only rotation.
- Hierarchy: parent the helper to the appropriate parent element in the CAT hierarchy so it inherits its transformations.
- Animator Control: hide the original CAT bones and leave only the helpers visible so the animator manipulates these custom pivots.
- Test: animate the helpers to verify that the robot parts rotate naturally and mechanically correctly.
By adopting this method, you will transform your CAT rig from a rigid system to one as flexible as you need, perfect for the precise articulation demanded by robots. And best of all, CAT will still believe it's in control, when in reality you have taken command behind the scenes 😉.