The Art of Making Hair Fall with Digital Elegance
Simulating hair clumps gracefully descending onto a surface is one of those effects that seems simple until you try to do it in Maya. The difference between a cinematic result and a digital spaghetti mess lies in understanding the dance between nHair, nCloth, and dynamic forces. The goal is to make each clump have a life of its own while interacting believably with the target surface.
Maya offers a particularly robust ecosystem of dynamics for this type of simulation, where hair can behave as a particle system, cloth, or both simultaneously. The key is selecting the right tool for each aspect of the effect.
Initial nHair System Setup
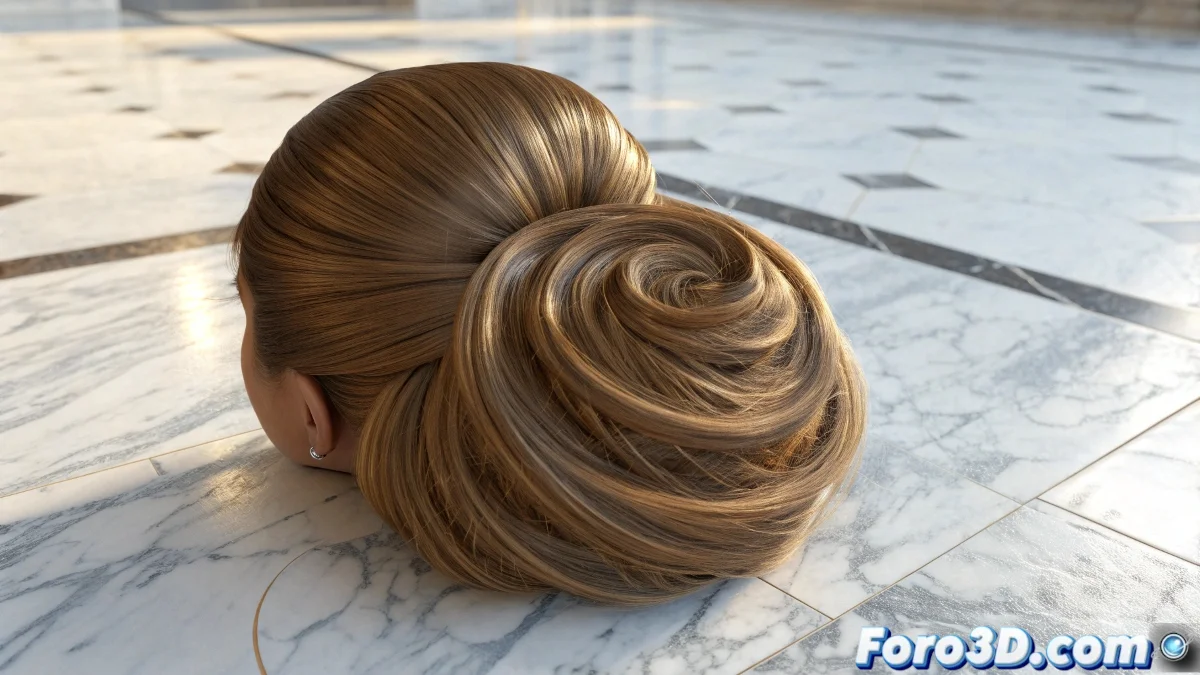
The ideal starting point is to create NURBS curves that define the trajectory and shape of the clumps. These curves are converted to nHair via the nHair > Create Hair menu. In the creation options, it is crucial to select Output > Paint Effects for rendering or Output > NURBS Curves for greater dynamic control.
The Length and Density parameters determine the initial volume of the hair, while Points Per Hair affects the smoothness of the simulation. For falling clumps, a moderate density with sufficient length allows for that fluid movement we seek.
- Create guide curves for the fall direction
- Configure Output according to render needs
- Adjust Points Per Hair for smoothness
- Define Length according to clump size
Good dynamic hair doesn't fall, it lands with digital elegance
Dynamics and Forces for Realistic Movement
The core of the simulation resides in the nHair dynamics system. The Stiffness, Damp, and Friction parameters control how the clumps react to movement and collisions. Low Stiffness values create flexible, natural clumps, while Damp prevents that unsightly nervous jitter.
External forces like Gravity and Turbulence add the falling behavior and those random variations that avoid mechanical movement. The key is balancing Gravity for a believable fall without making the hair seem like it's made of lead or helium.
- Low Stiffness for natural flexibility
- Gravity adjusted to the scene scale
- Subtle Turbulence for organic variations
- Collision Layers for contact management
Interaction with Surfaces and Collisions
For the clumps to interact correctly with the surface, it must be converted to nCloth or a Passive Collider. The collision settings in nHairShape > Collisions allow adjusting how the hair detects and reacts to the surface. The Collide Strength and Collision Flag parameters are essential to avoid penetrations.
Complex surfaces or those with pronounced textures may require adjustments to Thickness to prevent the hair from getting caught in intricate geometries. For more advanced effects, Constraint can be used to make some clumps partially adhere to the surface.
- Convert surface to Passive Collider
- Adjust Collide Strength as needed
- Optimize Thickness for complex geometries
- Use Constraints for partial adherence
Optimization and Rendering of the Final Effect
Hair simulations can be computationally intensive, so caching becomes your best ally. Using nCache > Create New Cache allows you to save the simulation for later adjustments without recalculating. The cache resolution directly affects quality versus calculation time.
For rendering, integration