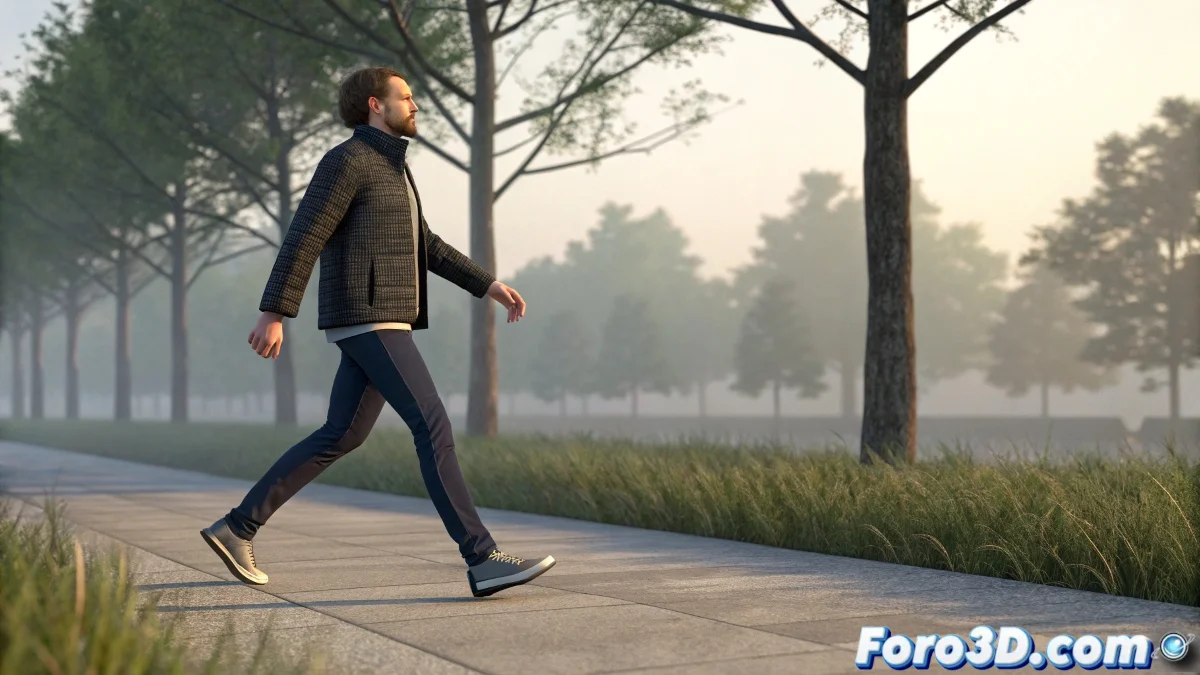
The Art of Bringing a Digital Pile of Bones to Life
Animating a biped in 3ds Max so that it moves with the grace and naturalness of a living being is one of the most rewarding challenges in the 3D world 🕺. The line between convincing movement and one that screams "I'm a robot!" is thin, and it's easily crossed with linear interpolations, lack of weight, and monotonous timing. The key lies in applying the classic principles of animation by leveraging the modern tools offered by the software, creating a symbiosis between art and technology.
Integrating Motion Capture with Motion Flow
For solid and quick foundations, nothing beats importing motion capture clips and applying them to your biped using Motion Flow. This tool allows you to blend between different mocap takes, creating complex sequences. However, mocap is rarely perfect; always check and correct foot slip with Footstep Constraint to ensure the feet plant firmly on the ground. First and foremost, reorient the biped's root to match your scene, avoiding scale and direction issues.
Mocap is a great skeleton, but manual animation gives it the soul.
Taming Animation Curves for Fluidity
The curve editor is your best friend for combating robotic movement. Avoid equidistant keyframes and linear tangents like the plague. Instead, work on the position and rotation curves to create natural accelerations and decelerations. 🎢 Apply overlapping action to limbs and follow through to elements like the head and pelvis, so that not everything stops at the same time. This principle is what transforms a mechanical movement into an organic one.
Fundamental Principles of Weight and Anticipation
The illusion of weight is what separates novices from professionals. Before any major action—a step, a jump, a strike—introduce a few frames of anticipation, a small movement in the opposite direction that communicates the character's intention and mass. During the action, ensure the pelvis describes smooth arcs and that the knees and feet follow natural trajectories, not straight lines. A well-animated center of gravity is the foundation of all believable movement.
Fine-Tuning and the Magic of Micro-Movements
Realism resides in the details. Use Motion Layers to add layers of non-destructive adjustments. Incorporate a subtle shoulder sway, a small head turn to look at something, or a slight breathing movement. These micro-movements are what break the final stiffness and provide that sense of continuous life. Combining the mocap base with these manual adjustments gives you the best of both worlds: the authenticity of human movement and absolute artistic control.
Recommendations for an Efficient Workflow
Always start with a well-configured rig and verify your biped's proportions. When using mocap, clean the data first and ensure good alignment with the ground. Always animate in steps: first the center of gravity and the root, then the legs and feet, followed by the torso and arms, and finally the head and fingers. Constantly review from multiple camera angles and don't be afraid to slightly exaggerate poses to later smooth them out with curves.
With practice and patience, your biped will go from moving like a water tank with legs to dancing with the elegance of a theater actor. And if someone notices a strange step, you can always argue it's a characteristic walk with personality 😉.