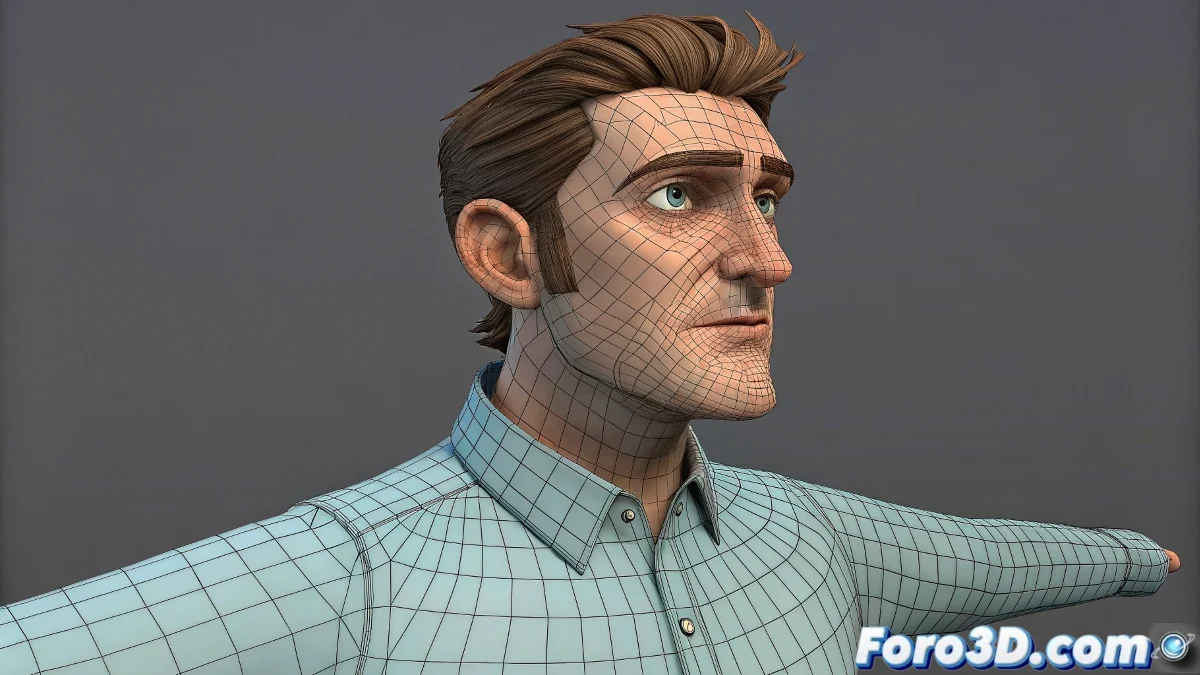
The Art of Joining Geometries in Rigging
Integrating accessories like hair, clothing, and add-ons into a character's rigging system is like orchestrating a symphony where every instrument must play in perfect harmony 🎻. The "blue" vertices – those orphaned points without bone influence – are the discordant notes that break the illusion of coherent movement. Mastering the correct workflow transforms this technical challenge into a fluid and predictable process.
The Importance of Selection Order and Visibility
The exact moment when the Armature modifier is created is critical to determine which geometry will be included in the automatic weight calculation.
- Complete selection: All visible and selected meshes when creating Armature
- Smart joining: Use Ctrl+J only when meshes share materials and purpose
- Total visibility: Ensure no mesh is hidden during the process
- Hierarchical order: Maintain logical relationship between parent and child meshes
An Armature modifier created at the right moment is like a group photo where everyone appears.
Modifiers Stack Flow: The Heart of the System
The order of modifiers in the stack is as crucial as a master chef's recipe – changing the order completely alters the result.
- Armature first: Apply deformation to the base geometry
- Subdivision after: Smooth the already deformed geometry
- Stack order matters: Evaluation order affects the final result
- Non-destructive workflow: Stacked modifiers instead of applied
Techniques to Fix Orphaned Vertices
Blue vertices require specific approaches depending on their root cause.
- Manual Weight Paint: Direct painting of influence on problematic vertices
- Data Transfer: Copy weights from meshes with correct skinning
- Manual vertex groups assignment: Manual assignment to vertex groups
- Proximity-based weighting: Automatic tools based on proximity
Maintaining Low Poly for Animation
Preserving the low poly base mesh during animation offers significant advantages.
- Performance: Smoother animation with fewer vertices
- Precise control: More manageable weight painting on simple geometry
- Flexibility: Easy topology adjustments during development
- Portability: Easier transfer between software and pipelines
Professional Workflow for Complex Characters
Established studios follow specific methodologies for characters with multiple accessories.
- Model and join meshes with similar purpose
- Create Armature with all meshes visible and selected
- Apply Automatic Weights and verify complete coverage
- Add Subdivision Surface for high-quality visualization
- Adjust weights on low poly base mesh as needed
Optimization for Render and Visualization
The balance between visual quality and performance is crucial in real production.
- Viewport subdivision: Different levels for viewport and render
- Render time subdivision: Subdivision applied only when rendering
- LOD systems: Different detail levels based on distance to camera
- Proxy objects: Simplified geometry for animation
Prevention of Common Problems
The best solution is always to prevent problems through proper practices.
And when your vertices still resist following the bones like rebellious teenagers, you can always argue that it's a character with liquid transformation abilities 💧. After all, in the rigging world, sometimes skinning "problems" become unique design features.