Configure Other Slicers So Your Printer Interprets G-Code Without Errors
When you decide to change the program you use for slicing, it's not enough to just export a file. The fundamental step is to review and adapt your equipment's configuration so that its firmware processes each instruction exactly. This involves ensuring that every line of G-code is fully compatible with the specific hardware you have. 🛠️
Locate and Define Essential Parameters in the New Slicer
The first point of action is to open the section dedicated to configuring the printer in your new software. In this area, you must enter precise data that you will copy from the firmware or from the profile you used before. Pay close attention to values such as the build volume, the type of hotend installed, the filament thickness, and the movement limits for each axis. Don't forget the maximum layer height that the head can handle and the speed limit of the stepper motors.
Key Data You Must Transfer:- The exact dimensions of the print area (width, height, depth).
- The type and model of the extruder or hotend to calibrate material flow.
- The diameter of the filament you use, usually 1.75 mm or 2.85 mm.
- The physical limits (endstops) of the X, Y, and Z axes to avoid collisions.
An error in the start commands can cause the printer to behave unpredictably or fail to start the job.
Customize Start and End Scripts
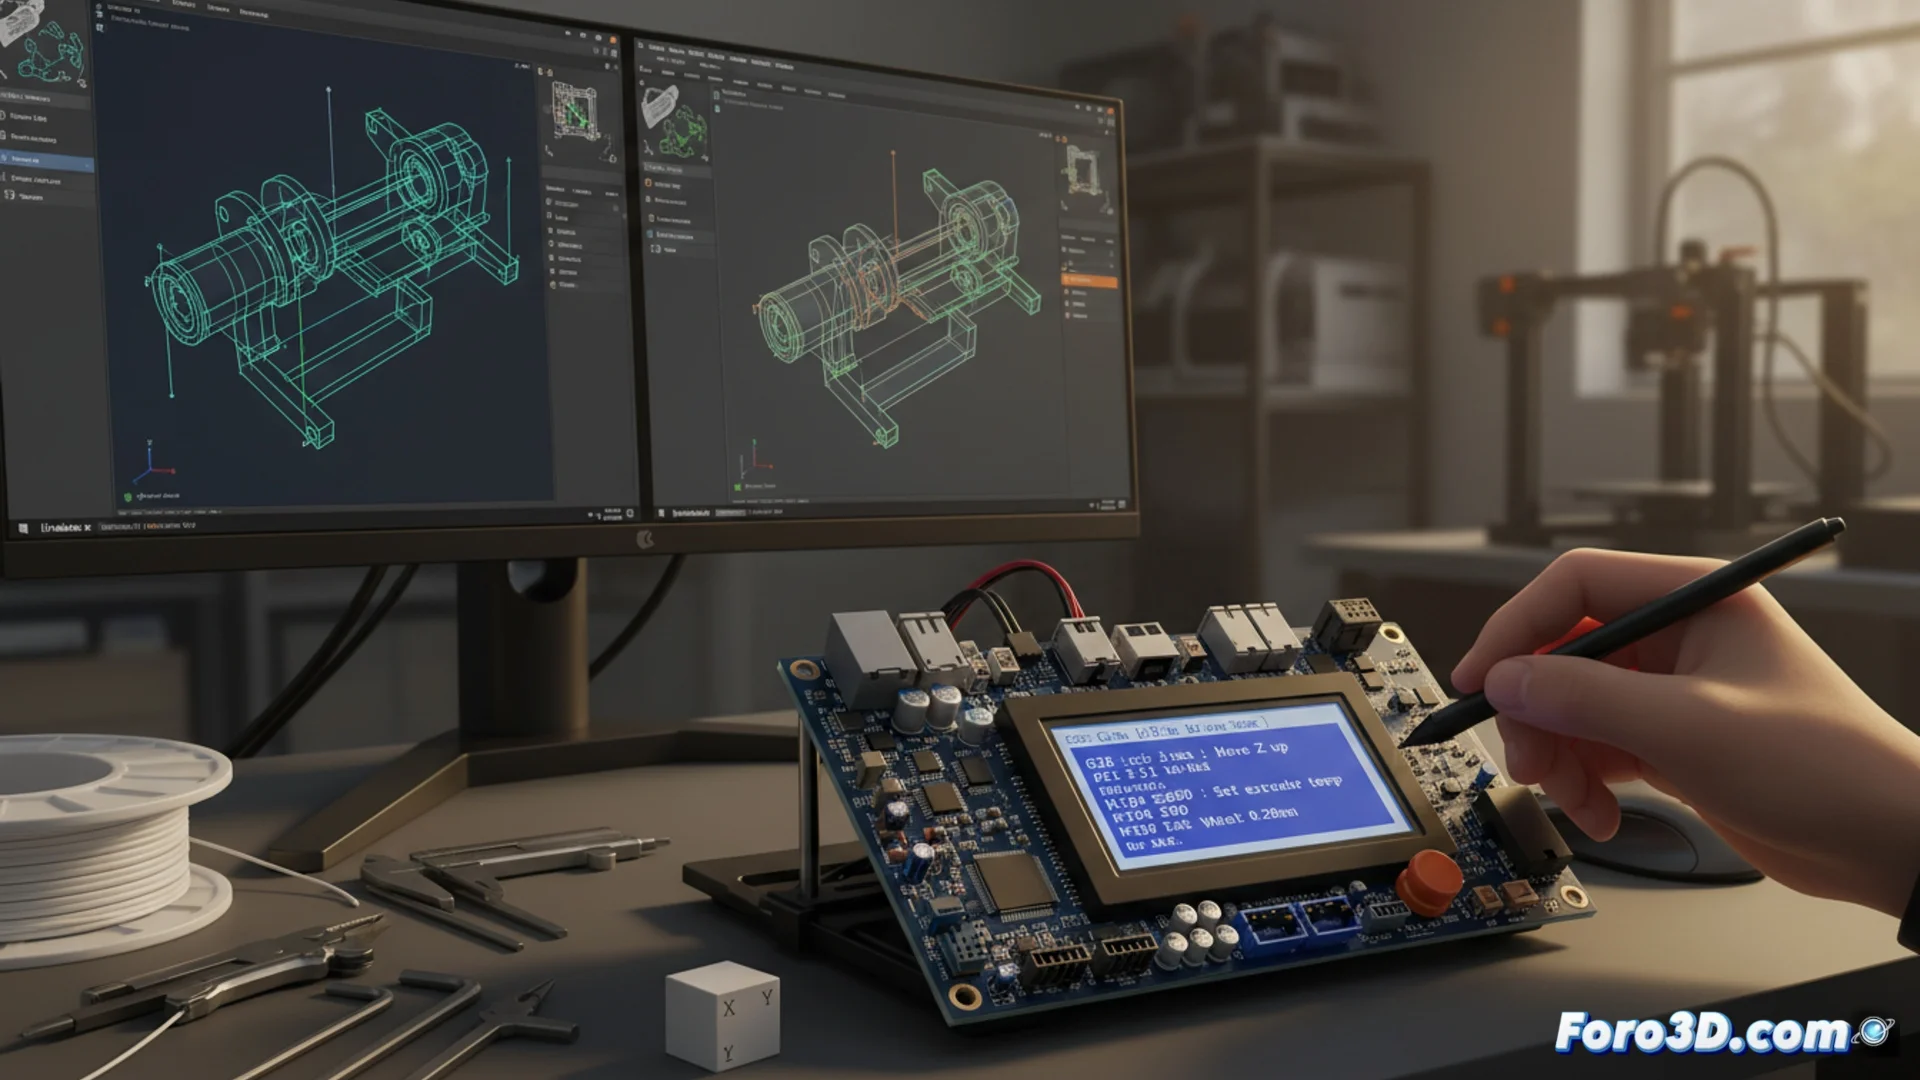
The boot code (start G-code) and shutdown code (end G-code) are critical sequences. They manage automatic actions such as performing homing, heating the bed and the hotend, and turning off components at the end. These sets of commands vary depending on the brand and model of your 3D printer. You must transcribe them from your previous slicer or from the manufacturer's manual, verifying that each command (such as G28 for home or M104 for temperature adjustment) is correct.
Steps to Adjust the Scripts:- Look for the "Custom G-code" or "Print Scripts" section in your new slicer.
- Copy and paste the start and end blocks from your previously verified configuration.
- Check that the calibration and preheating commands are appropriate for your machine.
Verify and Test the New Configuration
If after the change the printer tries to "draw" in the air instead of on the bed, it's a clear sign that the G-code suggests unwanted artistic behavior. 🎨 Thoroughly reviewing the initial calibration command (usually G28) and the Z coordinates usually resolves these creative aspirations. The ultimate goal is for the new slicer to generate instructions that your hardware can execute reliably and repeatably, without surprises during printing.