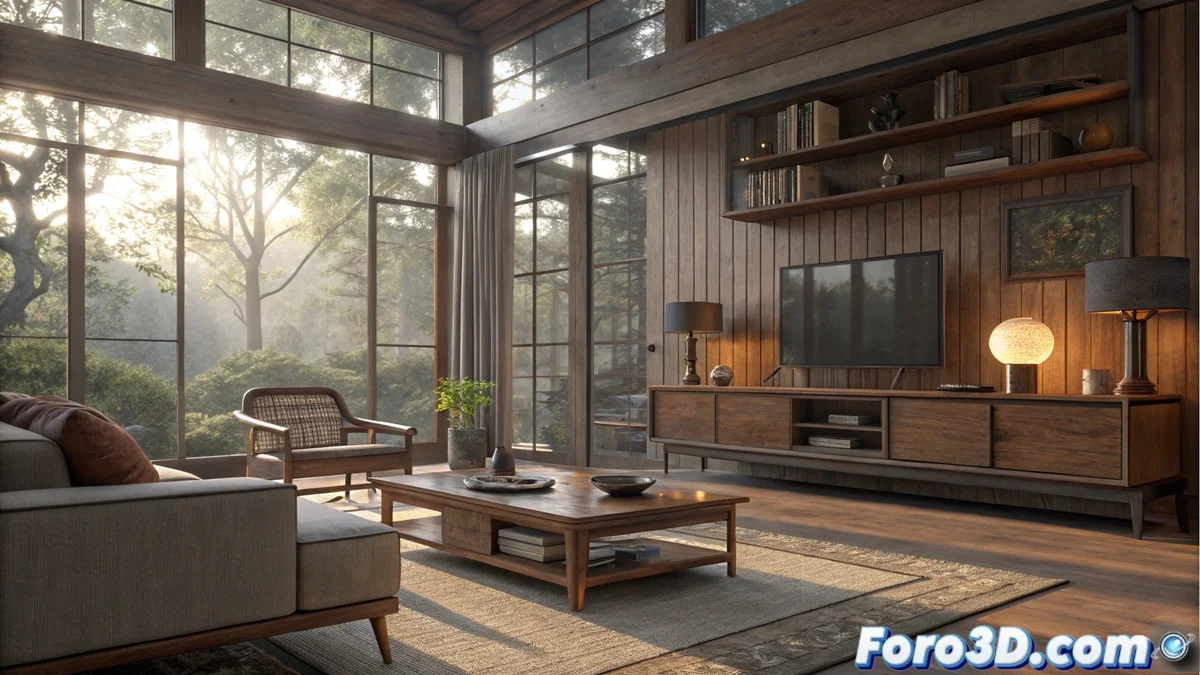
Complete Guide to Professional Renderings in Blender with V-Ray
The combination of Blender and V-Ray represents a powerful solution for 3D artists seeking cinematic quality results. This integration allows leveraging Blender's flexible workflow along with V-Ray's advanced rendering capabilities, creating a perfect synergy for professional projects. 🎨
Initial Setup and Integration
The first crucial step is to establish the connection between both tools through the official V-Ray addon for Blender. This component acts as a bridge between the modeling software and the rendering engine, allowing access to all V-Ray features directly from Blender's familiar interface. The setup requires verifying licenses and performing the correct plugin installation.
Key elements of the integration:- Installation of the V-Ray addon for Blender with active licenses
- Full access to V-Ray materials, lights, and specialized cameras
- Precise control over all rendering parameters from the Blender interface
Patience is your best ally: after hours of adjustments, you'll discover that the final render looks almost identical to the previous one, but with that extra 1% that justifies all the time invested.
Development of Advanced Materials and Textures
V-Ray materials in Blender are fundamental to achieving exceptional realism. Using the node editor, you can create complex shaders that simulate real physical properties like reflectivity, refraction, and subsurface scattering. V-Ray textures, including bump, normal, and displacement maps, add microdetails that visually enrich surfaces. 🔬
Essential techniques for materials:- Precise adjustment of Fresnel and anisotropy parameters in metals
- Use of the V-Ray skin shader for organic materials with advanced light dispersion
- Strategic combination of textures to achieve convincing surfaces
Optimization of Lighting and Rendering Parameters
Cinematic lighting constitutes one of the fundamental pillars for high-end renders. V-Ray in Blender offers physically precise lights like V-Ray Sun and V-Ray Light, with full control over intensity, color, and temperature. For interior scenes, the V-Ray light dome combined with HDRI maps provides natural and soft global illumination. 💡
Optimization strategies:- Configuration of the V-Ray GPU engine to leverage graphics hardware
- Adjustment of adaptive sampling and noise limits for quality/speed balance
- Implementation of Light Cache and Irradiance Map for global illumination in complex scenes
Final Tips for Exceptional Results
Mastering V-Ray in Blender requires constant practice and experimentation. The right combination of realistic materials, cinematic lighting, and optimized rendering parameters will allow you to create visualizations that stand out for their professional quality. Remember that every adjustment, no matter how small it seems, contributes significantly to the final result. ✨