Comparing How to Light in LightWave 3D and Blender
3D artists seeking to master lighting encounter opposing philosophies when using LightWave 3D or Blender. One structures its workflow in separate stages, while the other embraces total integration and immediacy. Understanding these differences is key to choosing the right tool or migrating projects between them. 💡
LightWave 3D: A Structured, Layered Workflow
LightWave organizes its interface into two applications: Modeler for creating geometry and Layout for animating and rendering. This approach clearly separates tasks. Its rendering engine, developed over decades, handles light with a robust and predictable method. The user controls parameters like intensity, color, and shadows independently for each light source.
Key Lighting Tools in LightWave:- Classic Light Types: point, directional, area, and spot, with precise attenuation controls.
- Radiosity System: a powerful feature for simulating global illumination, though its use today is more specific.
- Light Filters and Textures: such as gradients, to simulate complex effects without relying solely on geometry.
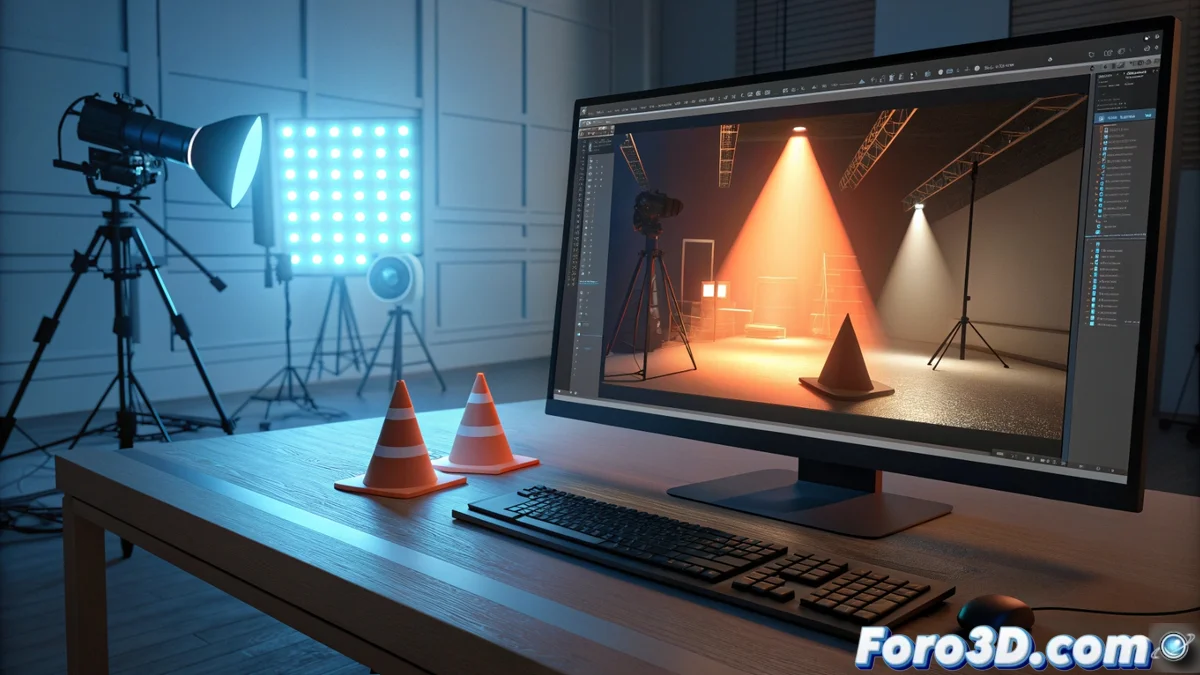
- Render in Layout: here atmospheric effects, volume effects are adjusted, and the final image is processed.
The workflow in LightWave can be perceived as more linear, ideal for those who prefer to organize each step before rendering.
Blender: Integration, Nodes, and Immediate Feedback
Blender manages everything within a single window, from modeling to lighting. It offers two rendering engines: Cycles, ray-tracing based for physically accurate results, and Eevee, a real-time engine for quick previews. This duality completely changes how light is worked on.
Core Lighting Features in Blender:- Node System: it's the heart. It allows designing emitter materials and complex lights by connecting blocks.
- HDRI Lighting and Textures as Emitters: common methods for creating realistic environments.
- Eevee Preview: see effects like bloom, soft shadows, and reflections in real time while working.
- Physical Calculation in Cycles: simulates how light interacts with surfaces accurately, using sampling.
Choosing Between Traditional Structure or Modern Integrated Workflow
A LightWave user may value the clear separation between modeling and rendering, while a Blender user takes advantage of having all options visible. The transition between both is like switching from a manual car to an automatic one: both get you to the destination, but you interact with different controls. LightWave offers a methodical path, Blender delivers speed and a unified approach to creation. 🚗