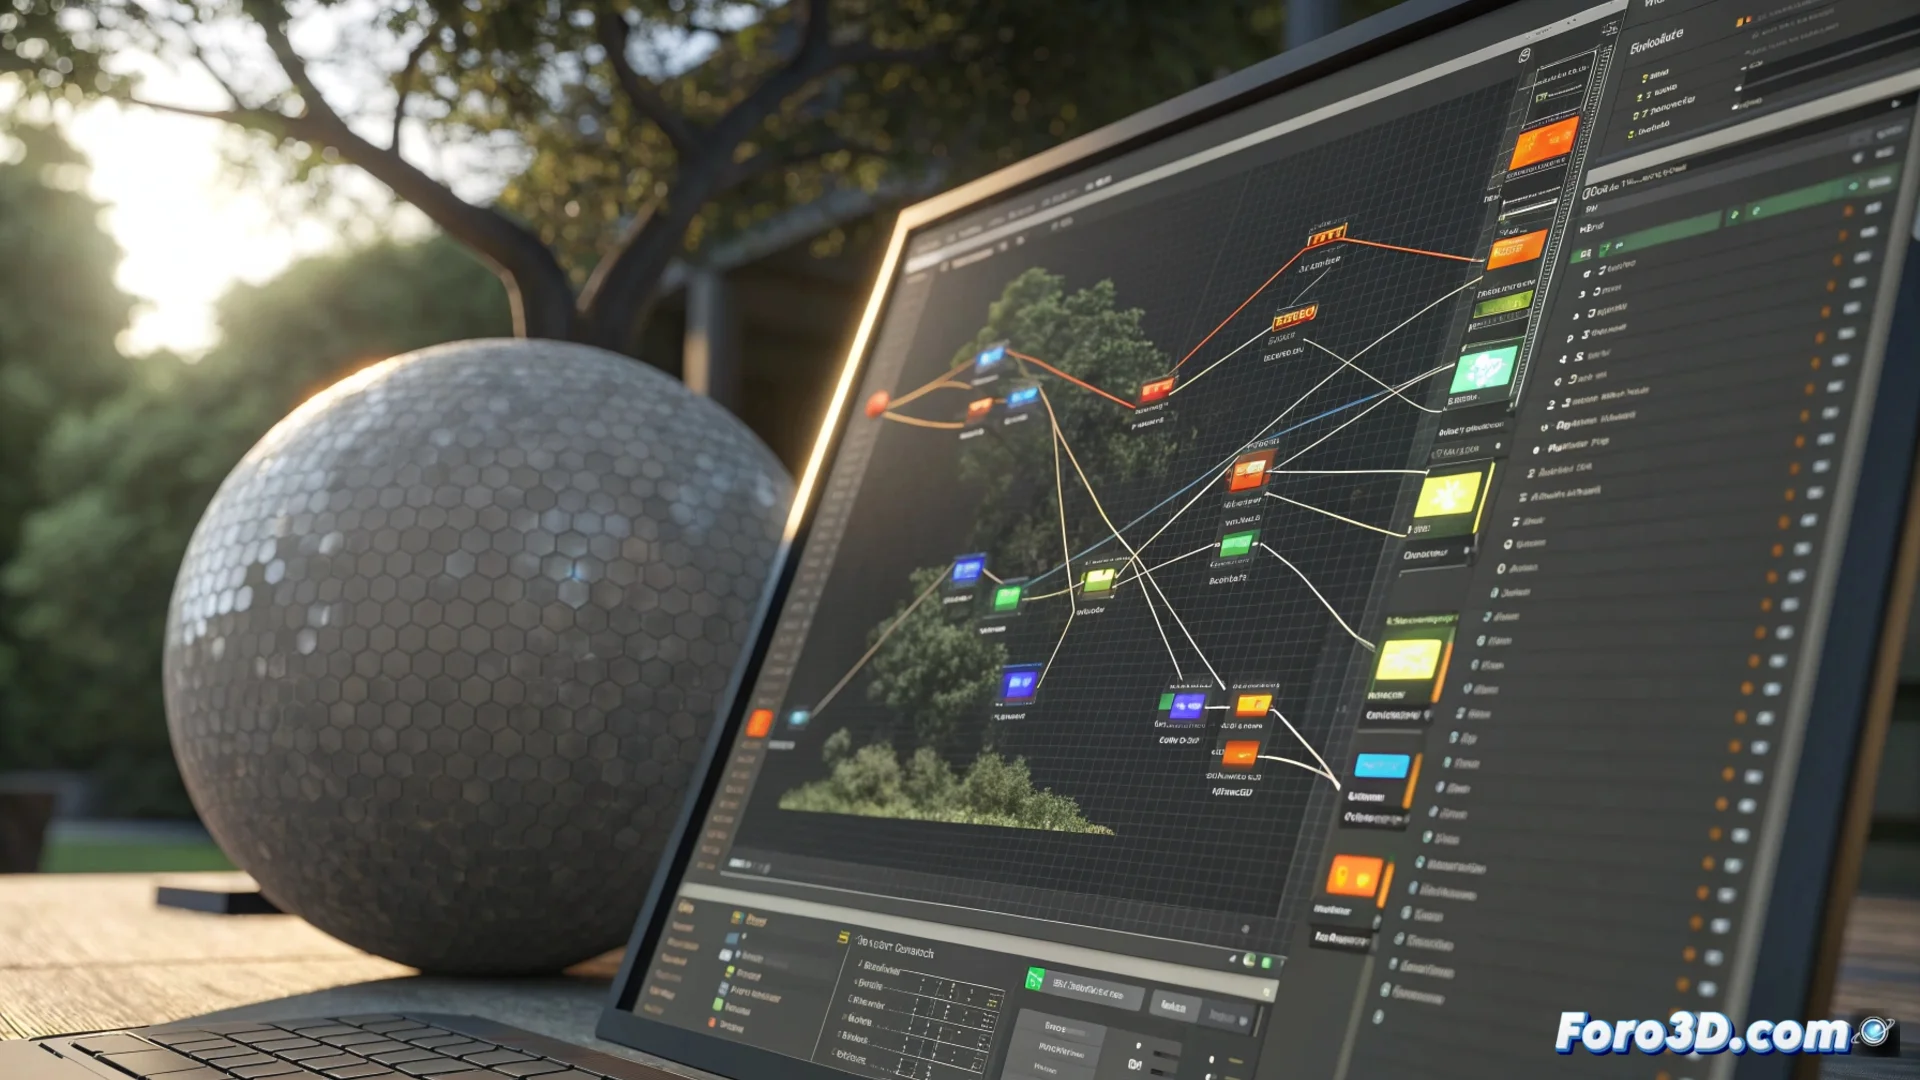
Blender's Shader Editor: Create Materials with Nodes
At the core of material design in Blender is the Shader Editor, a node-based system that frees the artist from the limitations of predefined materials. This workspace allows building the surface appearance of any 3D object through the logical connection of functional blocks, defining each visual attribute such as color, roughness, or shine independently and precisely. 🎨
The Basic Components of the Nodal System
The power of the editor lies in its nodes, each with a specific function. The workflow consists of linking input nodes, shader, texture, color, and utility to process information. For example, a texture node can control roughness while another modifies the base color. The final output is always connected to the Material Output node so Blender can render the result.
Main Types of Nodes:- Shader (Principled BSDF): Defines the main shading model that simulates how light interacts with the surface.
- Texture: Generates or samples image information to color, deform, or provide data to the surface.
- Utility (Math, Vector): Allow mixing, combining, or transforming data to create complex effects.
Mastering the Shader Editor requires practice, but the power to create any material, from wet plastic to rusted metal, makes it worth facing the tangle of virtual wires.
Working in the Editor Environment
The interface offers a flexible workspace with a node view and a properties panel. Users add nodes from the Add menu or with the Shift+A key. To connect nodes, drag from an output connector to an input one. To manage complex graphs, it is possible to group nodes into frames or create reusable custom groups that function as compound nodes.
Key Interface Functions:- Add and Connect: Nodes are added with Shift+A and joined by dragging between connectors.
- Organize: Frames help structure extensive graphs and improve readability.
- Preview: The 3D view shows material changes in real time, allowing instant parameter adjustments.
The Path to Material Mastery
The process of creating materials from scratch with nodes provides unprecedented control over every visual aspect. This method not only serves to assign a material to an object but to develop complete libraries of surface appearances. The nodal logic allows iterating and refining designs in a non-destructive way, making the Shader Editor an indispensable tool for any 3D artist seeking quality and authenticity in their renders. ⚙️